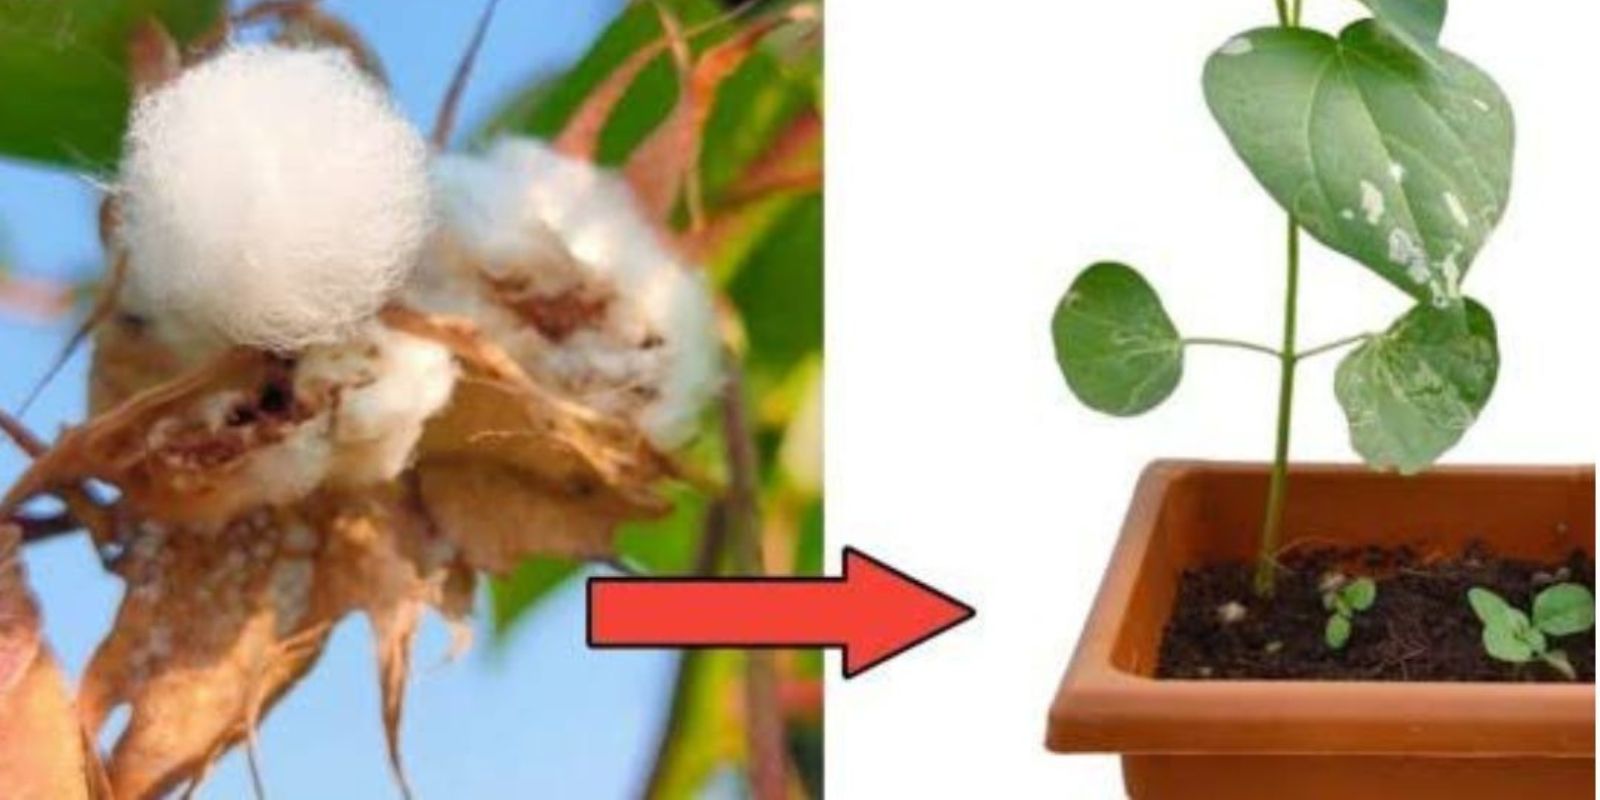
Cotton is a fiber crop that has shaped the course of human history for centuries, but did you know it can also be grown in your own backyard or garden? Beyond its role in the textile industry, cotton is a fascinating and rewarding plant to cultivate. With its beautiful blooms, manageable growth, and unique harvest process, growing cotton can be a fun and educational project for gardeners of all levels.
In this comprehensive guide, we’ll cover everything you need to know about planting, growing, and harvesting cotton, right from selecting the right seeds to enjoying your fluffy white harvest.
Why Grow Cotton at Home?
Growing cotton at home has many benefits. It’s a sustainable way to produce small amounts of fiber for crafting or personal use. Additionally, the cotton plant’s ornamental value is underrated—its large, showy flowers that transition from creamy yellow to pink and its fluffy bolls make it a unique addition to any garden. Moreover, cultivating cotton allows you to learn about the crop’s growth cycle and connect with its rich history.
Step 1: Understand Cotton Varieties
Not all cotton is the same. There are several varieties, and the one you choose depends on your location and purpose.
- Upland Cotton: The most common type for home gardening. It’s hardy and produces medium-staple fibers.
- Egyptian or Pima Cotton: Produces long, high-quality fibers but requires a warmer climate.
- Sea Island Cotton: Known for its luxurious, silky fibers but thrives in tropical regions.
If you’re unsure about which variety to grow, upland cotton is a safe choice for beginners due to its adaptability.
Step 2: Know the Climate and Soil Requirements
Cotton is a warm-season crop that thrives in temperatures between 60°F and 100°F. It requires at least 200 frost-free days to reach maturity, making it ideal for warmer climates. If you live in a cooler region, consider starting your cotton indoors or using a greenhouse.
For soil, cotton prefers:
- Well-drained soil: Avoid areas prone to waterlogging.
- Slightly acidic to neutral pH: Aim for a pH of 6–6.5.
- Nutrient-rich: Mix in organic compost or aged manure to boost fertility.
Step 3: Planting Cotton Seeds
Timing and technique are crucial when planting cotton seeds.
- When to Plant:
- Plant cotton in the spring after the last frost. Warm soil (above 60°F) is essential for germination.
- How to Plant:
- Sow seeds 1 inch deep in rows, spacing seeds 4–6 inches apart.
- Leave at least 36 inches between rows to allow room for growth.
- Cover seeds lightly with soil and water gently to keep the soil moist.
Step 4: Provide Optimal Growing Conditions
Cotton is a sun-loving plant that requires specific care throughout its growing season.
- Sunlight: Ensure the plants receive 6–8 hours of direct sunlight daily.
- Watering: Keep the soil evenly moist during the growing phase but avoid overwatering. Once the plants mature, reduce watering to prevent root rot.
- Fertilizing: Use a balanced fertilizer during the early growth stages. A fertilizer high in potassium and phosphorus is ideal as the plant develops.
Step 5: Monitor for Pests and Diseases
Cotton plants are susceptible to pests such as aphids, bollworms, and spider mites. These pests can damage the leaves and bolls, reducing your harvest.
- Prevention: Introduce beneficial insects like ladybugs or use neem oil as an organic pest control method.
- Observation: Regularly inspect plants for signs of damage, such as yellowing leaves or holes in bolls.
- Treatment: Apply organic or chemical treatments only when necessary and according to label instructions.
Step 6: Cotton Plant Growth Cycle
Understanding the cotton growth cycle will help you manage your plants effectively.
- Germination (7–10 days): The seeds sprout and grow into small seedlings.
- Vegetative Growth (4–6 weeks): The plant develops leaves and branches.
- Flowering (50–70 days): Large, attractive flowers bloom and then wither to form bolls.
- Boll Formation and Maturation (100–150 days): Cotton bolls develop and open, revealing the fluffy white fiber inside.
Step 7: Harvesting Cotton
The moment you’ve been waiting for: harvesting the cotton!
- When to Harvest:
- The bolls are ready to harvest when they naturally split open and the fibers become visible. This typically occurs in late summer or early fall.
- How to Harvest:
- Wear gloves to protect your hands from the sharp edges of the boll.
- Gently pull the cotton fibers out of the bolls by hand.
- After Harvest:
- Remove seeds from the cotton using a hand-rolling method or a small cotton gin if you have one.
- Store cotton fibers in a dry, well-ventilated area to prevent mold.
Step 8: Practical Uses for Homegrown Cotton
Once you’ve harvested your cotton, there are several creative ways to use it:
- Craft Projects: Use the fibers for DIY decorations or stuffing pillows.
- Spinning and Weaving: If you’re adventurous, try spinning the cotton into thread for small weaving projects.
- Composting: Any leftover plant material can be composted to enrich your soil.
Challenges and Solutions
Growing cotton at home is rewarding, but it comes with challenges:
- Long Growing Season: If your climate doesn’t provide enough frost-free days, start seeds indoors or use a greenhouse.
- Pests: Regular monitoring and organic pest control methods can prevent infestations.
- Legal Restrictions: In some regions, growing cotton requires a permit due to concerns about agricultural pests. Check local regulations before planting.
Conclusion
Growing cotton is more than just cultivating a plant—it’s an opportunity to connect with a crop that has been central to human civilization for centuries. While it requires patience and care, the satisfaction of harvesting your own fluffy cotton makes the effort worthwhile.
Ready to grow your own cotton garden? Let us know in the comments! Share your experiences, tips, and photos—we’d love to hear from you.

