
Chili peppers are not only a staple in many kitchens around the world but also a delightful plant to cultivate at home. They come in a variety of shapes, sizes, and heat levels, making them versatile for cooking and gardening enthusiasts alike. If you’re looking to grow your own chili peppers, this comprehensive guide will walk you through the entire process, from choosing the right variety to enjoying a bountiful harvest.
Introduction
Growing chili peppers at home can be a rewarding experience, offering not just the satisfaction of nurturing a plant but also the excitement of adding fresh, flavorful ingredients to your meals. Whether you want to grow mild jalapeños or fiery habaneros, understanding the specific needs of these plants is crucial for a successful harvest. This article will cover everything you need to know about growing chili peppers, including planting, caring for, and harvesting them.
1. Selecting the Right Variety
The first step in your chili pepper journey is choosing the right variety for your garden. Here are some popular options to consider:
- Jalapeño: Known for its mild heat, jalapeños are great for salsas and cooking. They typically reach maturity in about 70-80 days.
- Habanero: These peppers pack a punch with their intense heat and fruity flavor. They take around 90 days to mature.
- Bell Pepper: While technically not a chili pepper, bell peppers are sweet and versatile. They can be harvested green or allowed to ripen to red, yellow, or orange.
- Thai Chili: These small, slender peppers are commonly used in Asian cuisine and are known for their high heat level. They mature in about 75 days.
- Cayenne: Popular for drying and grinding into powder, cayenne peppers take around 70-80 days to mature.
Consider your climate, available space, and personal taste preferences when selecting the right variety.
2. Starting Seeds Indoors
Once you’ve chosen your variety, it’s time to start seeds. Most chili peppers benefit from an early start, especially in cooler climates. Here’s how to get started:
- Timing: Begin your seeds indoors 8-10 weeks before the last expected frost date in your area. This timing allows plants to establish before moving them outside.
- Containers: Use seedling trays, peat pots, or any small container with drainage holes. Fill them with a quality seed-starting mix to promote germination.
- Planting: Sow seeds about 1/4 inch deep and water gently. Keep the soil moist but not soggy.
- Temperature and Light: Chili peppers germinate best at temperatures between 70-85°F (21-29°C). Once they sprout, provide 12-16 hours of light daily using fluorescent grow lights or natural sunlight from a south-facing window.
3. Transplanting Seedlings
After 6-8 weeks, your seedlings will grow 2-3 true leaves, signaling it’s time to transplant them.
- Hardening Off: Before moving your seedlings outdoors, acclimate them to the outdoor environment. Gradually expose them to sunlight and wind over a week, starting with a few hours each day and increasing the time.
- Planting Outside: Choose a sunny spot in your garden with well-draining soil. Space your plants about 18-24 inches apart to allow for their growth.
- Soil Preparation: Enhance your soil with organic matter like compost or well-rotted manure to provide nutrients for your plants.
4. Watering and Fertilizing
Proper watering and fertilizing are essential for the health and productivity of your chili pepper plants.
- Watering: Chili peppers prefer consistently moist soil. Water deeply when the top inch of soil feels dry. Avoid waterlogging, which can lead to root rot.
- Fertilizing: Use a balanced fertilizer or organic compost every 4-6 weeks. A fertilizer high in phosphorus (the middle number in N-P-K) can encourage strong root development and fruit production.
5. Mulching for Moisture Retention
Applying a layer of mulch around your plants can provide several benefits:
- Moisture Retention: Mulch helps retain soil moisture, reducing the need for frequent watering.
- Weed Suppression: A layer of mulch can prevent weeds from competing with your plants for nutrients and water.
- Temperature Regulation: Mulch can keep the soil temperature consistent, protecting roots from extreme heat.
Consider using organic materials like straw, wood chips, or grass clippings for mulching.
6. Pest and Disease Management
Like all plants, chili peppers can be susceptible to pests and diseases. Here’s how to manage them:
- Common Pests: Watch for aphids, spider mites, and whiteflies. You can control these pests by introducing beneficial insects like ladybugs or using insecticidal soap.
- Diseases: Fungal diseases such as powdery mildew can affect your plants. Ensure good air circulation by spacing your plants properly and watering at the base of the plant to avoid wetting the foliage.
- Crop Rotation: Rotate your crops each year to reduce disease buildup in the soil.
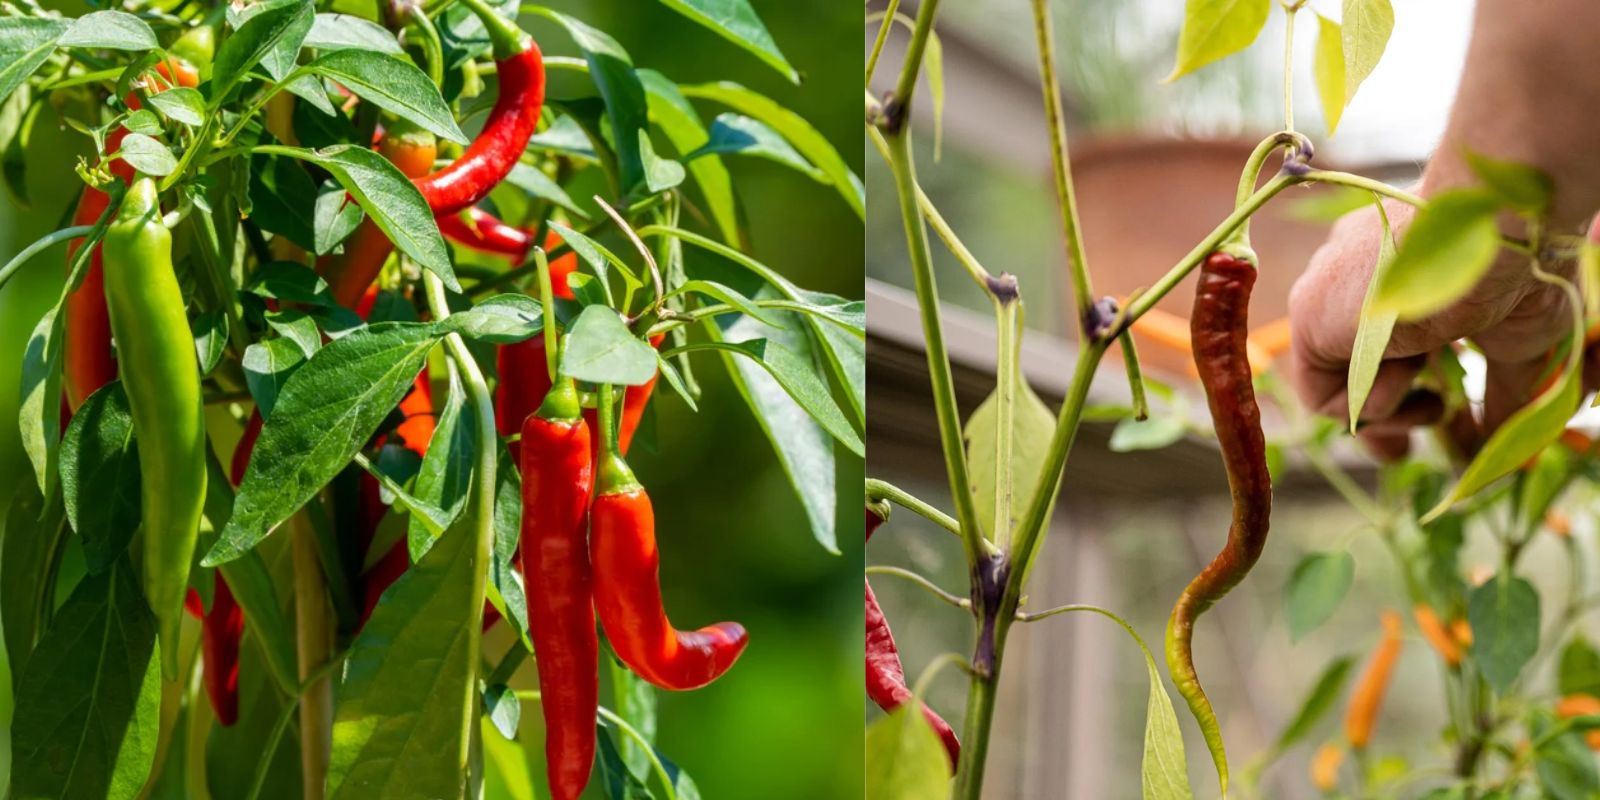
7. Harvesting Chili Peppers
After months of care, it’s finally time to enjoy your harvest! Here are some tips for harvesting:
- Timing: Most chili peppers are ready to harvest when they reach their full size and color, which varies depending on the variety. For instance, jalapeños are best harvested when they are firm and green, while habaneros should be picked when fully ripened to orange or red.
- How to Harvest: Use sharp scissors or garden shears to cut peppers from the plant, taking care not to damage the stem. Wear gloves if you’re harvesting hot peppers, as the oils can irritate your skin.
- Storage: Fresh chili peppers can be stored in the refrigerator for up to a week. For longer storage, consider drying, freezing, or pickling them.
8. Cooking with Your Chili Peppers
Once you’ve harvested your peppers, it’s time to enjoy them in your cooking! Here are a few ideas:
- Salsas: Combine chopped tomatoes, onions, cilantro, and diced chili peppers for a fresh salsa.
- Stuffed Peppers: Hollow out bell peppers and fill them with a mixture of rice, beans, and spices for a delicious meal.
- Chili Powder: Dry and grind your peppers to create your own chili powder.
- Hot Sauces: Blend fresh or cooked peppers with vinegar and spices to create homemade hot sauce.
Conclusion
Growing chili peppers at home is an enjoyable and fulfilling endeavor that brings the taste of fresh produce into your kitchen. With the right variety, proper care, and a little patience, you can cultivate a thriving chili pepper garden. Not only will you enhance your culinary experiences, but you will also gain the satisfaction of having grown these vibrant plants from seed to harvest. So grab your gardening tools and get started on this spicy adventure!
Call to Action
Ready to spice up your gardening routine? Start your chili pepper plants today and share your progress with friends and fellow gardeners. Don’t forget to use the hashtags below to connect with others on your gardening journey!
Hashtags: