
Introduction
Boxwood shrubs (Buxus spp.) are popular evergreen plants, prized for their dense foliage, adaptability, and ability to shape into hedges, borders, or topiary designs. Instead of purchasing new plants, you can propagate your own from cuttings, a cost-effective and rewarding method. In this guide, we’ll walk you through the process of growing boxwood from cuttings successfully.
Why Propagate Boxwood from Cuttings?
Growing boxwood from cuttings is beneficial for many reasons:
- Cost-Effective: Instead of buying multiple plants, you can propagate several from a single parent plant.
- Cloning Success: Cuttings ensure you get the exact variety and characteristics of the original plant.
- Faster Growth: Cuttings establish themselves faster compared to growing from seeds.
- Eco-Friendly: Reduces reliance on nurseries and commercial propagation methods.
Now, let’s dive into the step-by-step guide!
Best Time to Take Boxwood Cuttings
The best time to take boxwood cuttings is in late summer to early fall when the new growth has partially matured but is not yet woody. This stage, known as semi-hardwood, provides the best balance between flexibility and strength for successful root formation.
Materials You’ll Need
Before you begin, gather the following supplies:
- Sharp pruning shears or scissors
- A healthy, mature boxwood plant
- Small pots or seed trays
- Well-draining potting mix (a mix of perlite, peat moss, and sand works well)
- Rooting hormone (optional but recommended)
- Spray bottle for misting
- Clear plastic bag or humidity dome
- Watering can
Step-by-Step Guide to Propagating Boxwood from Cuttings
Step 1: Select Healthy Cuttings
Look for strong, disease-free branches that are at least 4 to 6 inches long. Cuttings should be semi-hardwood (neither too young nor too woody). Avoid stems with flowers or damaged leaves.
Step 2: Prepare the Cuttings
- Use sharp, sterilized shears to make a clean cut below a leaf node.
- Remove the lower leaves, keeping only a few at the top. This helps reduce moisture loss and encourages root growth.
- Trim the bottom at a 45-degree angle to increase the surface area for rooting.
Step 3: Apply Rooting Hormone (Optional but Recommended)
- Dip the cut end of the stem into rooting hormone powder or gel. This step accelerates root development and increases success rates.
- Tap off any excess hormone powder before planting.
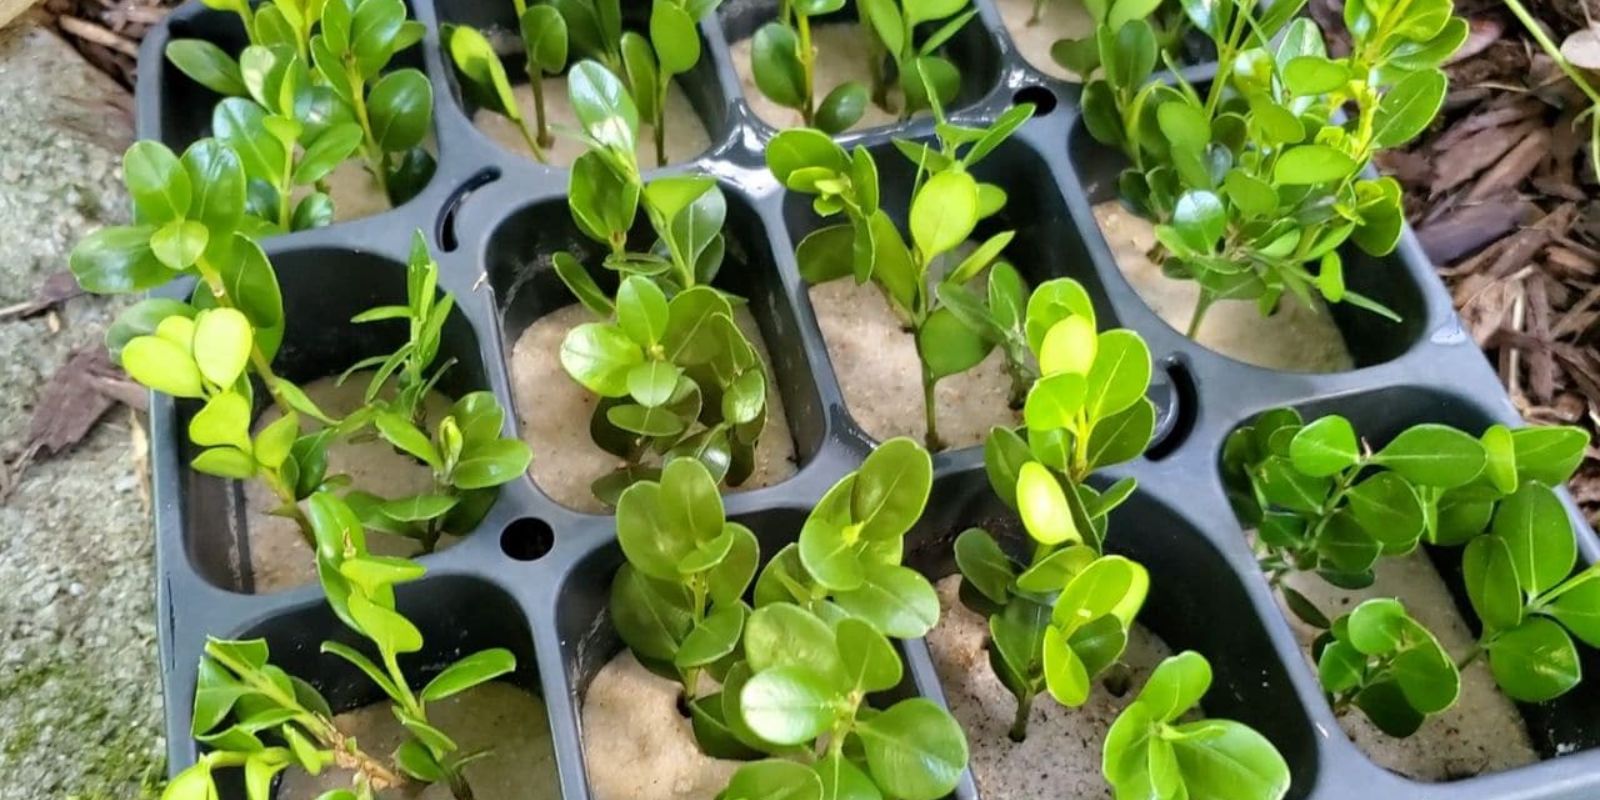
Step 4: Plant the Cuttings
- Fill small pots with a well-draining potting mix (peat moss, perlite, and sand).
- Create a small hole using a pencil or stick and insert the cutting about 2 inches deep.
- Gently press the soil around the cutting to ensure good contact.
Step 5: Provide the Right Growing Conditions
- Moisture: Keep the soil moist but not soggy by misting lightly every day.
- Humidity: Cover the pots with a clear plastic bag or humidity dome to retain moisture.
- Light: Place the cuttings in a bright, indirect light location (avoid direct sunlight to prevent drying out).
- Temperature: Maintain a warm temperature around 65-75°F (18-24°C).
Step 6: Monitor and Maintain the Cuttings
- Check regularly for moisture levels and mist when necessary.
- Avoid overwatering, as this can lead to rot.
- Remove any yellowing or rotting cuttings to prevent disease spread.
- After 4 to 6 weeks, gently tug the cuttings to check for resistance, which indicates root formation.
Step 7: Transplanting Rooted Cuttings
Once roots have developed (typically in 6-8 weeks), transplant them into individual pots filled with standard potting soil. Allow them to establish for a few months before transferring them to their final location in the garden.
Common Problems and Solutions
| Problem | Cause | Solution |
|---|---|---|
| Cuttings wilting | Lack of humidity | Increase misting and cover with a plastic dome |
| Cuttings turning black | Fungal infection | Ensure good air circulation and avoid overwatering |
| No root growth | Too much or too little moisture | Keep soil evenly moist but not waterlogged |
| Yellowing leaves | Poor drainage or excessive light | Use well-draining soil and provide indirect light |
Caring for Young Boxwood Plants
After transplanting, ensure your young boxwood plants receive proper care:
- Watering: Keep soil evenly moist but avoid waterlogging.
- Fertilizing: Apply a balanced, slow-release fertilizer every 2-3 months.
- Pruning: Lightly trim to encourage bushier growth.
- Sunlight: Place in a partially shaded to full-sun location.
Final Thoughts
Propagating boxwood from cuttings is a simple and rewarding way to grow new plants for your garden. By following the steps above, you can ensure a high success rate and enjoy lush, healthy boxwood shrubs in no time.
Have you tried growing boxwood from cuttings before? Share your experience in the comments below! 🌿✨
#BoxwoodPropagation #GardeningTips #GrowYourOwn #PlantPropagation #GreenThumb #GardeningLife