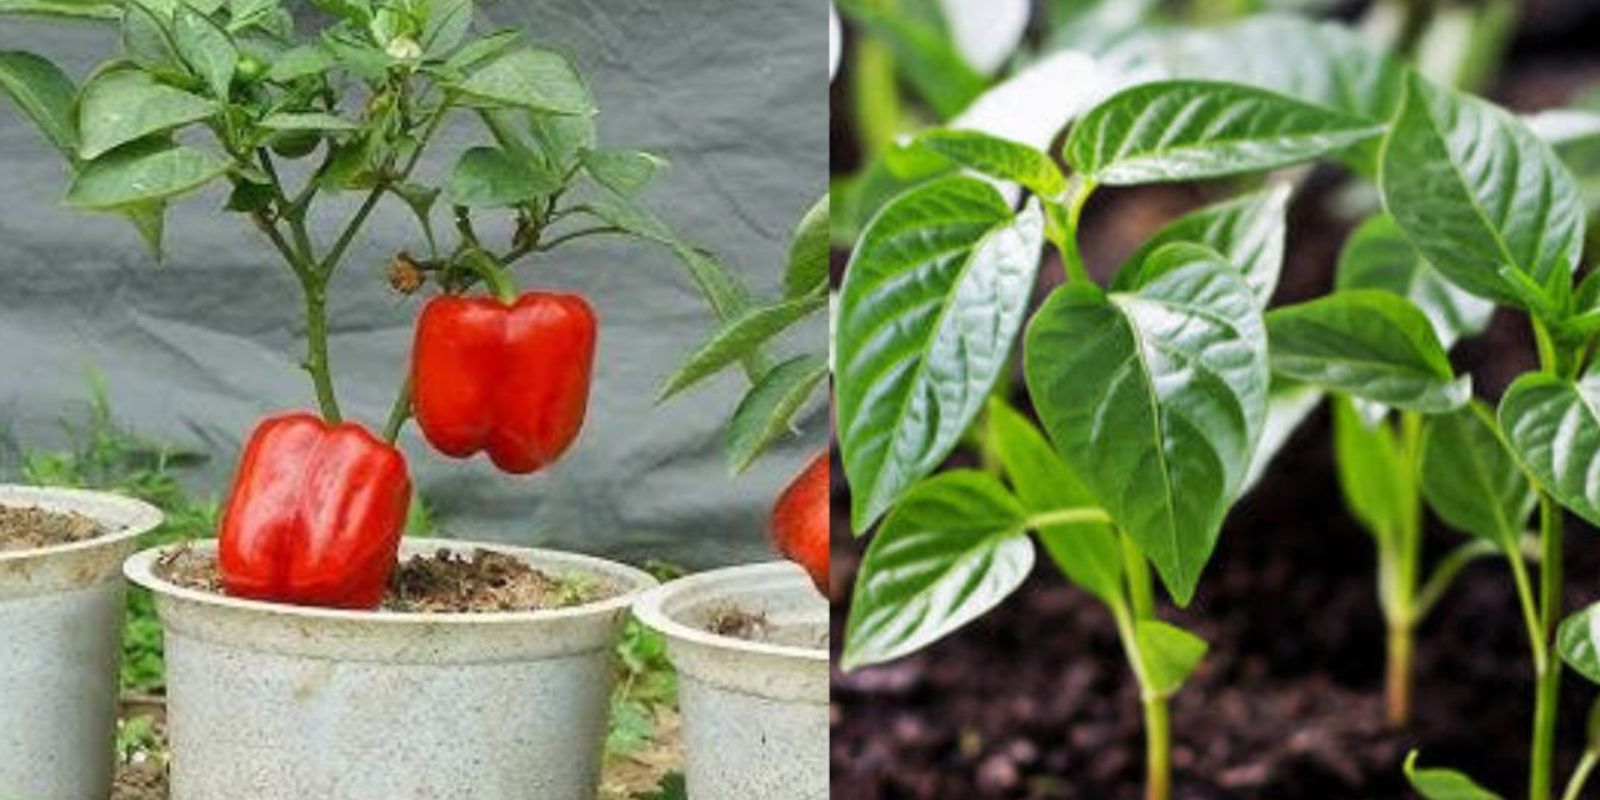
Bell peppers are a favorite among gardeners for their vibrant colors, crunchy texture, and versatility in the kitchen. What if you could grow these healthy delights at home while also making a positive environmental impact? Growing bell peppers in recycled plastic bottles is an innovative and eco-friendly approach, perfect for those with limited space or a passion for sustainability. This guide will walk you through the process step by step, ensuring you reap a bountiful harvest.
Why Use Recycled Plastic Bottles?
Plastic bottles are abundant and often discarded after use. Repurposing them as planters helps reduce plastic waste while providing a lightweight and convenient gardening solution. The transparent nature of the bottles also allows you to monitor soil moisture levels, ensuring proper hydration for your plants.
What You’ll Need
- A large plastic bottle (2-3 liters works best)
- Sharp scissors or a utility knife
- Potting soil mixed with compost
- Bell pepper seeds
- Watering can or spray bottle
- A sunny spot for your bottle planter
Step 1: Preparing the Bottle
Start by cutting the plastic bottle in half using scissors or a utility knife. The bottom half will serve as the planter. Poke 3-4 small drainage holes at the base to prevent waterlogging. The top half can be repurposed as a mini greenhouse to maintain humidity, especially during the seedling stage.
Step 2: Preparing the Soil
Bell peppers thrive in nutrient-rich, well-draining soil. Mix potting soil with compost to provide essential nutrients. Fill the bottom half of the bottle with the soil mixture, leaving about 2 inches of space at the top to avoid spillage when watering.
Step 3: Planting the Seeds
Plant 2-3 bell pepper seeds about 1/4 inch deep in the soil. Space them slightly apart to allow room for growth. Cover them lightly with soil and press gently to ensure good seed-to-soil contact.
Step 4: Watering and Creating a Greenhouse Effect
Water the soil gently to keep it moist but not soggy. Place the top half of the bottle (with the cap removed) over the planter to create a greenhouse effect. This will help retain warmth and humidity, promoting quicker germination.
Step 5: Placing the Planter
Choose a spot that receives at least 6-8 hours of sunlight daily. Bell peppers are sun-loving plants and require ample light for healthy growth. If growing indoors, place the bottle near a sunny window or under a grow light.
Step 6: Caring for Your Seedlings
Once the seeds germinate (usually within 1-2 weeks), remove the top half of the bottle to allow fresh air circulation. Thin out the weaker seedlings, leaving only the strongest one to continue growing.
- Watering: Check the soil regularly and water whenever it feels dry about an inch below the surface. Avoid overwatering, as bell peppers don’t like soggy roots.
- Fertilizing: After 3-4 weeks, feed the seedlings with a diluted liquid fertilizer every 2 weeks to promote healthy growth.
Step 7: Providing Support and Space
As your bell pepper plant grows, it may require additional support. Insert a small wooden stick or bamboo stake into the soil and loosely tie the stem with a soft string. If the plant outgrows the bottle, consider transplanting it into a larger container or garden bed.
Step 8: Pollination Tips
If growing indoors, you may need to assist with pollination. Gently shake the plant or use a small paintbrush to transfer pollen between flowers. This step is essential for fruit development.
Step 9: Harvesting Your Bell Peppers
Bell peppers take around 60-90 days to mature, depending on the variety. Harvest when the peppers are firm, shiny, and have reached their full color. Use scissors or pruners to avoid damaging the plant.
Tips for Success
- Use Quality Seeds: Opt for fresh, high-quality seeds to ensure a higher germination rate.
- Maintain Consistent Moisture: Uneven watering can lead to issues like blossom end rot.
- Rotate the Plant: If growing outdoors, rotate the bottle planter occasionally for even sunlight exposure.
- Recycle Multiple Bottles: Use several bottles to grow multiple plants, creating a mini garden with minimal effort.
Why This Method Works
Recycling plastic bottles for gardening is not only sustainable but also practical for urban gardeners or those with limited space. The compact design makes it easy to move plants indoors or outdoors, while the transparency of the bottle ensures you can monitor root and soil health.
Benefits of Growing Bell Peppers in Plastic Bottles
- Eco-Friendly: Reduces plastic waste by repurposing bottles.
- Space-Saving: Ideal for balconies, windowsills, or small patios.
- Cost-Effective: Requires minimal investment in materials.
- Fun and Educational: A great project for kids and beginners to learn about gardening and sustainability.
Encouraging a Greener Future
By growing bell peppers in recycled plastic bottles, you’re not only enjoying fresh, homegrown produce but also contributing to a more sustainable future. Imagine the impact if every gardener adopted similar practices—it’s a simple step toward reducing waste and making gardening accessible to all.
Conclusion
With just a plastic bottle, some seeds, and a bit of care, you can transform waste into nourishment. Growing bell peppers using this method is more than just gardening; it’s a creative and sustainable solution for modern living.
Ready to try this eco-friendly gardening hack? Share your progress and tips in the comments below! Let’s inspire others to join the green revolution!
#GrowBellPeppers #PlasticBottleGardening #SustainableGardening #UrbanFarming #DIYGarden #EcoFriendlyLiving #HomegrownVeggies #GardeningForAll #UpcyclingIdeas #GardeningHacks

