
Introduction
Capers are more than just a tangy addition to dishes; they are a versatile ingredient that brings a unique burst of flavor to Mediterranean cuisine. These small, green buds are harvested from the caper bush (Capparis spinosa), a hardy perennial known for its ornamental beauty and culinary value. Growing and using capers in your own garden can be a rewarding experience, providing you with a fresh supply of this gourmet ingredient. This guide will take you through the essential steps of cultivating caper bushes and making the most of your homegrown capers.
Choosing the Right Location
Understanding the Needs:
Capers thrive in specific conditions, making the choice of planting location crucial for a successful harvest. These plants prefer sunny, well-drained environments and are well-suited to hot, dry climates.
Selecting a Site:
- Sunlight: Ensure your caper bush receives full sun, ideally 6 to 8 hours of direct sunlight per day. The more sun exposure, the better the plant will perform.
- Soil: Opt for well-draining soil, as capers do not tolerate waterlogged conditions. Sandy or loamy soil with good drainage is ideal. Capers can tolerate poor soil conditions but will benefit from a slightly alkaline to neutral pH.
Planting Capers
Starting from Seeds or Plants:
Capers can be grown from seeds or young plants. Starting from seeds requires patience but can be a cost-effective way to grow your own caper bushes.
Planting Steps:
- Seeds: Start seeds indoors 8-12 weeks before the last frost date, or sow them directly in the garden once the danger of frost has passed. Scarify seeds by rubbing them with sandpaper or soaking them in water for 24 hours to improve germination.
- Young Plants: If you prefer a head start, purchase young caper plants from a nursery. Transplant them into your garden once the soil has warmed up and the risk of frost has passed.
- Spacing: Space plants 24-36 inches apart to accommodate their spreading growth. Capers can become quite large and need room to expand.
Watering and Care
Watering Guidelines:
Capers are drought-tolerant and require minimal watering once established. Overwatering can lead to root rot and other issues.
Watering Steps:
- Initial Watering: Water newly planted caper bushes thoroughly to help them establish their root system.
- Ongoing Care: Allow the soil to dry out between waterings. Capers prefer dry conditions and can suffer from excess moisture.
Maintenance Tips:
- Pruning: Prune caper bushes annually to maintain their shape and encourage bushy growth. Remove dead or diseased wood and any overly vigorous growth that could crowd the plant.
- Fertilization: Capers generally do not need heavy fertilization. A light application of compost or balanced fertilizer in the spring can support healthy growth but avoid over-fertilizing.
Harvesting Capers
Harvest Timing:
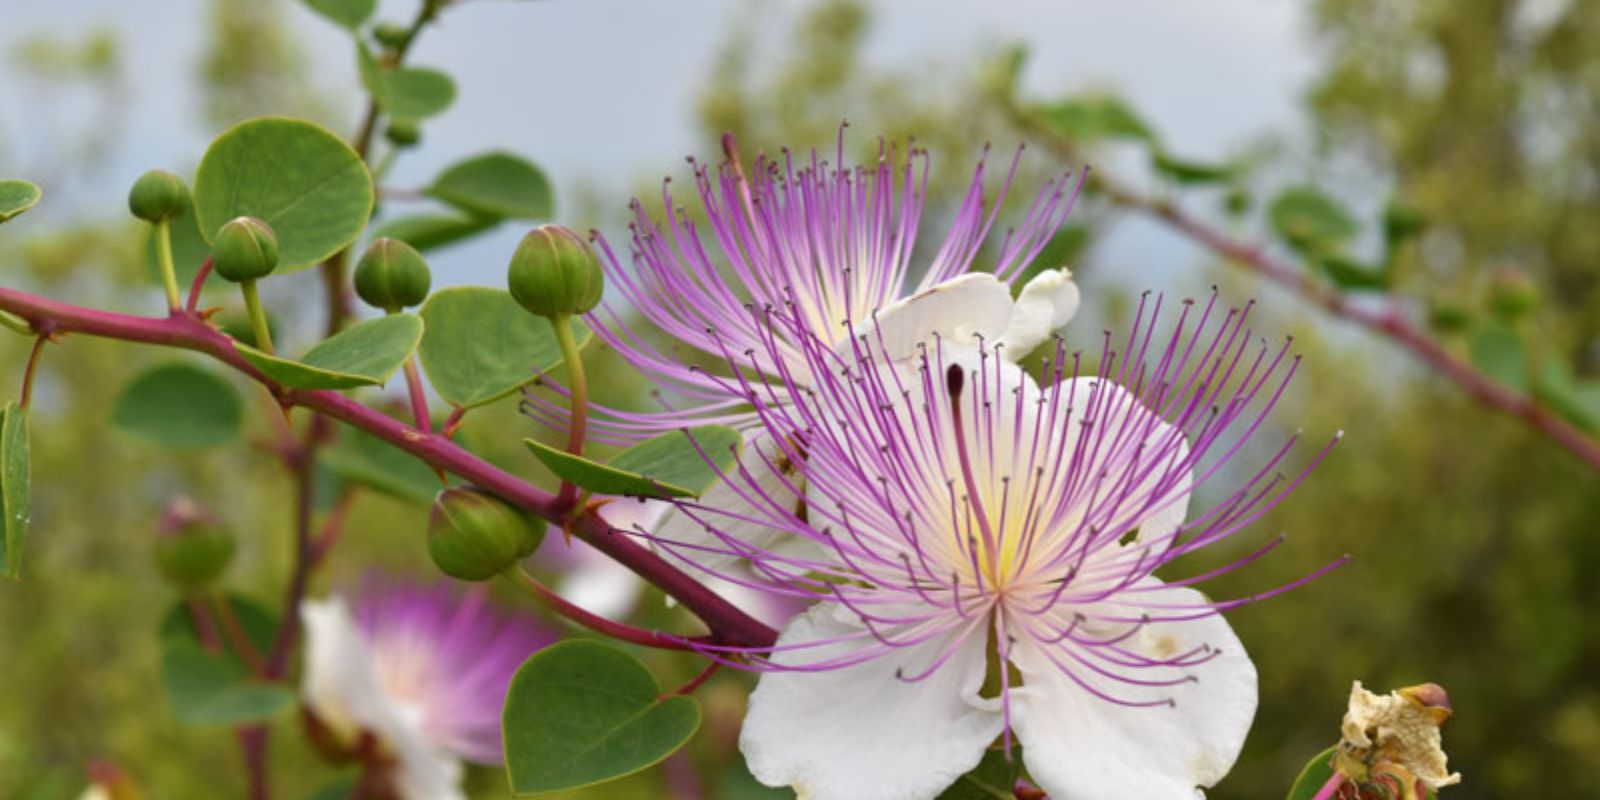
Capers are harvested for their unopened flower buds. The timing of the harvest is crucial to ensure the best flavor and quality.
Harvesting Steps:
- Buds: Pick caper buds when they are still small and tender, usually in late spring to early summer. Buds should be green and firm.
- Caperberries: If you prefer caperberries (mature fruits), wait until they have grown larger and are about the size of a marble. Harvest them once they turn green but before they ripen completely.
Preserving Capers:
To preserve capers, you can pickle them in a vinegar and salt solution. This process enhances their flavor and extends their shelf life. Simply pack the caper buds into sterilized jars, cover with the pickling brine, and store in a cool, dark place.
Using Capers in the Kitchen
Culinary Uses:
Capers are a versatile ingredient that can add depth and complexity to a variety of dishes. They are commonly used in Mediterranean cuisine, but their tangy flavor can enhance many recipes.
Recipe Ideas:
- Salads: Add capers to salads for a burst of flavor. They pair well with ingredients like olives, tomatoes, and cheese.
- Pasta: Toss capers with pasta dishes, especially those with seafood or tomato-based sauces.
- Sauces: Incorporate capers into sauces for meats and fish. They are a key ingredient in classic sauces like piccata.
Storage Tips:
Keep pickled capers in a sealed jar in the refrigerator. They can last for several months if stored properly. Dried capers should be kept in an airtight container in a cool, dry place.
Troubleshooting Common Issues
Pest and Disease Management:
Capers are relatively pest-resistant but can be susceptible to aphids and other insects. Regularly inspect your plants for signs of pests and use organic insecticides or neem oil if necessary.
Weather Considerations:
Capers are hardy but may struggle in extreme cold or excessively wet conditions. Protect plants from frost and ensure proper drainage to prevent waterlogging.
Conclusion
Growing and using capers is a delightful way to enhance your garden and culinary repertoire. By following these tips—from selecting the right location and planting to harvesting and using your capers—you can enjoy a successful caper crop that adds a unique flavor to your dishes. Start cultivating your caper bush today and discover the joys of homegrown gourmet ingredients! 🌿🌟