
Amaryllis (Hippeastrum spp.) is renowned for its dramatic, trumpet-shaped blooms that can transform any space into a vibrant display of color. While traditionally grown in soil, amaryllis can also thrive in water, offering a unique and eye-catching way to cultivate this stunning plant. Using plastic cups is a practical method to grow amaryllis in water, allowing you to enjoy the beauty of the plant while observing its roots develop. This article will provide a comprehensive guide to growing amaryllis in water with plastic cups, including detailed steps, tips, and troubleshooting advice.
Introduction
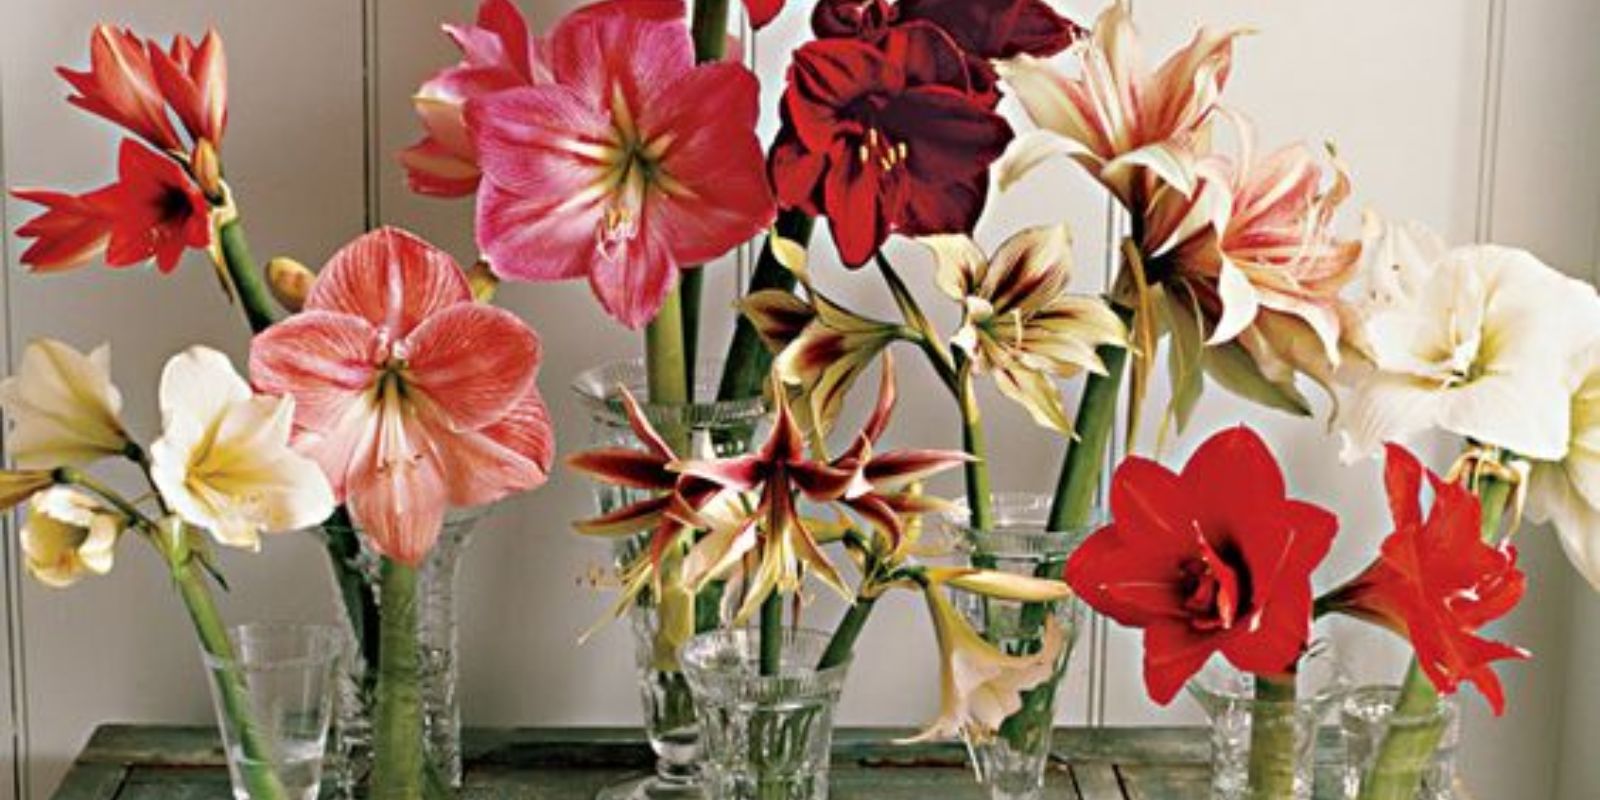
Amaryllis bulbs are popular for their striking flowers that can bloom in a range of colors, including red, white, pink, and striped varieties. Growing amaryllis in water not only provides a fascinating view of root development but also requires minimal space and resources. This method is perfect for those who want to enjoy amaryllis blooms indoors, especially during the colder months when outdoor gardening is limited.
Selecting the Right Bulb
1. Choose a Healthy Bulb
The success of growing amaryllis in water largely depends on the quality of the bulb.
Steps:
- Select a Large Bulb: Opt for a large, firm bulb that feels heavy for its size. This indicates that it has stored ample nutrients and will likely produce a strong plant.
- Inspect for Health: Ensure the bulb is free from mold, soft spots, or any signs of disease. A healthy bulb will have a smooth, papery outer skin.
Preparing the Plastic Cup
2. Use a Clear Plastic Cup
A clear plastic cup is ideal for this method as it allows you to observe the development of roots and monitor the water level.
Steps:
- Choose the Right Size: Select a plastic cup that is slightly larger than the bulb. It should provide enough room for the roots to grow without being overly spacious.
- Clean the Cup: Ensure the cup is clean and free from any residues that could affect the growth of the amaryllis.
Planting the Bulb
3. Position the Bulb in the Cup
Proper positioning of the bulb is crucial for its growth in water.
Steps:
- Place the Bulb: Position the bulb in the cup so that its base is in contact with the water. The top part of the bulb should remain above the waterline to prevent rotting.
- Add Water: Fill the cup with water until it reaches just below the base of the bulb. Avoid submerging the bulb completely, as this can lead to rot.
Caring for Your Amaryllis in Water
4. Provide Proper Light and Temperature
Amaryllis thrives in specific environmental conditions, even when grown in water.
Steps:
- Location: Place the cup in a bright, sunny spot. Amaryllis prefers indirect sunlight, so a location with filtered light or a south-facing window is ideal.
- Temperature: Maintain a temperature range of 68-75°F (20-24°C). Avoid placing the cup in drafty areas or near heating vents.
5. Maintain Water Levels
Regular monitoring and maintenance of water levels are essential for the health of your amaryllis.
Steps:
- Check Water Levels: Ensure the water level remains consistent. Add water as needed to maintain the appropriate level, keeping it just below the bulb’s base.
- Change Water: Replace the water every 1-2 weeks to prevent stagnation and reduce the risk of mold or algae growth.
Encouraging Blooms
6. Fertilize if Desired
While amaryllis can grow without fertilizer in water, adding nutrients can encourage more vigorous growth and abundant blooms.
Steps:
- Use a Balanced Fertilizer: Apply a balanced, water-soluble fertilizer every 4-6 weeks. Dilute the fertilizer to half strength to avoid over-fertilization.
- Follow Instructions: Adhere to the manufacturer’s instructions for the correct application rate.
Troubleshooting Common Issues
7. Addressing Problems
While growing amaryllis in water is relatively straightforward, you might encounter some common issues.
Steps:
- Root Rot: If you notice a foul smell or soft, brown roots, it may indicate root rot. Ensure the bulb is not submerged in water and that the cup is cleaned regularly.
- Leggy Growth: If the plant grows tall and spindly, it may not be getting enough light. Move the cup to a brighter location to encourage stronger growth.
- No Blooms: If the plant does not bloom, check for adequate light and temperature conditions. Sometimes, it may need a bit more time to flower.
Enjoying the Blooms
8. Celebrate the Blooms
Once your amaryllis starts to bloom, enjoy the stunning display of flowers.
Steps:
- Support the Stems: If the flower stalks become top-heavy, provide support to prevent them from bending or breaking. A simple stake or support can help.
- Cutting Flowers: If desired, you can cut the blooms to create beautiful floral arrangements. Simply snip the flower stalks when they are in full bloom.
Post-Bloom Care
9. Care After Blooming
After the amaryllis has finished blooming, you can care for it to prepare for future growth or dispose of it.
Steps:
- Allow Foliage to Die Back: Let the leaves die back naturally. This process allows the bulb to store energy for the next growing cycle.
- Store or Replant: If you wish to save the bulb for future use, remove it from the cup, clean it, and store it in a cool, dry place until the next planting season.
Conclusion
Growing amaryllis in water using plastic cups is an easy and rewarding way to enjoy this beautiful plant. By selecting a healthy bulb, preparing the right cup, and following proper care techniques, you can witness the impressive blooms and vibrant colors of amaryllis right in your home. This method not only provides a striking visual display but also offers an opportunity to observe the fascinating development of roots.
Motivation: Embrace the beauty and elegance of amaryllis in water and experience the joy of vibrant blooms with minimal effort and maximum impact! 🌺