Introduction
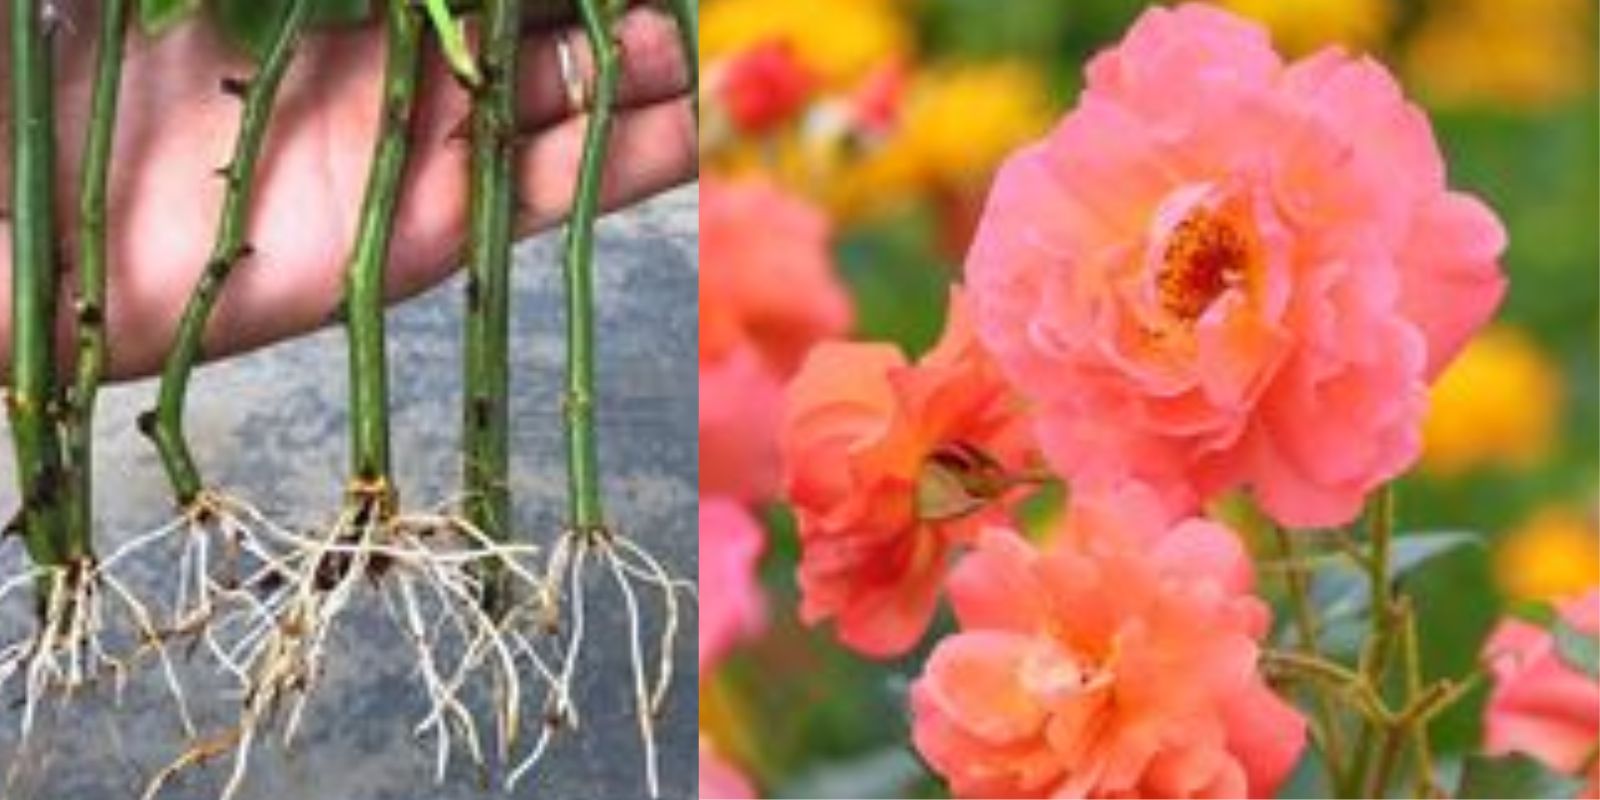
Creating a stunning rose garden filled with vibrant colors is a dream for many gardening enthusiasts. One of the most exciting ways to achieve this is through the art of grafting. This technique allows you to combine different rose varieties, resulting in beautiful multicolored blooms on a single plant. In this comprehensive guide, we’ll explore the step-by-step process of grafting roses, along with tips, tools, and the benefits of this rewarding gardening method.
Why Graft Roses?
1. Create Unique Hybrids
Grafting enables you to combine the best traits of different rose varieties. For instance, you can merge a disease-resistant rootstock with a stunning flowering variety, ensuring both beauty and resilience in your garden.
2. Maximize Space
If you have limited garden space, grafting allows you to grow multiple colors and varieties on a single plant, making your garden more diverse without taking up extra room.
3. Enhance Blooming Seasons
By grafting varieties that bloom at different times, you can extend the flowering season in your garden, ensuring continuous color and fragrance throughout the year.
Tools You’ll Need
Before diving into the grafting process, make sure you have the following tools on hand:
- Sharp Pruning Shears: Essential for making clean cuts.
- Grafting Tape or Rubber Bands: To secure the grafted sections together.
- Rooting Hormone: Encourages the graft to take root and heal faster.
- Sharp Knife or Grafting Knife: For precise cuts.
- Garden Gloves: To protect your hands during the process.
- Clean Cloth: To wipe tools and keep your workspace tidy.
Step-by-Step Guide to Grafting Roses
Step 1: Choose Your Varieties
Start by selecting healthy rose bushes of different colors that you want to graft together. Look for varieties that are compatible in terms of size, growth habit, and flowering times. Popular choices include hybrid teas, floribundas, and climbing roses.
Step 2: Prepare Your Tools
Before starting, ensure all your tools are clean and sharp to prevent infections. Disinfecting your tools with rubbing alcohol can help reduce the risk of disease transmission between plants.
Step 3: Make the Cut
A. Preparing the Scion
- Select a Healthy Stem: Choose a healthy stem from the desired rose variety that is about the thickness of a pencil.
- Cut the Stem: Using your sharp pruning shears, cut the stem at a 45-degree angle to create a slant that increases surface area for the graft.
B. Preparing the Rootstock
- Choose a Compatible Rootstock: Select a healthy rootstock that can support the scion. Common rootstocks include Rosa multiflora and Rosa canina.
- Make a Matching Cut: Cut the top of the rootstock in a similar 45-degree angle, ensuring that it matches the cut of the scion.
Step 4: Join the Scion and Rootstock
- Fit the Scion onto the Rootstock: Carefully align the cambium layers (the green layer beneath the bark) of the scion and rootstock. Good contact is crucial for a successful graft.
- Ensure Secure Contact: Press the two pieces together firmly but gently, ensuring there are no gaps.
Step 5: Secure the Graft
- Use Grafting Tape: Wrap grafting tape or a rubber band around the graft area, securing the scion to the rootstock. This holds them together and protects the graft from moisture loss and infection.
- Check for Stability: Ensure the graft is stable and the union feels secure.
Step 6: Care for Your Graft
A. Watering
After grafting, water the plant thoroughly to help the graft take hold. Keep the soil moist but not waterlogged.
B. Provide Shade
If possible, place the grafted plant in a shaded area for a few weeks to protect it from direct sunlight while it heals. Too much sun can stress the graft and hinder its growth.
C. Monitor for Growth
Keep an eye on the graft site for signs of growth. If the graft is successful, you’ll begin to see new shoots emerge from the scion within a few weeks.
Step 7: Remove the Grafting Tape
Once you see new growth on the grafted area and the plant starts to stabilize, carefully remove the grafting tape. This typically occurs about 4-6 weeks after grafting. Be gentle to avoid damaging the new growth.
Aftercare for Grafted Roses
1. Regular Watering
Continue to water your grafted rose regularly, especially during dry spells. Consistent moisture is vital for healthy growth.
2. Fertilization
Once your grafted plant shows signs of vigorous growth, start fertilizing it with a balanced rose fertilizer. Follow the manufacturer’s instructions for the best results.
3. Pruning
After the graft has taken hold and the new shoots have developed, prune away any unwanted growth from the rootstock to encourage the scion to thrive. This will help the plant focus its energy on producing beautiful blooms.
4. Pest and Disease Management
Monitor your grafted roses for pests and diseases. Regularly inspect the leaves and stems, and treat any issues promptly to ensure the health of your plants.
Benefits of Grafting Roses
1. Increased Disease Resistance
By selecting a robust rootstock, you can significantly improve the disease resistance of your grafted rose. This is especially important in areas prone to specific rose diseases.
2. Aesthetic Appeal
Grafting allows you to create breathtaking combinations of colors and shapes, adding visual interest to your garden and making it a unique showcase of your gardening skills.
3. Experimentation
Grafting encourages experimentation with various combinations, leading to unexpected and beautiful results. Each graft can teach you something new about rose cultivation and plant care.
Conclusion
Grafting roses of different colors is a rewarding endeavor that not only enhances your garden’s beauty but also deepens your connection to the art of gardening. With just a few steps, you can create a stunning display of multicolored blooms that reflect your creativity and passion for plants. So gather your tools, choose your favorite rose varieties, and embark on this exciting journey to transform your garden into a vibrant paradise! Happy grafting!


