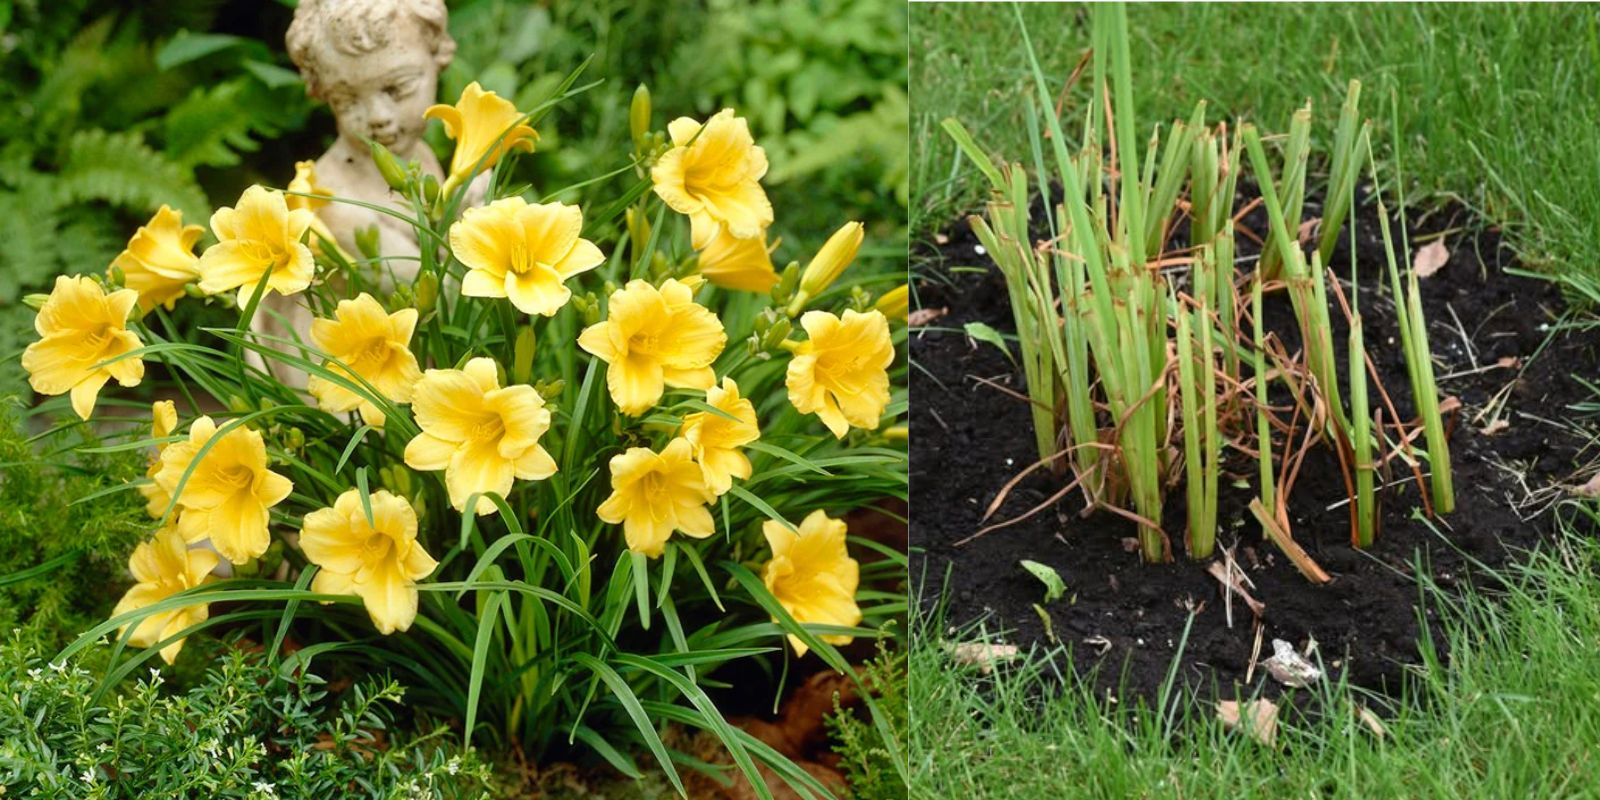
Daylilies (Hemerocallis) are a gardener’s dream—hardy, low-maintenance, and stunningly beautiful. With their trumpet-shaped blooms in an array of colors, they light up gardens effortlessly. But if you want your daylilies to come back stronger and more vibrant each year, a little attention during the off-season is crucial. This guide will walk you through everything you need to do now to ensure your daylilies thrive next year.
Why Prepare Daylilies for Next Year?
Daylilies are resilient, but like any plant, they need care to maintain their vigor. Regular maintenance can:
- Boost flower production.
- Prevent pest and disease issues.
- Encourage healthier roots and foliage.
- Extend the lifespan of your plants.
By addressing a few key tasks, you’ll set the stage for a flourishing garden next summer.
1. Deadhead Spent Blooms
Deadheading is the practice of removing faded flowers from your plants. While daylilies are known as “self-cleaning,” meaning spent blooms naturally drop off, it’s still beneficial to intervene. Here’s why:
- Redirects Energy: Instead of forming seeds, the plant channels energy back to its roots.
- Tidier Appearance: Deadheading keeps the plant looking neat and prevents rotting blooms from attracting pests.
How to Deadhead:
Pinch or snip off each bloom just below the flower head. Do this daily or as blooms fade.
2. Trim Foliage
As fall approaches, the foliage of daylilies begins to yellow and die back. Cutting back this foliage helps:
- Prevent Disease: Decaying leaves can harbor fungal infections and pests.
- Encourage Dormancy: Trimming signals to the plant that it’s time to rest for the winter.
How to Trim:
Use clean, sharp scissors or garden shears to cut back leaves to about 4–6 inches above the soil line.
3. Divide Overcrowded Clumps
Daylilies multiply over time, forming dense clumps that can compete for nutrients and space. Dividing them ensures:
- Healthy Growth: Crowded plants can become weak and bloom less.
- More Plants: Dividing gives you new plants to replant or share.
When and How to Divide:
- Do this in late summer or early fall.
- Dig up the clump, then use a spade or garden fork to separate it into smaller sections, each with 3–4 fans of leaves.
- Replant immediately in a sunny spot with well-draining soil.
4. Apply Organic Mulch
A layer of mulch is a simple but effective way to protect daylilies during the winter. Mulching helps:
- Insulate Roots: Keeps soil temperatures stable.
- Retain Moisture: Prevents the roots from drying out during cold months.
How to Mulch:
Spread 2–3 inches of organic mulch (e.g., shredded bark, straw, or leaf compost) around the base of the plant, leaving a small gap around the crown to prevent rot.
5. Fertilize Before Dormancy
Fall is the perfect time to give your daylilies a nutrient boost. Fertilizing now strengthens their roots, preparing them for next season’s growth.
Best Fertilizers for Daylilies:
- Use a slow-release, balanced fertilizer (10-10-10 or 12-12-12).
- Avoid high-nitrogen formulas, as they encourage leafy growth instead of root health.
How to Apply:
Sprinkle the fertilizer around the base of the plant, keeping it a few inches away from the crown, and water it in thoroughly.
6. Water Deeply Before Winter
Although daylilies are drought-tolerant, they still benefit from deep watering before the ground freezes. This:
- Prevents Dehydration: Ensures roots have enough moisture during dormancy.
- Encourages Root Health: Supports root systems in absorbing nutrients from the soil.
Watering Tip:
Water slowly and deeply to saturate the soil without overwatering.
7. Inspect for Pests and Diseases
Daylilies are generally resistant to pests and diseases, but occasional issues like aphids or crown rot can arise. Inspecting your plants now helps:
- Catch Problems Early: Prevents small issues from worsening.
- Protect Nearby Plants: Reduces the spread of pests or diseases to other garden plants.
What to Look For:
- Check for yellowing leaves, spots, or mushy crowns (a sign of rot).
- Treat infestations with insecticidal soap or neem oil, and remove any diseased foliage.
8. Clean Up the Bed
A clean garden bed is a healthy garden bed. Clearing debris helps:
- Discourage Pests: Rodents and insects often overwinter in plant debris.
- Reduce Disease Risk: Fungal spores and bacteria can linger in dead plant matter.
How to Clean:
Rake away fallen leaves, stems, and other debris, and compost healthy materials. Dispose of any diseased plant matter.
9. Plan for Next Year
Now is a great time to evaluate your daylily bed and plan for improvements:
- Consider adding new varieties for a splash of color.
- Adjust the spacing of your plants to improve air circulation.
- Make a note of any fertilizers or mulches that worked well this season.
A Final Note on Winter Care
In colder climates, additional protection may be necessary. Cover daylilies with burlap or frost blankets if extreme temperatures are expected. For milder climates, the steps above should suffice to keep your plants healthy and ready for spring.
💬 Get Involved:
Do you have any tips for prepping daylilies for winter? Share your secrets in the comments below and let’s learn from each other! 🌼
#DaylilyCare #GardenTips #PerennialPlants #FlowerGarden #GardeningHacks #PlantLovers #FallGardenCare #EasyGardening #GrowBeautifully #GardenLove

