
Container gardening is an incredibly rewarding way to grow plants, whether you’re cultivating vegetables, flowers, or even small trees. It’s especially popular among urban dwellers and those with limited outdoor space. However, one of the key elements to successful container gardening is providing the right nutrients at the right time. In this comprehensive guide, we will walk you through the four essential steps to fertilizing container gardens for vibrant, healthy plants and abundant yields.
Why is Fertilizing Important in Container Gardening?
Before we dive into the steps, it’s essential to understand why fertilization is crucial for container gardens. Plants grown in containers rely on a limited amount of soil, and over time, they can deplete the nutrients in the potting mix. Unlike in-ground plants, container-grown plants can’t extend their roots to find more nutrients. Therefore, regular fertilization is vital to provide the necessary nutrients that promote strong root development, lush foliage, and productive yields.
Step 1: Choose the Right Fertilizer
The first step to successful container gardening is selecting the right type of fertilizer. The choices can be overwhelming, but understanding the basics will help you pick the most suitable option for your plants.
Types of Fertilizers:
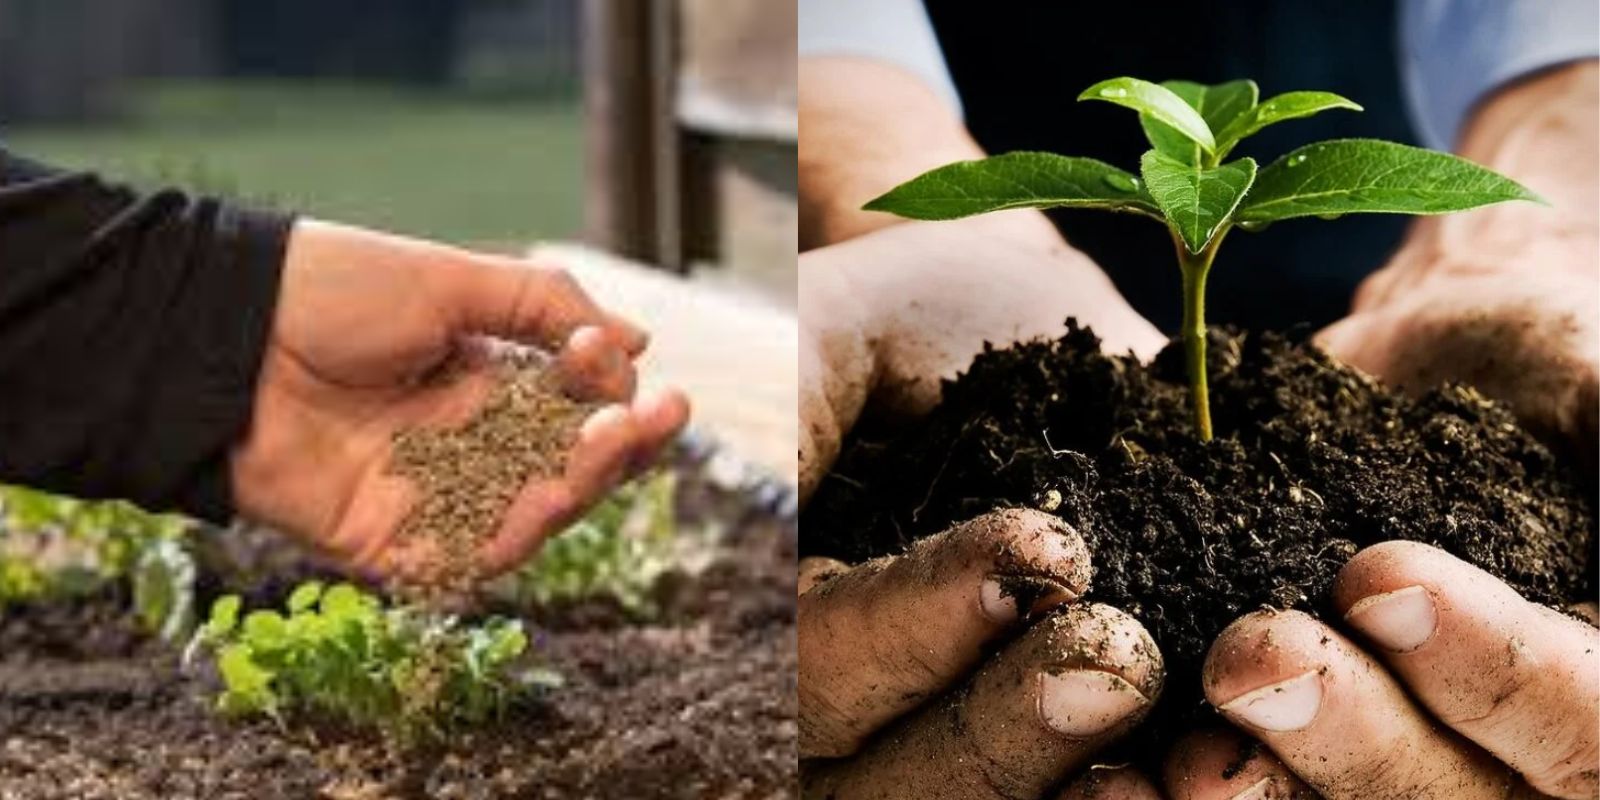
- Slow-Release Fertilizers: These are perfect for container gardens because they gradually release nutrients over time. Granules or pellets are incorporated into the potting mix, providing a steady supply of nutrients for 3-4 months.
- Liquid Fertilizers: These are fast-acting and can be applied as a water-soluble solution. Liquid fertilizers work quickly, providing an instant nutrient boost but need to be reapplied every couple of weeks.
- Organic Fertilizers: Compost, worm castings, fish emulsion, and seaweed extracts are popular organic options that provide a range of micronutrients and improve the soil structure. They release nutrients more slowly than synthetic fertilizers and are environmentally friendly.
Balanced Fertilizer Ratios:
Look for a balanced fertilizer with equal ratios of nitrogen (N), phosphorus (P), and potassium (K), often labeled as N-P-K on the packaging. A balanced fertilizer (e.g., 10-10-10) supports overall plant health by encouraging root growth, leaf production, and flowering. However, some plants may have specific needs:
- High Nitrogen Fertilizers for leafy vegetables like lettuce and spinach.
- High Phosphorus Fertilizers for blooming flowers and fruiting vegetables.
Step 2: Apply Fertilizer at Planting
Proper fertilization starts from the moment you plant your container garden. When filling your pots with potting mix, mix in some slow-release granular fertilizer to give your plants an immediate and steady supply of nutrients. This step is crucial as it ensures that your plants get off to a strong start and establish a healthy root system.
How to Incorporate Fertilizer at Planting:
- Select a high-quality, well-draining potting mix that is appropriate for the types of plants you are growing.
- Measure the recommended amount of slow-release fertilizer based on the size of the container and the type of plants you are growing (refer to the package instructions).
- Mix the fertilizer thoroughly into the potting soil before placing it into the container. Avoid direct contact between the fertilizer granules and the plant roots, as this can cause root burn.
- Water the soil well after planting to activate the fertilizer and help it begin releasing nutrients.
Step 3: Provide Regular Fertilizer Boosts
Even though you’ve added slow-release fertilizer at the time of planting, container plants typically need more frequent feeding than plants grown in the ground. The reason for this is that container plants are watered more often, and the nutrients can leach out of the soil more quickly. Therefore, it’s essential to supplement with additional fertilizer every 2-4 weeks throughout the growing season.
How to Feed Your Container Plants:
- Use a water-soluble liquid fertilizer diluted to half the recommended strength. This ensures that your plants receive a gentle nutrient boost without the risk of over-fertilization.
- Apply the diluted fertilizer directly to the soil when watering your plants, ensuring even coverage. You can also apply a foliar feed by spraying the leaves with a diluted fertilizer solution to provide an additional boost.
- For flowering and fruiting plants, you can switch to a bloom-specific fertilizer (with a higher phosphorus content) when buds appear to encourage larger and more abundant blooms.
- Continue feeding your plants every 2-4 weeks, adjusting the frequency based on the type of plants you are growing and their nutrient needs.
Signs of Under-Fertilization:
- Yellowing leaves: This could indicate a lack of nitrogen or other essential nutrients.
- Stunted growth: If your plants seem to be growing slowly or producing fewer flowers and fruits than expected, they may need more nutrients.
- Pale or weak plants: If your plants look pale or weak, they are likely nutrient-deficient.
Step 4: Monitor and Adjust Fertilization
The final step to successfully fertilizing your container garden is to monitor your plants’ progress and adjust your fertilization routine as needed. Every plant has unique nutrient requirements, and external factors such as weather and watering frequency can affect how much fertilizer is needed.
How to Monitor Your Plants:
- Check for signs of nutrient deficiencies regularly. If you notice yellowing leaves, slow growth, or poor flowering, your plants may need additional feeding. On the other hand, dark green, lush foliage may indicate that your plants are getting enough nutrients.
- Adjust fertilization during different growth stages. For example, leafy plants like lettuce and spinach benefit from high nitrogen fertilizers during early growth, while flowering and fruiting plants need more phosphorus and potassium as they mature.
- Be cautious of over-fertilizing. Over-fertilization can lead to nutrient burn, characterized by brown or yellow leaf tips, or excessive salt buildup in the soil. If you suspect over-fertilization, flush the soil with plenty of water to leach out the excess nutrients.
- Adapt to weather changes. Hot, dry conditions may require more frequent watering, which can wash nutrients out of the soil faster. In cooler weather, plants may need less frequent feeding.
Common Mistakes to Avoid in Fertilizing Container Gardens
Over-fertilizing:
More isn’t always better. Over-application of fertilizer can lead to salt buildup in the soil, which can harm your plants. It can also cause plants to produce too much foliage at the expense of flowers and fruits. Always follow the recommended dosage for fertilizers, and when in doubt, it’s safer to under-fertilize than over-fertilize.
Skipping Fertilization:
Some gardeners rely on potting mix alone to provide nutrients, which can work for a short period. However, after a few weeks, the nutrients in the soil will be depleted, leaving your plants hungry and unable to thrive. Regular feeding is essential for maintaining healthy growth.
Ignoring the Type of Plant:
Different plants have different nutrient needs. Fruiting plants like tomatoes and peppers require more phosphorus and potassium, while leafy greens benefit from higher nitrogen. Be sure to tailor your fertilization to the specific needs of your plants.
Conclusion
Fertilizing container gardens is a simple yet essential practice to ensure your plants are healthy, productive, and vibrant. By following these four steps—choosing the right fertilizer, incorporating it at planting, providing regular fertilizer boosts, and monitoring your plants—you can create an ideal environment for your container-grown plants to thrive. Whether you’re growing flowers, herbs, or vegetables, consistent fertilization will reward you with lush growth and bountiful harvests.
Now that you’re equipped with these essential tips, it’s time to bring out the best in your container garden! 🌱🌸
#ContainerGardening #GreenThumbGoals #DIYGarden #FertilizerHacks #UrbanGardening #GardeningTips