
Introduction
Chickpeas, also known as garbanzo beans, are a staple in many diets around the world due to their rich nutrient profile and versatility. Whether you’re aiming to make hearty soups, flavorful hummus, or nutritious salads, growing your own chickpeas can be a rewarding experience. With the right care and attention, you can cultivate a successful crop in your home garden. This comprehensive guide will provide you with essential tips for growing chickpeas, from soil preparation to harvesting, ensuring a bountiful and healthy harvest.
1. Choose the Right Variety
Understanding Varieties: There are primarily two types of chickpeas: Desi and Kabuli. Desi chickpeas are smaller, darker, and have a rough coat, while Kabuli chickpeas are larger, lighter in color, and smoother. Kabuli varieties are often preferred for their taste and size, but Desi varieties are more drought-resistant and suitable for certain climates.
How to Choose:
- Climate Suitability: Select a variety suited to your local climate. Kabuli types thrive in moderate climates, while Desi types can handle drier conditions.
- Culinary Preference: Consider your culinary needs. Kabuli types are great for cooking and salads, while Desi types are better for dishes like curry.
2. Prepare the Soil
Soil Requirements: Chickpeas thrive in well-draining soil with a slightly acidic to neutral pH, ideally between 6.0 and 7.0. They prefer sandy loam or loamy soil that allows for proper root development and drainage.
Soil Preparation Steps:
- Test Soil pH: Use a soil test kit to ensure the pH is within the ideal range. Amend soil if necessary to adjust pH levels.
- Improve Drainage: If your soil is clay-heavy, improve drainage by adding organic matter such as compost or well-rotted manure. This helps prevent waterlogging, which can lead to root rot.
- Till the Soil: Loosen the soil to a depth of about 8 to 10 inches (20-25 cm) to facilitate root growth and improve aeration.
3. Plant at the Right Time
Timing is Crucial: Chickpeas are a cool-season crop and should be planted in early spring, after the last frost date. They require soil temperatures of at least 50°F (10°C) to germinate and grow effectively.
Planting Steps:
- Direct Sowing: Sow seeds directly into the garden when the soil has warmed up. Plant seeds about 1 inch (2.5 cm) deep.
- Spacing: Space seeds approximately 1 inch (2.5 cm) apart within rows. Space rows about 18 to 24 inches (45-60 cm) apart to allow for plant growth and air circulation.
- Frost Protection: If you live in an area with late frosts, consider using row covers to protect young seedlings.
4. Watering
Watering Needs: Chickpeas require moderate watering. Overwatering can lead to root rot, while too little water can stress the plants and reduce yields. It’s important to strike the right balance.
Watering Guidelines:
- Initial Watering: Water the plants thoroughly after sowing seeds to help with germination.
- Ongoing Watering: Keep the soil consistently moist but not waterlogged. Allow the top inch of soil to dry out between waterings.
- Adjust for Weather: During periods of heavy rain, reduce watering. In hot, dry conditions, increase watering but ensure good drainage.
5. Provide Support and Care
Plant Growth: Chickpeas can grow tall and may require some support to prevent them from falling over. Proper care is essential for healthy plants and optimal yields.
Care Tips:
- Support Plants: Use stakes or cages if necessary to support taller plants and prevent them from sprawling.
- Weed Control: Keep weeds under control as they compete with chickpeas for nutrients and water. Mulch around plants can help suppress weeds.
- Pest and Disease Management: Monitor plants for common pests such as aphids or spider mites and diseases like root rot or blight. Use organic or chemical treatments as needed.
6. Harvesting
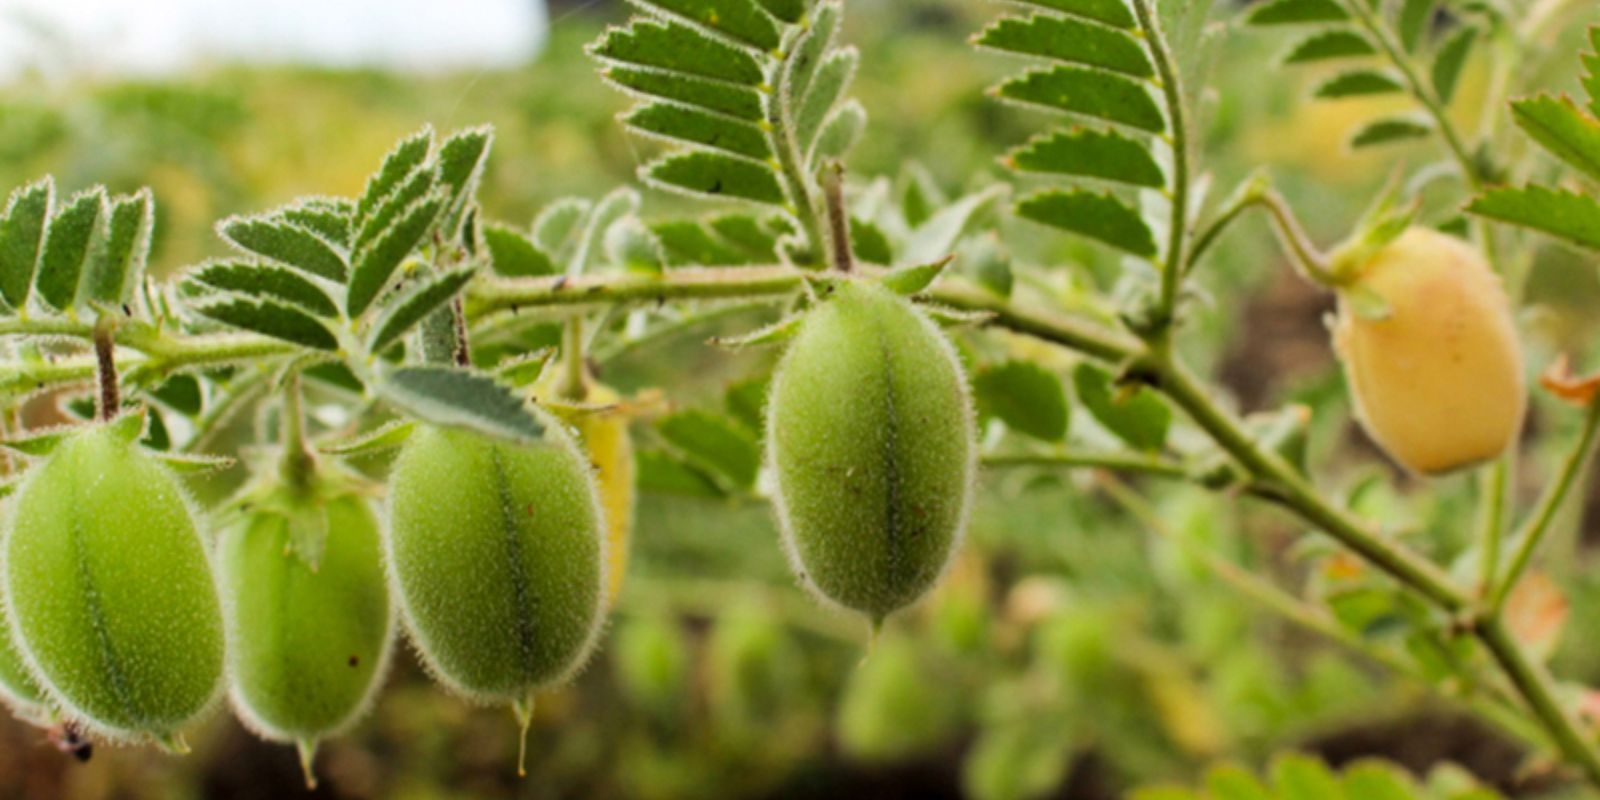
When to Harvest: Chickpeas are ready for harvest when the plants begin to yellow and the pods are dry. The timing of the harvest is crucial for ensuring high-quality beans.
Harvesting Steps:
- Check Pods: Test a few pods to ensure they have dried out and the beans inside are firm. The pods should rattle when shaken.
- Harvest Carefully: Pull up the entire plant or cut it at the base. Allow the plants to dry further if needed.
- Shell the Beans: Once fully dry, remove the beans from the pods. Store beans in a cool, dry place until ready for use.
7. Storing Chickpeas
Storage Tips: Proper storage extends the shelf life of chickpeas and keeps them fresh for future use.
Storage Guidelines:
- Dry Storage: Store dried chickpeas in airtight containers in a cool, dark place. They can last for several months to a year.
- Freezing: For longer storage, consider freezing chickpeas. Place dried beans in freezer-safe bags or containers.
Conclusion
Growing chickpeas can be a fulfilling and profitable addition to your garden. By following these tips—choosing the right variety, preparing the soil, planting at the optimal time, providing proper care, and harvesting correctly—you’ll be well on your way to a successful chickpea crop. With patience and attention to detail, you can enjoy the many benefits of homegrown chickpeas, from delicious meals to the satisfaction of growing your own nutritious legumes. Start your chickpea journey today and watch your garden thrive! 🌱🌾