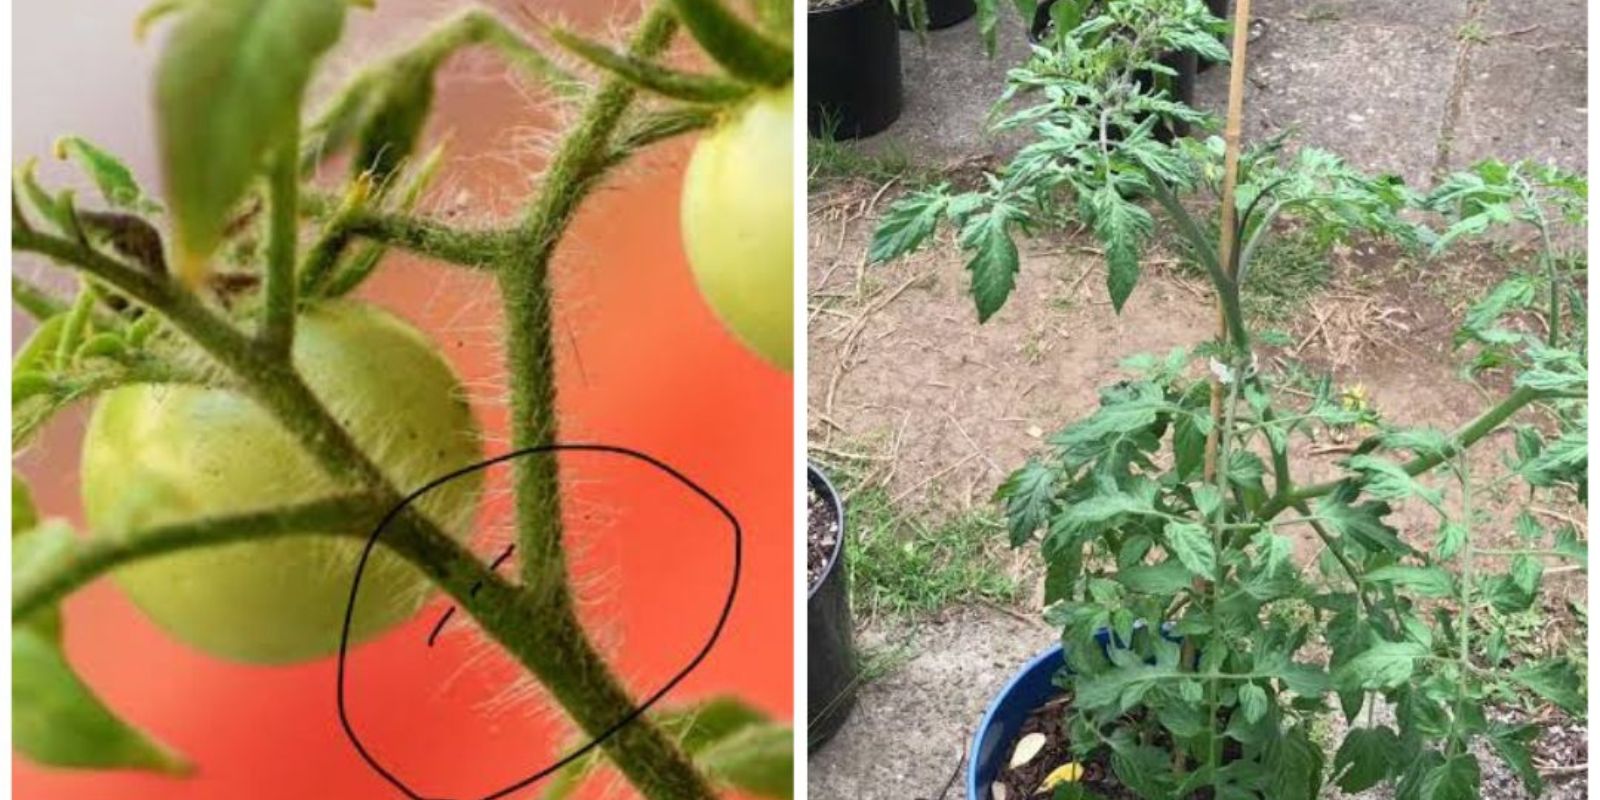
Tomatoes are a staple crop for home gardeners, providing endless possibilities for delicious recipes. But did you know you can multiply your tomato plants infinitely without starting from seeds? Propagating tomatoes through cuttings is a quick and efficient method to grow new plants. Whether you’re a seasoned gardener or a beginner, this guide will teach you everything you need to know about multiplying tomato plants.
Why Multiply Tomato Plants from Cuttings?
Starting tomatoes from seeds requires time, patience, and precise conditions. However, cuttings bypass the germination process, allowing you to grow new plants in a fraction of the time. This method ensures the new plant retains the genetic traits of the parent plant, guaranteeing the same quality of tomatoes. Plus, it’s cost-effective and environmentally friendly, as you’re reusing parts of an existing plant.
Materials You’ll Need:
- Healthy tomato plants
- Sharp scissors or pruning shears
- Hydrogen peroxide or rubbing alcohol (for sterilizing tools)
- Small pots
- Universal potting soil
- Watering can
Step-by-Step Guide to Multiplying Tomato Plants
1. Sanitize Your Tools
Before making any cuts, it’s crucial to sterilize your scissors or pruning shears. This prevents the spread of diseases between plants. Use hydrogen peroxide or rubbing alcohol and thoroughly clean the blades.
2. Choose the Right Branch
Select a healthy, robust branch from the tomato plant. Ideally, choose a branch without flowers or fruit, as it will focus its energy on root development. The branch should be about 6–8 inches long and include a few leaf nodes (the small bumps where leaves grow).
3. Prepare the Cutting
Using your sanitized scissors, cut the branch at a 45-degree angle just below a leaf node. Remove any secondary leaves or small branches from the lower half of the cutting. This reduces the plant’s energy expenditure and encourages faster root growth.
4. Plant the Cutting
Fill a small pot with universal potting soil that’s well-draining and nutrient-rich. Moisten the soil before planting. Insert the cutting into the soil, ensuring at least two nodes are buried. Firmly press the soil around the cutting to secure it in place.
5. Water Thoroughly
After planting the cutting, water it generously to ensure the soil is evenly moist. Proper hydration is key to root development, but avoid waterlogging, as it can cause rot.
6. Create a Humid Environment
To encourage root growth, maintain high humidity levels around the cutting. You can cover the pot with a clear plastic bag or place it in a propagator. Ensure the cutting gets indirect sunlight, as direct exposure can stress the plant.
7. Monitor and Wait
Within 10–12 days, roots will begin to develop. During this period, keep the soil moist and remove any yellowing leaves. Check for resistance when gently tugging on the cutting; if it resists, roots have started to grow.
8. Transplant to a Larger Pot
Once the cutting develops a healthy root system, it’s ready to be transplanted. Move it to a larger pot with enough space for the roots to expand. Use high-quality potting soil and water thoroughly after transplanting.
9. Care for the New Plant
Treat the new plant like any other tomato plant. Provide adequate sunlight, water, and nutrients. As the plant matures, stake it for support and prune regularly to encourage healthy growth.
Tips for Success
- Timing: Perform this propagation method during the growing season (spring or early summer) for the best results.
- Soil Quality: Use nutrient-rich, well-draining soil to ensure the cutting receives the necessary nutrients.
- Avoid Overwatering: While moisture is essential, excessive water can lead to rot. Allow the top layer of soil to dry slightly between waterings.
- Fertilize Sparingly: Once the cutting establishes roots, use a balanced fertilizer to support growth. Avoid over-fertilizing, as it can damage young roots.
Why This Method Works for Cherry Tomatoes
Cherry tomatoes, like their larger counterparts, thrive using this propagation technique. Their smaller size and faster growth make them particularly suited for cuttings. This method ensures you’ll have an abundance of cherry tomatoes in no time, perfect for salads, snacking, or cooking.
The Benefits of Propagating Tomatoes
- Cost-Effective: No need to buy seeds or new plants.
- Sustainability: Reduces waste by reusing plant materials.
- Faster Results: Skip the germination phase and enjoy quicker growth.
- Preserve Genetics: Guarantee identical fruit quality and taste as the parent plant.
Common Mistakes to Avoid
- Using Unsanitized Tools: This can introduce diseases to your plants.
- Cutting Weak Branches: Always choose healthy, vigorous branches for the best results.
- Planting Too Deeply: Only bury 1–2 nodes; planting too deep can lead to rot.
- Overwatering: Excessive moisture can hinder root development.
Final Thoughts
Propagating tomato plants using cuttings is a game-changer for gardeners. It’s a simple, sustainable, and rewarding method to grow an infinite number of tomato plants. Whether you’re working with large tomato varieties or cherry tomatoes, this technique ensures you’ll always have fresh, homegrown produce at your fingertips.
What’s your experience with propagating tomatoes? Share your tips and success stories in the comments below!
#TomatoPropagation #GardeningHacks #HomeGardening #GrowYourOwnFood #CherryTomatoes #SustainableLiving #GreenThumb #PlantCuttings #TomatoPlants

