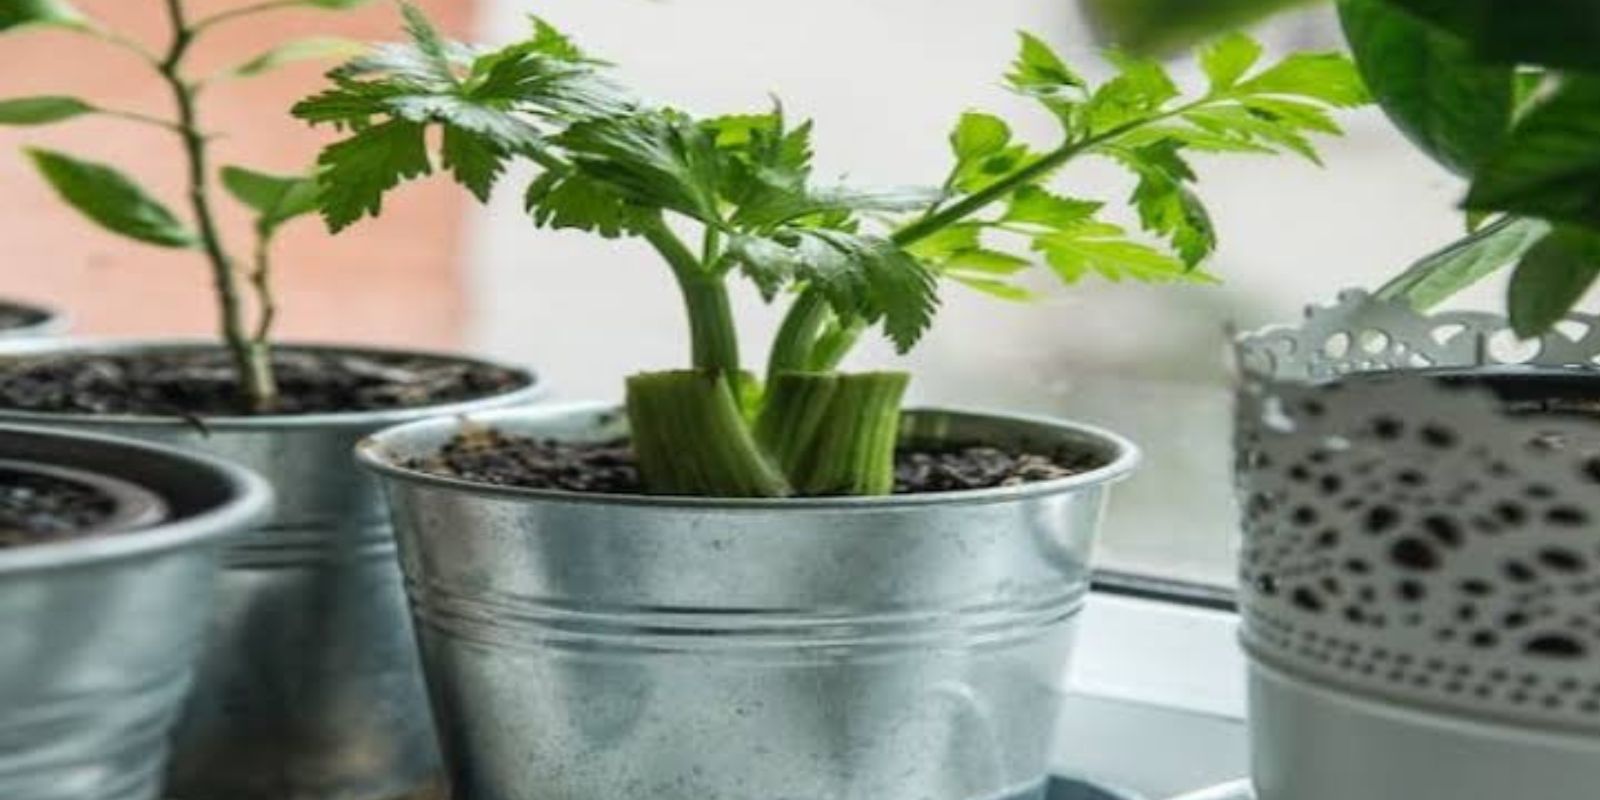
Fresh celery is a kitchen staple, prized for its crunch, versatility, and nutritional benefits. But did you know you can grow your own supply of celery at home—right in a pot? This simple method not only saves you trips to the grocery store but also provides fresh, organic stalks all year round. Let’s explore how to grow a never-ending supply of celery with a step-by-step guide and some key tips for success.
Why Grow Celery at Home?
Growing celery at home has multiple benefits. Store-bought celery often loses its crispness quickly, while homegrown celery is always fresh. It’s also an environmentally friendly and cost-effective way to enjoy organic produce. With the right care, your celery plant can keep producing new stalks after every harvest, making it the gift that keeps on giving!
Materials You’ll Need
- Celery Base or Seeds: Use the root end of a store-bought celery stalk or purchase celery seeds.
- Pot: A deep container with good drainage, at least 8–10 inches in diameter and depth.
- Potting Soil: Choose nutrient-rich, well-draining soil.
- Water: Consistent watering is key for celery.
- Fertilizer: A balanced liquid fertilizer or compost to ensure healthy growth.
- Light Source: A sunny window, balcony, or grow light.
Step-by-Step Guide to Growing Celery in a Pot
1. Choose Your Celery Starter
You can begin with either celery seeds or the base of a store-bought stalk.
- Seeds: Purchase celery seeds from a trusted supplier.
- Base: If using store-bought celery, cut off the base (approximately 2–3 inches) and save it for planting.
2. Prepare Your Pot
Select a pot that is deep and has drainage holes at the bottom to prevent waterlogging. Fill the pot with nutrient-rich potting soil, leaving about 1–2 inches of space at the top.
3. Plant the Celery
- For the Base: Place the celery base in the center of the pot with the cut side facing up. Cover the base lightly with soil, leaving the top exposed.
- For Seeds: Sow the seeds 1/4 inch deep in the soil. Keep the soil lightly moist to encourage germination.
4. Position in a Sunny Spot
Celery thrives in bright, indirect sunlight. Place your pot near a sunny window, on a balcony, or in a well-lit area. If natural light is limited, use a grow light to provide at least 6–8 hours of light daily.
5. Water Consistently
Celery loves moisture but hates soggy roots. Water your plant regularly to keep the soil consistently damp. Avoid letting the soil dry out completely.
6. Fertilize Regularly
Feed your celery plant every two weeks with a balanced liquid fertilizer or compost tea. This will ensure that your plant gets the nutrients it needs to produce lush, crisp stalks.
7. Harvest Smartly
Once the outer stalks are about 6–8 inches long, you can start harvesting. Use scissors to snip stalks close to the soil. Avoid cutting the inner stalks, as these will continue growing and regenerating.
8. Regrow for Continuous Supply
Celery is a regenerative plant. After harvesting, the plant will continue to grow new stalks from the center. With proper care, your celery can keep producing for months.
9. Rotate and Replace
Over time, the growth rate may slow down. You can start new plants using fresh celery bases or seeds to ensure a continuous supply.
Tips for Success
- Maintain Consistent Moisture: Celery thrives in moist soil. Dry soil can lead to bitter, tough stalks.
- Provide Proper Drainage: Overwatering can lead to root rot. Make sure your pot has good drainage.
- Use Organic Fertilizer: Organic compost or natural fertilizers work best for producing healthy, chemical-free celery.
- Keep Away from Frost: If you’re growing celery outdoors, protect it from frost by bringing it inside during cold weather.
- Prune Dead Leaves: Remove yellow or wilting leaves to encourage healthy new growth.
Why This Method Works
Celery is a resilient plant that regenerates its stalks when grown from a base. The use of a pot allows you to control the environment, ensuring optimal moisture, sunlight, and nutrients. By harvesting the outer stalks and allowing the inner ones to grow, you can enjoy a continuous harvest without needing to replant frequently.
The Benefits of Homegrown Celery
- Freshness: Enjoy crisp, flavorful celery right from your pot.
- Health: No chemicals or pesticides—just pure, organic produce.
- Convenience: No need to rush to the store when you need celery for your recipes.
- Sustainability: Reduce food waste by using celery bases that would otherwise be discarded.
Common Problems and Solutions
- Wilting Stalks: This often happens due to inconsistent watering. Ensure the soil is always moist but not waterlogged.
- Bitter Stalks: Bitter celery is usually a result of insufficient water or nutrients. Fertilize regularly and maintain soil moisture.
- Pests: Aphids or snails may attack your celery plant. Use natural remedies like neem oil or manual removal to keep pests at bay.
What to Do with Homegrown Celery
Once you start harvesting, there are countless ways to enjoy your fresh celery:
- Add it to soups, stews, or stir-fries.
- Use it as a crunchy snack with dips.
- Chop it into salads for a burst of flavor.
- Blend it into green smoothies for added nutrients.
Conclusion
Growing a never-ending supply of celery at home is a rewarding experience that brings fresh, healthy produce to your kitchen. With minimal effort and a bit of care, your pot of celery can keep giving back for months, making it an ideal project for beginners and seasoned gardeners alike.
💬 Have you tried growing celery at home? Share your tips and experiences in the comments below!
🌱 #HomeGardening #CeleryPlanting #RegenerativeGardening #ContainerGardening #GrowYourOwnFood

