
Gardening is not only about nurturing plants but also about crafting a space that reflects your personal style. One of the simplest yet most creative ways to enhance your garden is by incorporating sticks into your projects. These natural materials are abundant, eco-friendly, and incredibly versatile. With just a little ingenuity, you can turn sticks into beautiful garden features that add both charm and functionality to your outdoor space. In this article, we’ll explore three stunning garden projects using sticks: DIY trellises, garden edging, and plant markers. Each project is designed to be both practical and aesthetically pleasing, helping you make the most of what nature provides.
1. DIY Trellis: Support Your Climbing Plants with Rustic Charm
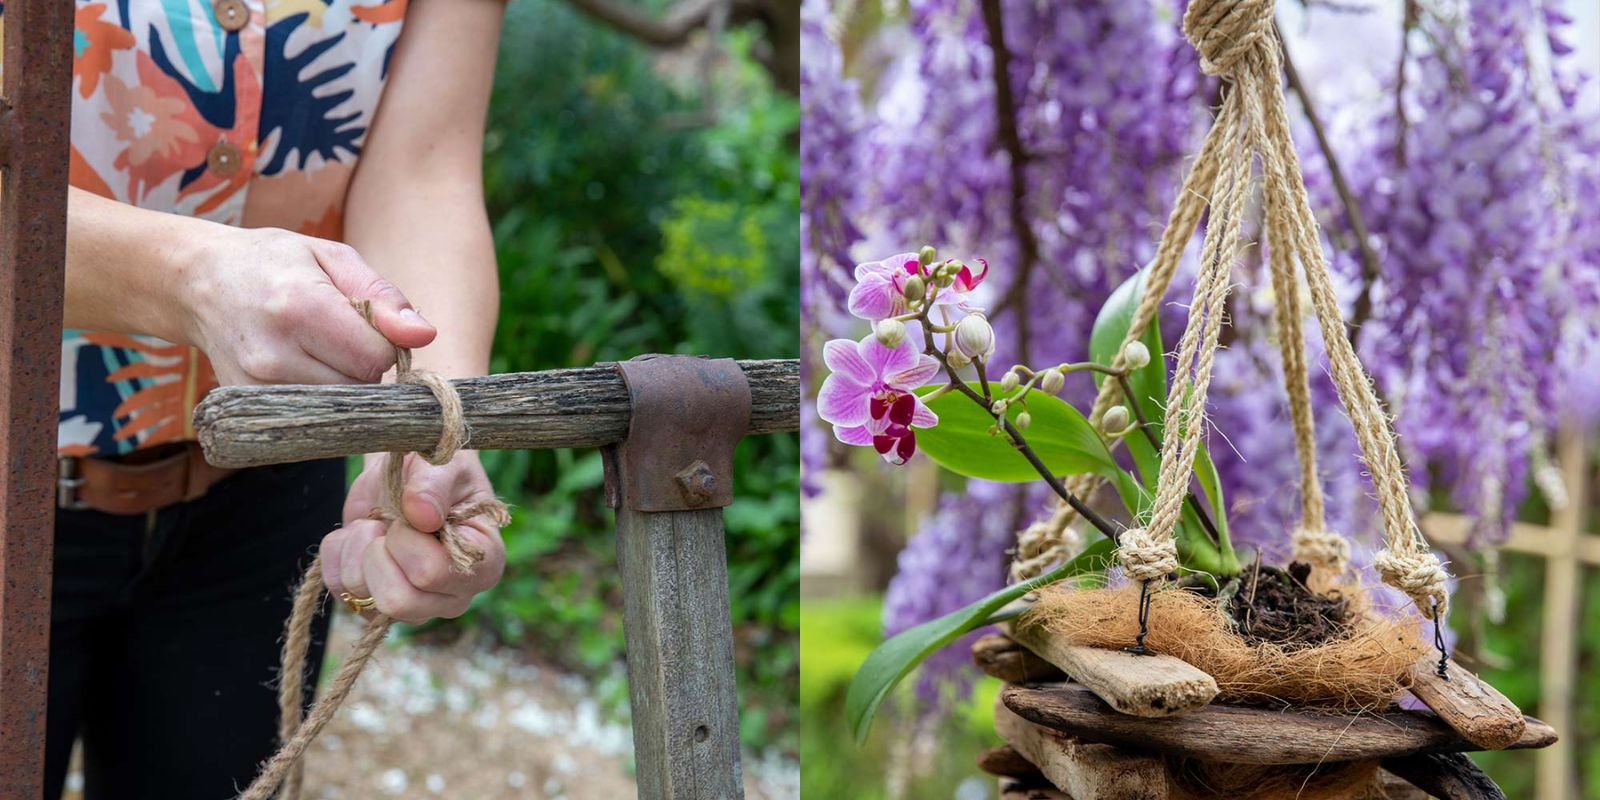
A trellis is a wonderful addition to any garden, providing support for climbing plants like tomatoes, beans, and cucumbers. Creating a trellis from sticks adds a rustic touch and can be customized to suit your garden’s style.
Materials Needed:
- Sticks of similar length and thickness
- Garden twine or wire
- Scissors or pruning shears
Steps to Create a DIY Trellis:
- Gather Your Sticks: Collect sticks that are relatively straight and similar in length. They should be sturdy enough to support the weight of your climbing plants. If you don’t have sticks of uniform size, you can trim them to make them more even.
- Arrange the Sticks: Lay out the sticks on the ground to form a grid pattern. Depending on the size of your garden and the plants you want to support, you can make the trellis as large or as small as needed. Position the sticks in a crisscross pattern for added strength.
- Secure the Trellis: Use garden twine or wire to bind the sticks together at the intersections. Wrap the twine or wire around each joint several times to ensure stability. If you’re using wire, you may want to use pliers to twist it securely.
- Install the Trellis: Dig holes in your garden bed where you want to place the trellis. Insert the bottom ends of the sticks into the holes, making sure the trellis is upright and stable. Backfill the holes with soil and gently pat it down to hold the sticks in place.
- Add Your Climbing Plants: Once your trellis is installed, train your climbing plants to grow up the structure. Gently tie the plants to the trellis using garden twine or soft plant ties to encourage vertical growth.
Benefits: A stick trellis not only supports your plants but also adds a charming, rustic element to your garden. It blends seamlessly with natural surroundings and provides a practical solution for vertical gardening.
2. Garden Edging: Define Your Garden Beds with Natural Elegance
Garden edging helps to define spaces and keep plants neatly contained. Using sticks for edging creates a natural border that enhances the garden’s aesthetic while also providing practical benefits.
Materials Needed:
- Sticks of varying lengths and thicknesses
- Garden stakes or small wooden stakes
- Hammer or mallet (if needed)
Steps to Create Garden Edging:
- Select Sticks: Choose sticks that are straight and have a uniform thickness. You can use thicker sticks for the main border and thinner ones for additional detail. If the sticks are not all the same size, trim them to create a more consistent look.
- Prepare the Area: Decide where you want to place your garden edging. Clear the area of weeds and debris, and outline the shape of your garden bed using a garden hose or string to mark the border.
- Install the Sticks: Begin by inserting the first stick into the soil at one end of the border. Use a hammer or mallet to drive garden stakes or small wooden stakes into the ground at regular intervals along the border. Place a stick between each pair of stakes and secure it by pushing it into the soil or tying it to the stakes.
- Finish the Edging: Continue installing sticks around the entire perimeter of your garden bed. Ensure that the sticks are evenly spaced and that the border is level. If necessary, trim any excess stick length to create a uniform appearance.
- Maintain the Edging: Regularly check the garden edging to ensure it remains in place. Re-secure any loose sticks and remove any weeds that may encroach upon the border.
Benefits: Stick garden edging is a natural, cost-effective way to define garden beds. It adds a rustic charm to your garden while keeping soil and mulch contained, reducing the need for frequent maintenance.
3. Plant Markers: Organize and Identify Your Plants with Style
Plant markers are essential for keeping track of what you’ve planted and where. Using sticks as plant markers is an eco-friendly way to label your garden while adding a touch of creativity.
Materials Needed:
- Small, flat sticks (such as those from a twig or small branch)
- Permanent marker or paint
- Optional: clear varnish or sealant
Steps to Create Plant Markers:
- Choose Sticks: Select small, flat sticks that are long enough to be visible above the soil. Ensure they are relatively smooth and have a flat surface for writing or painting.
- Prepare the Sticks: Clean the sticks to remove any dirt or debris. If desired, you can sand them lightly to create a smoother surface for writing.
- Label the Sticks: Use a permanent marker or paint to write or carve the names of your plants on the sticks. You can include additional information, such as planting dates or variety names, if you like.
- Protect the Markers: To prolong the life of your plant markers, consider applying a clear varnish or sealant to protect the writing from the elements. Allow the varnish to dry completely before using the markers in your garden.
- Place the Markers: Insert the labeled sticks into the soil next to each plant. Ensure they are visible and stable, so you can easily identify your plants as they grow.
Benefits: Stick plant markers are a practical and attractive way to keep track of your garden’s plants. They are customizable and can be made from materials you already have, reducing waste and supporting sustainable gardening practices.
Conclusion
Using sticks to create garden projects is a creative and eco-friendly way to enhance your outdoor space. Whether you’re building a DIY trellis, designing natural garden edging, or crafting plant markers, sticks offer a versatile and cost-effective solution that adds both functionality and charm to your garden. By repurposing these natural materials, you not only reduce waste but also infuse your garden with a unique, personalized touch.
Embrace the opportunity to get creative with sticks and transform your garden into a beautiful and organized space. With just a few simple steps, you can craft stunning garden features that reflect your style and commitment to sustainability. So gather those sticks and start your next garden project today—your plants and the environment will thank you! 🌿