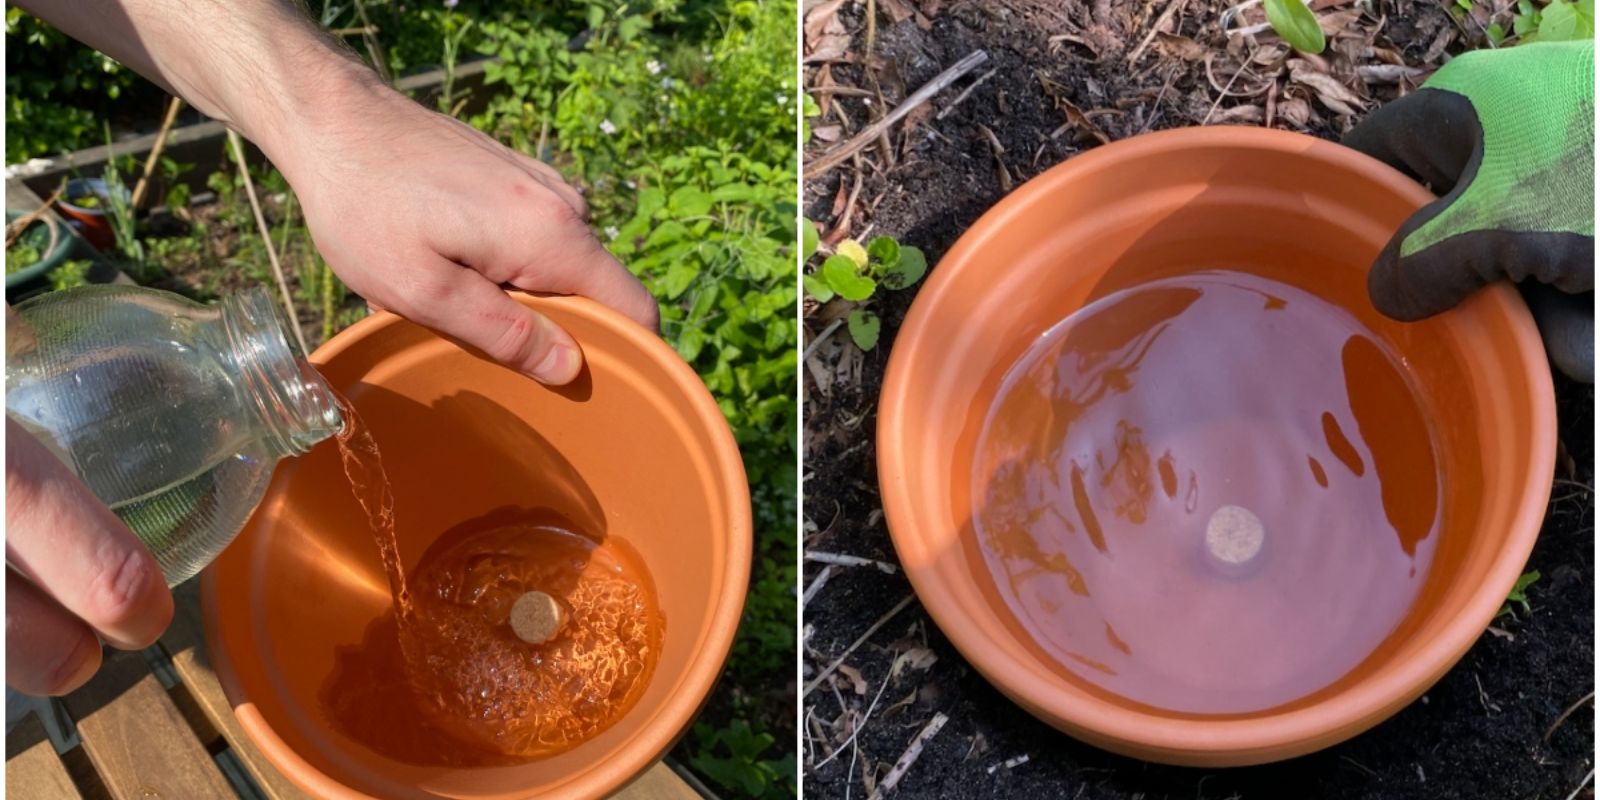
Gardening is a rewarding hobby that connects us with nature, but keeping plants properly watered can be time-consuming and wasteful if done inefficiently. If you’re looking for a sustainable, low-maintenance solution, look no further than the ancient art of using ollas. This traditional irrigation technique, which originated in arid regions, has stood the test of time due to its simplicity, water efficiency, and effectiveness. In this article, we’ll explore how to make and use an olla for your garden and why it’s a game-changer for gardeners of all levels.
What Is an Olla?
An olla (pronounced “oy-yah”) is an unglazed terracotta pot designed for underground irrigation. It allows water to seep slowly into the soil, providing consistent moisture directly to plant roots. The porous nature of the clay ensures that plants receive only the amount of water they need, reducing waste and evaporation. This method has been used for centuries in regions with limited water resources, making it a time-tested and eco-friendly solution.
Benefits of Using an Olla in Your Garden
- Water Conservation:
Ollas minimize water loss through evaporation and runoff, making them ideal for drought-prone areas. - Consistent Irrigation:
The slow release of water ensures plants stay hydrated without overwatering, which can lead to root rot. - Time-Saving:
With an olla, you don’t need to water your plants daily. Fill it every few days, and it will take care of the rest. - Eco-Friendly:
Made from natural clay, ollas are biodegradable and sustainable, aligning with eco-conscious gardening practices. - Improved Plant Health:
By delivering water directly to the roots, plants grow stronger and more resilient.
How to Make Your Own Olla
Creating your own olla is simple and affordable. Here’s a step-by-step guide to making one with materials you can easily find.
Materials Needed:
- Two unglazed terracotta pots (without drainage holes).
- Waterproof adhesive or silicone sealant.
- A small terracotta saucer or any lid to cover the top.
Instructions:
Step 1: Seal One Pot’s Hole
Most terracotta pots come with a drainage hole. Use waterproof adhesive or silicone sealant to close this hole in one of the pots. Ensure the seal is watertight, as any leaks will defeat the purpose of the olla.
Step 2: Join the Two Pots
Apply adhesive around the rim of the sealed pot. Place the second pot upside down on top of it, aligning the rims to create a capsule-like shape. Press firmly to ensure a secure seal. Allow the adhesive to dry completely, following the manufacturer’s instructions.
Step 3: Prepare the Lid
Find a small terracotta saucer or similar lid to cover the top opening of the olla. This will prevent debris, insects, and evaporation.
Step 4: Test the Olla
Before burying it, fill the olla with water and check for leaks. If necessary, reinforce any seals.
How to Install and Use an Olla
Once your olla is ready, it’s time to integrate it into your garden.
Step 1: Choose the Right Location
Ollas work best in garden beds or large containers. Select an area with plants that have similar water requirements.
Step 2: Dig a Hole
Dig a hole deep enough to bury the olla, leaving only the top lid visible above the soil.
Step 3: Bury the Olla
Place the olla in the hole and backfill with soil, ensuring it’s firmly positioned.
Step 4: Fill the Olla with Water
Remove the lid and fill the olla with water. Replace the lid to keep the water clean and minimize evaporation.
Step 5: Plant Around the Olla
Position your plants around the olla, spacing them so their roots can access the water it provides.
Step 6: Refill as Needed
Check the water level every few days and refill as necessary, depending on the weather and the water needs of your plants.
Tips for Maximizing Olla Effectiveness
- Group Similar Plants Together:
Use ollas to irrigate plants with similar water requirements, such as vegetables or herbs. - Use Multiple Ollas for Larger Areas:
For larger garden beds, space several ollas evenly to ensure adequate coverage. - Monitor Soil Moisture:
While ollas provide consistent hydration, it’s good to check soil moisture occasionally to ensure optimal conditions. - Seasonal Adjustments:
In hotter months, you may need to refill the olla more frequently. Conversely, in cooler seasons, it will require less water. - Keep the Lid Secure:
A well-fitted lid prevents debris from clogging the olla and discourages pests.
Who Can Benefit from Using Ollas?
Ollas are perfect for anyone looking to make their gardening routine more sustainable and less labor-intensive. They’re especially beneficial for:
- Busy Gardeners: Ideal for those who can’t water daily.
- Water-Conscious Gardeners: A great solution for areas with water restrictions or drought.
- Container Gardeners: Ollas can be adapted for large pots and planters.
Olla Maintenance
To keep your olla functioning optimally, follow these maintenance tips:
- Clean Annually:
At the end of the growing season, remove the olla and clean it with a brush and water to remove any buildup or algae. - Check for Cracks:
Inspect for cracks or damage before reusing. Replace if necessary. - Store Properly:
If you live in an area with freezing winters, remove the olla to prevent cracking from frozen water.
Why Ollas Are a Must-Try for Gardeners
Adopting ollas in your garden isn’t just about saving water—it’s about fostering a more sustainable relationship with nature. This ancient method proves that simple, low-tech solutions can be incredibly effective. Whether you’re a beginner or a seasoned gardener, incorporating ollas into your gardening practice is a step toward a more resilient and productive garden.
💧 Interact with us! Share your DIY olla creations and how they transformed your garden!
🌱🌍 #SustainableGardening #DIYIrrigation #WaterWiseGardening #EffortlessGardening #GrowWithLove #EcoFriendlyGardening #GardeningHacks

