
Gardening enthusiasts are constantly seeking ways to grow healthier plants while reducing their environmental impact. One technique that has been gaining popularity is the use of soil blocks—a simple, sustainable method of starting seeds without the use of plastic pots. Whether you’re an experienced gardener or just starting out, using soil blocks can help you grow strong, thriving seedlings in a way that’s better for the environment and your plants.
In this guide, we’ll show you how to make your very own DIY soil block maker to create perfect, compact soil blocks that promote healthier root development and reduce transplant shock. Not only will this help your plants grow more vigorously, but it’s a fun, hands-on project that can transform the way you start seeds for your garden.
What is a Soil Block and Why Should You Use One?
Before diving into the process of making your own soil block maker, it’s important to understand what soil blocks are and why they’re beneficial.
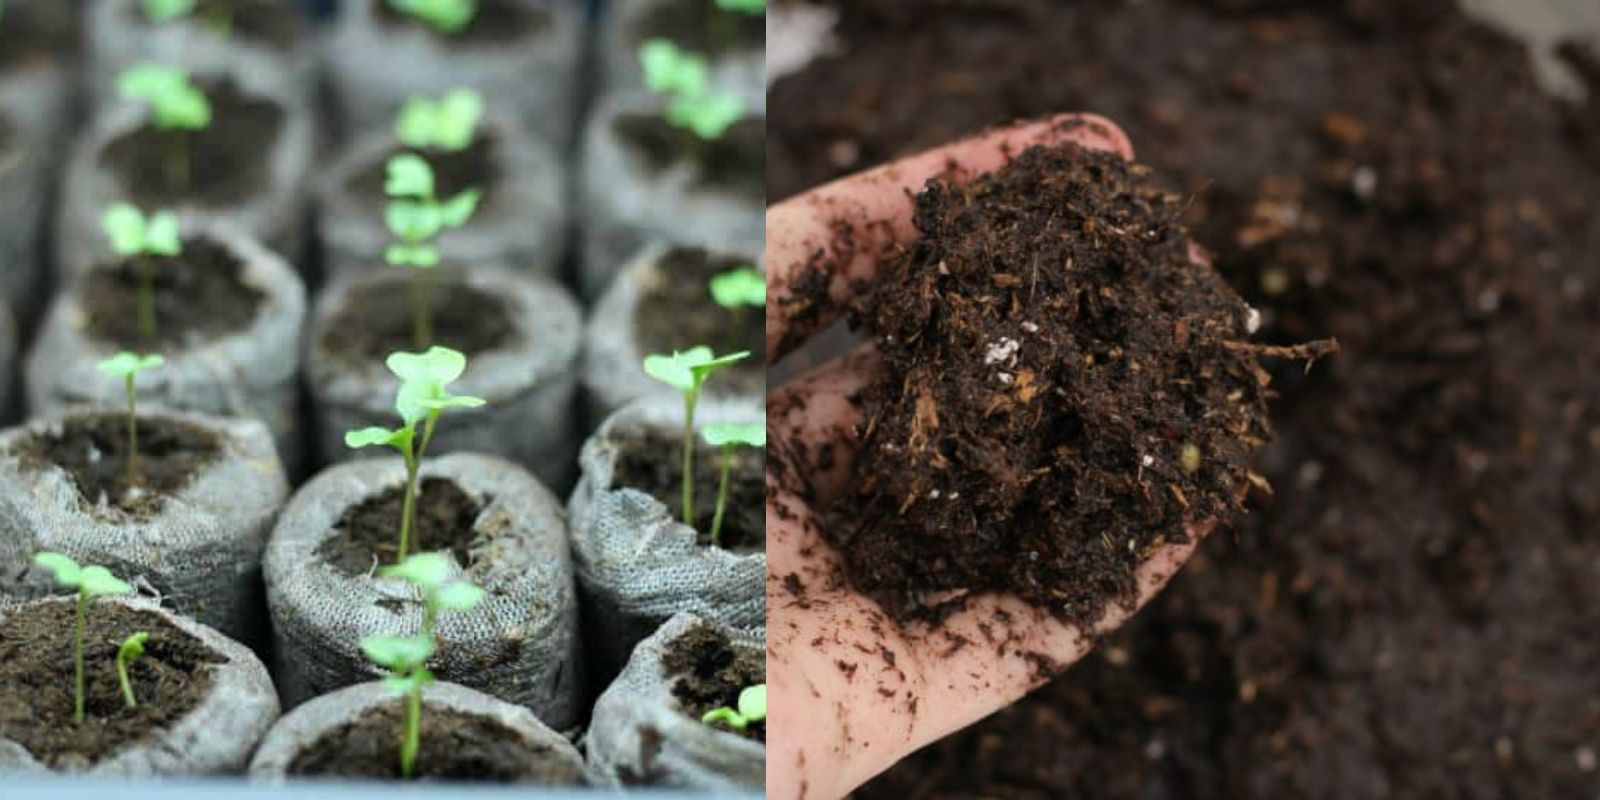
A soil block is a small, compressed cube or block of soil that holds its shape without the use of containers. It’s made from a mixture of soil, compost, and water, and is pressed into a compact shape using a specially designed soil block maker. These blocks are then used to start seeds, and the seedlings grow directly in the block without the need for plastic pots or other containers.
Here are some of the key benefits of using soil blocks for starting seeds:
- Encourages Healthy Root Development – Because soil blocks are open on all sides, the plant roots are able to spread naturally, reducing the likelihood of becoming root-bound, which can stunt growth.
- Reduces Transplant Shock – When seedlings are transplanted from soil blocks to the garden, the roots are minimally disturbed, leading to less transplant shock.
- Saves Space – Soil blocks allow you to grow a large number of seedlings in a small area, making them perfect for limited gardening spaces or small greenhouses.
- Eco-Friendly – Soil blocks eliminate the need for plastic pots, which are often used once and then thrown away. By using soil blocks, you can reduce plastic waste in your garden and create a more sustainable growing system.
- Improves Germination – The open, airy structure of the soil blocks allows for better air circulation and root growth, improving seedling vigor and overall plant health.
Materials You’ll Need for Your DIY Soil Block Maker
Before you start creating your own soil block maker, gather the following materials:
- Wood pieces: You’ll need some scrap wood (preferably 1x2s) to build the frame and the pressing mechanism.
- Nails or screws: For assembling the frame of your block maker.
- Hammer or screwdriver: Depending on whether you’re using nails or screws.
- Wooden block (for base): This is used to create a firm base for your soil blocks.
- Measuring tape: To ensure accurate cuts for the wooden pieces.
- Saw: For cutting the wood into the desired lengths.
- Drill (optional): If you prefer using screws rather than nails, a drill will make the process easier.
- Soil, compost, and water: For creating your soil mixture, which will make up the blocks.
How to Build a DIY Soil Block Maker: Step-by-Step Instructions
Building your own soil block maker is a simple process that doesn’t require a lot of advanced tools or woodworking skills. Follow these easy steps, and you’ll have a soil block maker ready for action in no time!
Step 1: Cut the Wood Pieces
Start by measuring and cutting your wood into the following pieces:
- Two 6-inch pieces for the long sides of the frame.
- Two 4-inch pieces for the short sides of the frame.
- One 4-inch square piece for the base (this will provide support for the soil blocks and help shape them).
- One 6-inch piece for the press (optional): This piece can be used to create pressure when pressing the soil mixture into the frame.
Step 2: Assemble the Frame
Once your pieces are cut to size, it’s time to assemble the frame.
- Lay the 6-inch and 4-inch pieces of wood on a flat surface to form a rectangle.
- Secure the wood together using nails or screws. Ensure that the corners are square and the frame is sturdy. This will be the base of your soil block maker.
- If you’re using a separate press piece, you can attach it to one of the longer sides of the frame. This piece will help you compress the soil mixture and shape it into neat blocks.
Step 3: Create the Soil Mixture
Now that your soil block maker frame is ready, you’ll need to prepare the soil mixture that will fill the frame and form the soil blocks.
- Soil Mix: Combine high-quality soil, compost, and water in a large container. The soil should be damp, not too wet or dry. The mixture needs to hold together when pressed, but still crumble when broken apart. A good ratio to follow is 2 parts compost, 3 parts soil, and 1 part water. Adjust the moisture levels to suit your needs.
- Optional Additives: If you’re growing seeds that need extra nutrients, you can add a small amount of organic fertilizer or worm castings to the soil mixture. This will give your seedlings a nutrient boost as they grow.
Step 4: Press the Soil into the Block Maker
Now comes the fun part! It’s time to make your soil blocks.
- Place the frame on a flat, hard surface. If you’ve made a press piece, position it above the frame.
- Fill the frame with your soil mixture, pressing it down firmly to eliminate any air pockets. Be sure to pack the soil mixture into all corners of the frame, making sure it’s evenly distributed.
- Once the frame is full, use the press (if you have one) to compress the soil and create a solid block. If you don’t have a press, simply press down on the soil with your hands or another piece of wood to compact it.
- Carefully remove the frame from the pressed soil block. The block should hold its shape and be ready for use in your garden.
Step 5: Repeat and Set Up Your Seedlings
Once you’ve made your first soil block, you can easily repeat the process to create as many blocks as needed.
- If you’re growing several different types of seeds, be sure to label your blocks or keep them organized so that you can easily identify which plants are growing in each one.
- Plant your seeds in the top of each block, using a small stick or your finger to make a hole for the seeds.
- Water the blocks gently, being careful not to disturb the soil.
Step 6: Place Your Soil Blocks in the Right Location
Place your soil blocks in a location with plenty of indirect sunlight and warmth. A windowsill, greenhouse, or grow light setup works well for starting seeds. Keep the blocks moist, and they should start to sprout in no time.
Tips for Using Soil Blocks in Your Garden
- Proper Watering: Soil blocks require a slightly different watering technique compared to pots. Water them gently from the bottom by setting the blocks in a shallow tray of water for a few minutes, allowing them to absorb moisture. Avoid overhead watering, as this can cause the blocks to break apart.
- Transplanting: When the seedlings are ready for transplanting, simply place the entire soil block into your garden bed or larger container. The roots will naturally grow through the block, and the plants will thrive without being disturbed by the transplantation process.
- Fertilizing: While the initial soil mix provides nutrients, you may want to supplement with a liquid organic fertilizer as your seedlings grow. This will give them the nutrients they need to develop strong roots and stems.
Why DIY Soil Block Makers Are Worth It
Creating your own DIY soil block maker is an incredibly rewarding experience. Not only does it save you money on store-bought seed trays and pots, but it also gives you more control over the growing process. You’ll be able to grow healthier, stronger plants, and reduce plastic waste in your garden at the same time.
By making soil blocks, you’re taking a step toward a more sustainable and eco-friendly gardening practice, which is something all gardeners can feel good about. Plus, once you’ve built your soil block maker, it’s easy to use year after year.
Conclusion
If you’re looking for a way to elevate your gardening experience and grow healthier plants, creating a DIY soil block maker is a great option. The benefits of using soil blocks for seed starting are numerous, from healthier root development to reduced transplant shock, and the process of making your own soil block maker is simple and rewarding. Give it a try, and you’ll be amazed at how much better your seedlings grow—and how much fun it is to craft your own sustainable gardening tools. Happy gardening! 🌱🌿