
Introduction
Pomegranates, with their striking appearance and delicious, jewel-like seeds, are more than just a pretty fruit. They are packed with antioxidants, vitamins, and minerals, making them a powerhouse of nutrition. If you’ve ever wanted to grow your own pomegranates, you’re in for a treat! Propagating pomegranate plants can be a rewarding experience, and one of the easiest methods is through water propagation. This technique not only allows you to watch the roots develop but also creates a captivating “water wonderland” in your home. In this article, we’ll delve deep into the step-by-step process of propagating pomegranate plants, the care they need, and some tips to ensure your success.
Understanding Pomegranates
Before diving into propagation, it’s essential to understand the pomegranate plant itself. The scientific name for pomegranate is Punica granatum, and it is native to the regions of the Mediterranean and Asia. Pomegranates are deciduous shrubs or small trees that can grow up to 30 feet tall, although they are often kept smaller in gardens. They thrive in warm, arid climates and require plenty of sunlight and well-draining soil to flourish.
Benefits of Growing Pomegranates
- Nutritional Value: Pomegranates are rich in vitamins C and K, fiber, and antioxidants, which can support overall health.
- Aesthetic Appeal: The vibrant red flowers and fruit make pomegranate plants a beautiful addition to any garden.
- Culinary Uses: The seeds can be eaten fresh, added to salads, or used in cooking and baking for a burst of flavor.
- Medicinal Properties: Traditionally, pomegranates have been used in herbal medicine for their anti-inflammatory and anti-viral properties.
Step-by-Step Guide to DIY Pomegranate Propagation
Step 1: Select a Healthy Parent Plant
Choosing a healthy parent plant is crucial for successful propagation. Look for a mature pomegranate tree that has vibrant leaves and no signs of disease or pests. The best time to take cuttings is during the spring or early summer when the plant is actively growing.
Step 2: Take Cuttings
Using clean, sharp scissors or pruning shears, take cuttings from the parent plant. Aim for cuttings that are about 6-8 inches long and have at least a few leaves. Make the cut just below a leaf node, as this is where the roots are likely to develop.
Step 3: Prepare Cuttings
After taking the cuttings, it’s time to prepare them for propagation. Remove the lower leaves, leaving a few leaves at the top to help the cutting photosynthesize. If you have large leaves, you might want to trim them in half to reduce moisture loss while the roots develop.
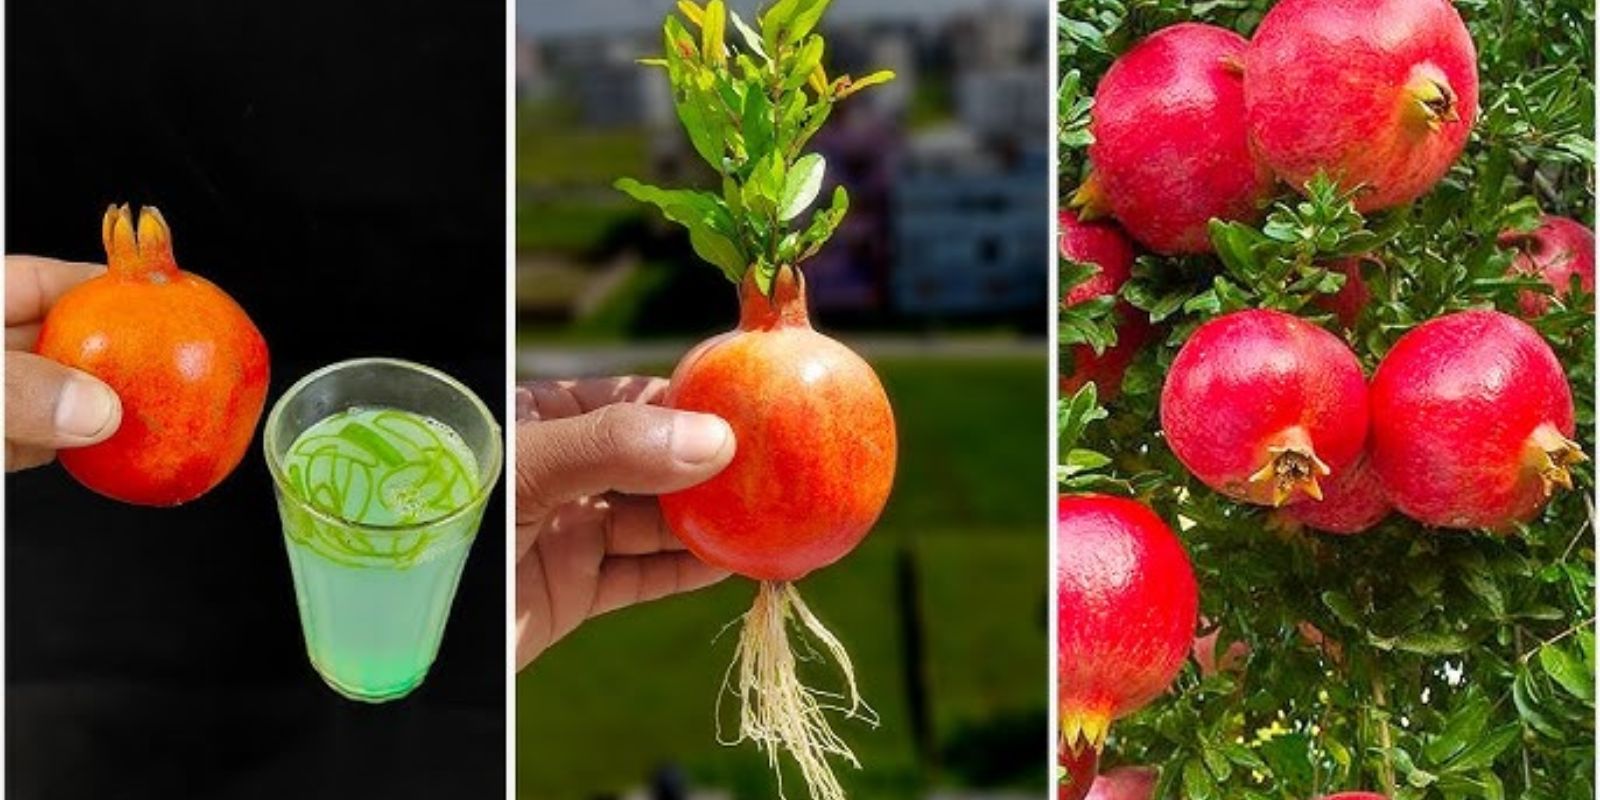
Step 4: Water Propagation
Place the cuttings in a glass or jar filled with clean water. Ensure that the cut ends are submerged while keeping the leaves above the water line. This method allows the cuttings to absorb water directly and encourages root development.
Step 5: Choose a Bright Location
Position the container in a warm, bright spot that receives indirect sunlight. Avoid placing it in direct sunlight, as this can scorch the leaves and heat the water, potentially harming the cuttings.
Step 6: Change the Water Regularly
To promote healthy root growth, it’s essential to keep the water clean and oxygenated. Refresh the water every few days to prevent bacteria growth and provide fresh oxygen to the cuttings. If you notice any discoloration or cloudiness in the water, replace it immediately.
Step 7: Monitor Root Development
Patience is key! After a few weeks, you should start to see roots developing from the cut ends of the cuttings. Depending on the environment, this can take anywhere from 2 to 6 weeks. Be sure to keep an eye on the water level, adding more if necessary.
Step 8: Transplant to Soil
Once the roots are a few inches long, it’s time to transplant your cuttings into soil. Choose pots that have good drainage holes and fill them with well-draining potting soil. Make a small hole in the soil with your finger or a pencil, place the rooted cutting in, and gently pack the soil around it.
Step 9: Care for New Plants
After transplanting, water the new pomegranate plants thoroughly to help settle the soil. Place them in a location with bright, indirect sunlight. Continue to water them regularly, ensuring that the soil remains moist but not soggy. As the plants grow, you can gradually introduce them to more direct sunlight.
Step 10: Gradual Acclimatization
If you plan to move your pomegranate plants outdoors, acclimatize them gradually to prevent shock. Start by placing them outside for a few hours each day in a shaded area, gradually increasing the time and sunlight exposure over a week or two.
Caring for Your Pomegranate Plants
Watering
Pomegranate plants prefer well-draining soil that remains consistently moist but not overly saturated. During the growing season, water your plants regularly, especially during dry spells. Reduce watering in the winter when the plant enters dormancy.
Fertilization
To promote healthy growth and fruit production, fertilize your pomegranate plants in the spring with a balanced, slow-release fertilizer. Follow the manufacturer’s instructions for application rates.
Pruning
Pruning is essential for maintaining the shape and health of your pomegranate plants. In late winter or early spring, remove any dead or diseased branches, as well as any crowded growth to improve air circulation. This will help prevent disease and encourage better fruiting.
Pest Management
Keep an eye out for common pests like aphids and spider mites. If you notice any infestations, treat your plants with insecticidal soap or neem oil. Regularly inspecting your plants can help catch problems early.
Troubleshooting Common Issues
Wilting Leaves
If your pomegranate leaves are wilting, it could be due to underwatering or overwatering. Check the soil moisture and adjust your watering schedule accordingly.
Yellowing Leaves
Yellowing leaves can indicate nutrient deficiency or overwatering. Ensure you are providing enough nutrients and that the soil drains well.
Lack of Fruit
If your pomegranate plant is healthy but not producing fruit, it may not be receiving enough sunlight. Ensure it is in a spot that gets full sun for most of the day.
Conclusion
Propagating pomegranate plants through water is not only easy but also a fascinating way to grow these beautiful fruit-bearing shrubs. With a little patience and care, you can create your own “water wonderland” and enjoy the benefits of home-grown pomegranates. Whether you are an experienced gardener or just starting out, following these steps will help you succeed in propagating your pomegranate plants. So gather your supplies, start your cuttings, and watch your garden flourish!
Motivational Closing
Embrace the joy of gardening and the satisfaction of growing your own fruits. There’s nothing quite like biting into a fresh pomegranate that you’ve nurtured from seed to harvest! Start your propagation journey today and share your success with fellow gardening enthusiasts. 🌱✨ #PomegranatePropagation #WaterWonderland #GardeningJoy #GrowYourOwn #SustainableGardening #PlantParenthood