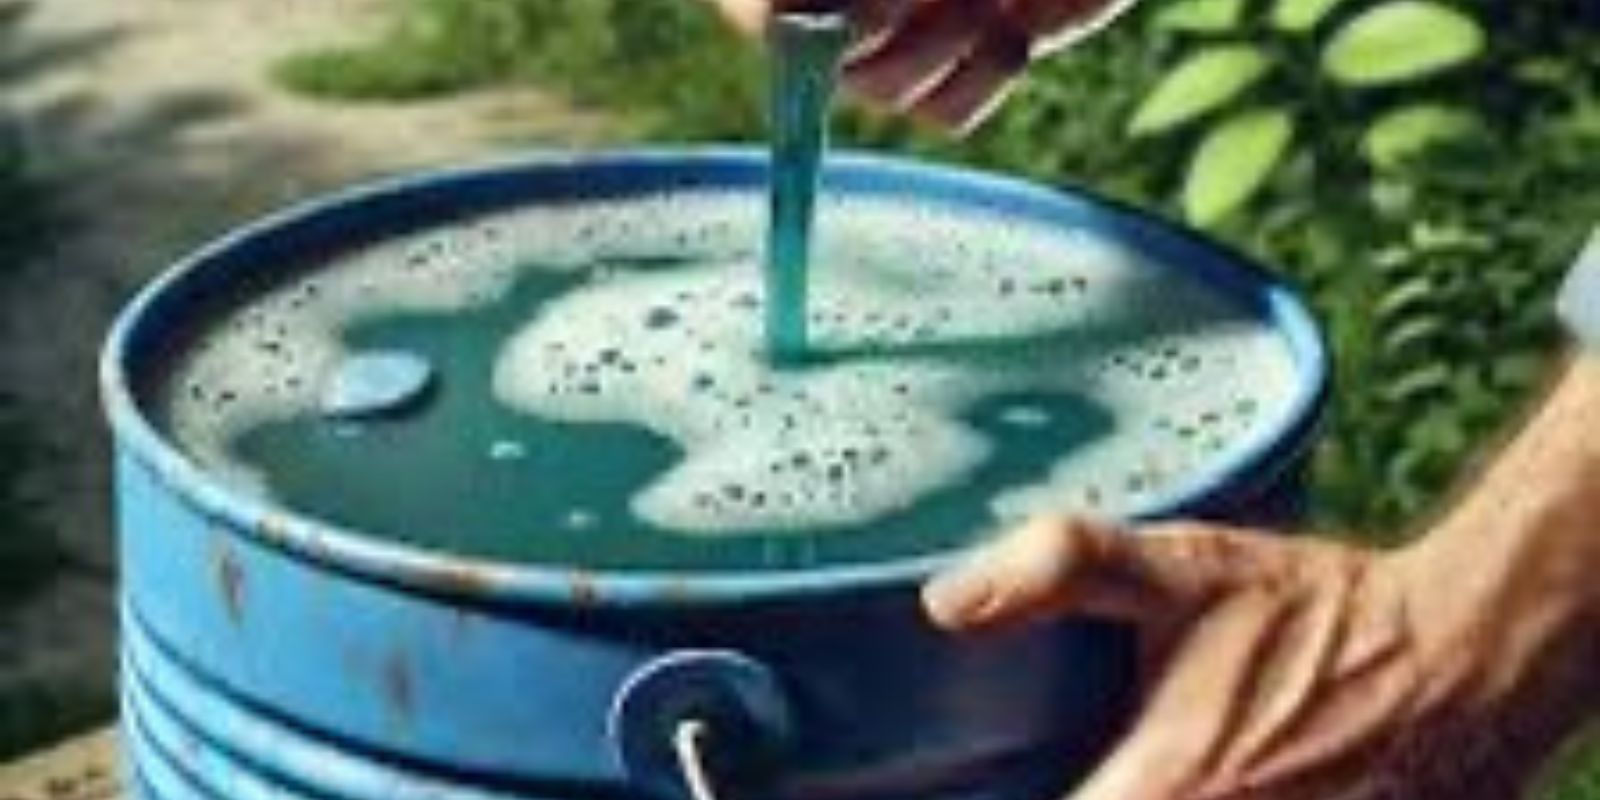
As gardeners, we constantly seek eco-friendly, cost-effective solutions to nurture our plants. One of the most impactful ways to ensure robust plant growth is by providing them with nutrient-rich liquid fertilizer. While store-bought options may seem convenient, they often come at a high cost and contain synthetic chemicals that can harm the environment. Creating your own liquid fertilizer at home not only recycles organic waste but also enriches your plants with essential nutrients.
In this article, we’ll guide you through the step-by-step process of making liquid fertilizer at home, explain its benefits, and share some pro tips for success.
What Is Liquid Fertilizer?
Liquid fertilizer is a concentrated nutrient solution derived from decomposed organic matter. It’s diluted and applied directly to the soil to feed plants essential nutrients, such as nitrogen, phosphorus, and potassium. This DIY approach harnesses kitchen and garden waste, turning it into a sustainable resource for plant care.
Benefits of Making Your Own Liquid Fertilizer
- Eco-Friendly: Reduces landfill waste by repurposing organic materials.
- Cost-Effective: Saves money on store-bought fertilizers.
- Nutrient-Rich: Supplies plants with essential nutrients for healthy growth.
- Customizable: Tailor the ingredients to suit specific plant needs.
- Sustainable: Reduces dependency on synthetic fertilizers, minimizing environmental harm.
Step-by-Step Guide to Making Liquid Fertilizer
Step 1: Collect Organic Material
The foundation of your liquid fertilizer is organic waste. Focus on plant-based materials, such as:
- Vegetable peels
- Fruit scraps (avoid citrus peels in excess, as they can alter pH levels)
- Grass clippings
- Weeds (before they seed)
- Fallen leaves
Pro Tip: Avoid using meat, dairy, or oily products as they attract pests and produce unpleasant odors.
Step 2: Prepare the Container
Choose a suitable container, such as a 5-gallon bucket, to hold your mixture. The size will depend on how much fertilizer you plan to make.
- Fill the container halfway with the collected organic materials.
- Ensure the container has a lid that can be left slightly ajar to allow gases to escape during fermentation.
Step 3: Add Water
- Cover the organic matter with water.
- Rainwater is ideal because it’s free of chemicals, but tap water works well if left to sit for 24 hours to allow chlorine to evaporate.
Pro Tip: The water level should fully submerge the organic material to prevent mold growth.
Step 4: Start the Fermentation Process
- Seal the container loosely to allow gases to escape during decomposition.
- Place the container in a warm, shaded area to speed up the fermentation process.
Stirring: Every 2-3 days, stir the mixture to oxygenate it and facilitate the breakdown of organic matter.
Timeline: The fermentation process can take 2-8 weeks, depending on the temperature and the materials used. You’ll know it’s ready when the mixture has an earthy smell, and most solids have broken down.
Step 5: Strain the Liquid
Once the fermentation is complete:
- Strain the mixture into another container using a fine mesh or cheesecloth.
- Compost the remaining solids or use them as mulch around your plants.
The strained liquid is your concentrated fertilizer.
Step 6: Dilution and Application
Before applying the fertilizer, dilute it to avoid over-fertilizing and damaging your plants.
- Dilution Ratio: Mix 1 part fertilizer with 10 parts water.
- Apply the diluted solution directly to the soil around your plants, avoiding direct application to leaves.
Frequency: Use this fertilizer every 1-2 weeks during the growing season for best results.
Additional Tips for Success
- Customize the Ingredients
Different organic materials offer varying nutrient profiles:
- Nitrogen: Grass clippings, leafy greens, or coffee grounds.
- Phosphorus: Banana peels, fruit scraps, or crushed eggshells.
- Potassium: Wood ash or composted vegetable peels.
- Experiment with Additives
Boost your fertilizer’s efficiency by adding natural enhancers like:
- Molasses: Encourages microbial activity.
- Seaweed: Adds trace minerals.
- Monitor Plant Health
Observe your plants for signs of over-fertilization, such as leaf yellowing or browning, and adjust the dilution ratio as needed.
Common Mistakes to Avoid
- Using Contaminated Materials
Avoid materials treated with chemicals, such as herbicides or pesticides, as these can harm your plants. - Skipping the Dilution Step
Undiluted fertilizer is too strong and can burn your plants. Always dilute before use. - Improper Storage
Store the finished fertilizer in a cool, dark place to prevent spoilage.
Why Choose Liquid Fertilizer Over Commercial Options?
Store-bought fertilizers often contain synthetic chemicals that can harm the environment and disrupt soil health. Homemade liquid fertilizer, on the other hand, promotes a balanced ecosystem by introducing beneficial microbes and organic nutrients into the soil.
Conclusion
Creating your own liquid fertilizer is an empowering, sustainable practice that benefits both your garden and the environment. By following these simple steps, you can transform everyday organic waste into a potent plant food that ensures lush, thriving growth.
💬 Have you tried making your own liquid fertilizer? What materials worked best for you? Share your experiences and tips in the comments below!
#DIYFertilizer #OrganicGardening #GardeningTips #EcoFriendlyLiving #SustainableGardening

