
Hydroponics is revolutionizing the way we grow plants. It’s an innovative gardening technique that allows you to grow plants without soil, relying on nutrient-rich water instead. For urban dwellers, apartment residents, or anyone with limited gardening space, hydroponics offers a clean, efficient, and space-saving solution to growing fresh produce all year round. The best part? You can build your own DIY hydroponic system at home with a few basic materials.
In this comprehensive guide, we’ll walk you through everything you need to know about creating your own hydroponics system. From the science behind hydroponics to step-by-step instructions for building a home system, we’ve got you covered.
Why Hydroponics?
Before diving into the DIY process, let’s explore why hydroponics has become so popular:
- Space-Saving: Since plants grow without soil, hydroponic systems can be set up in small spaces, making them ideal for apartments or homes with limited outdoor space.
- Efficient Water Use: Hydroponics uses less water than traditional gardening because water is recirculated in a closed system.
- Faster Growth: Plants grown hydroponically tend to grow faster and healthier because they receive direct access to nutrients.
- Year-Round Gardening: With hydroponics, you can grow fresh produce indoors regardless of the season, providing access to fresh vegetables and herbs year-round.
Materials You’ll Need for a DIY Hydroponics System
Building your own hydroponic system at home doesn’t require expensive equipment. Most of the materials can be found at your local hardware store or online.
Basic Materials:
- Container or Reservoir: A large, deep container to hold the nutrient solution. This can be a plastic storage bin or a 5-gallon bucket.
- Net Pots: Small pots with holes that allow the plant roots to reach the water.
- Grow Medium: Materials like clay pellets, rock wool, or coco coir to hold the plant in place and provide support.
- Air Pump and Air Stone: To oxygenate the water and keep the nutrient solution circulating.
- Hydroponic Nutrients: A mix of water-soluble fertilizers designed specifically for hydroponic gardening.
- pH Test Kit: To ensure your water solution stays within the optimal pH range for plant growth (typically between 5.5 and 6.5).
- Seedlings or Cuttings: Young plants to get your system started.
Optional:
- Timer: For automated watering or light cycles.
- Grow Lights: If you’re growing indoors, especially in low-light areas, LED grow lights can help provide the necessary light for plant growth.
Step-by-Step Guide to Building Your DIY Hydroponics System
Here’s a simple step-by-step process to build a basic Deep Water Culture (DWC) hydroponic system, perfect for beginners.
Step 1: Choosing Your Container
Your container, also known as the reservoir, will house the nutrient solution and provide the space for plant roots to grow. Ideally, choose a dark, opaque container to prevent algae growth. A plastic storage bin or a 5-gallon bucket works well for a small-scale system.
Tip: Make sure the container is deep enough to submerge the roots of your plants while leaving space for nutrient circulation.
Step 2: Create Plant Sites
Next, you’ll need to create holes in the lid of your container where your plants will sit. Use a drill or hole saw to make holes that are slightly smaller than the width of your net pots. These holes will hold your plants securely while allowing their roots to grow down into the nutrient solution.
For a standard 5-gallon bucket, 3-4 holes should be enough. For a larger container, you can create more plant sites as long as you maintain enough space between plants for growth.
Step 3: Assemble the Air Pump and Air Stone
Oxygen is essential for healthy root development, so it’s important to keep the nutrient solution aerated. An air pump, similar to what is used in aquariums, can provide oxygen to your hydroponic system.
- Connect the air stone to the air pump using tubing, and place the air stone at the bottom of the reservoir.
- When the air pump is turned on, it will bubble air through the water, keeping the roots oxygenated and the water moving.
Step 4: Fill the Reservoir with Water and Nutrients
Once your air pump is set up, fill your reservoir with water. Distilled water is recommended as it has no minerals that might affect the pH or nutrient balance.
Next, add hydroponic nutrients to the water according to the manufacturer’s instructions. These nutrients are specifically formulated to provide plants with everything they need to grow without soil. Be sure to test the pH of the water using a pH test kit and adjust it if necessary. The optimal pH range for hydroponic plants is between 5.5 and 6.5.
Step 5: Set Up Your Plants
Take your seedlings or cuttings and place them in net pots filled with a grow medium, such as clay pellets or rock wool. The grow medium provides stability and support for your plants but allows the roots to grow freely through the bottom of the net pots.
Place the net pots into the holes you created in the container lid, ensuring that the bottom of the pots, and thus the roots, are just above the water surface. As the roots grow, they will reach down into the nutrient-rich water.
Step 6: Monitor and Maintain
Now that your DIY hydroponic system is set up, regular maintenance is key to ensuring healthy plant growth.
- Monitor Water Levels: Check the water level regularly to ensure the roots are submerged. Add more water when necessary, especially as the plants grow and uptake more water.
- Nutrient Solution: Replenish the nutrient solution every 1-2 weeks to ensure the plants have a constant supply of nutrients.
- Oxygenation: Make sure the air pump is running consistently to keep the water oxygenated.
- pH Levels: Test the pH level of your nutrient solution weekly and adjust as needed to keep it in the optimal range.
- Lighting: If growing indoors, make sure your plants receive 12-16 hours of light each day. Grow lights can be used if natural sunlight is insufficient.
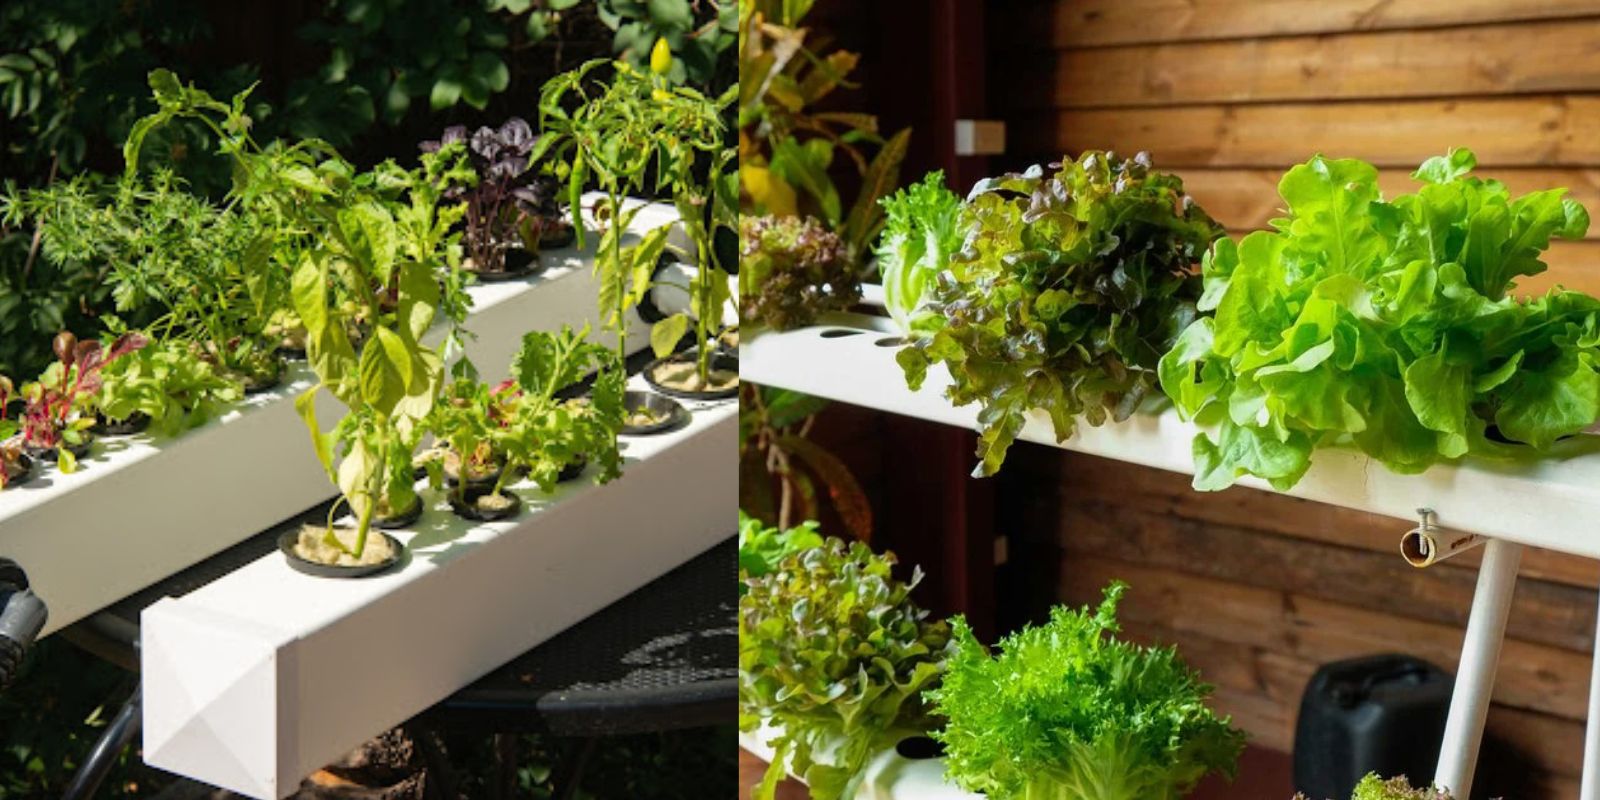
Types of Plants to Grow in a Hydroponic System
One of the greatest advantages of hydroponics is the variety of plants you can grow. Whether you’re looking to grow herbs, leafy greens, or even fruiting plants, hydroponics can accommodate many types of produce.
Ideal Plants for Hydroponic Gardening:
- Leafy Greens: Lettuce, spinach, and kale are fast-growing and thrive in a hydroponic setup.
- Herbs: Basil, mint, cilantro, and parsley grow well in hydroponic systems and offer fresh flavors for your kitchen.
- Fruiting Plants: Tomatoes, cucumbers, peppers, and strawberries can also be grown hydroponically with the right care.
- Microgreens: Growing microgreens in hydroponics is popular due to their quick growth and nutrient density.
Benefits of DIY Hydroponic Gardening
There are several reasons why hydroponics is a great alternative to traditional gardening methods, particularly for indoor gardeners.
- Faster Growth: Hydroponically grown plants often grow 25-50% faster than those grown in soil due to direct access to nutrients.
- Better Yields: Plants in hydroponics systems tend to produce larger, healthier yields as they aren’t competing for nutrients or space.
- Less Water Waste: Hydroponics systems use up to 90% less water than traditional soil gardening since water is recirculated.
- No Weeds or Pests: Indoor hydroponic systems are free from weeds, and because there’s no soil, they’re less prone to pests and diseases.
- Year-Round Gardening: With the ability to grow indoors, you can cultivate fresh produce regardless of the weather outside.
Conclusion: Get Started with Your DIY Hydroponics System
Building your own hydroponics system at home is not only rewarding but also an exciting way to experiment with growing fresh, healthy produce. With just a few materials and some basic knowledge, you can create a thriving indoor garden that yields quicker, healthier, and larger crops than traditional soil-based gardening.
Start your hydroponic adventure today and experience the magic of soilless gardening!