
Gardening enthusiasts often seek natural, cost-effective ways to enrich their soil and improve plant health. One of the most effective methods is creating your own fish-based fertilizer through fermentation. Fish fermentation offers a rich blend of essential nutrients like nitrogen, phosphorus, potassium, and trace elements, making it a potent addition to any gardener’s toolkit. This eco-friendly fertilizer is perfect for growing healthy vegetables, lush foliage, and vibrant flowers.
In this article, we’ll explore the step-by-step process of creating homemade fish fermentation, its benefits, and tips for using it effectively in your garden.
Why Use Fish Fermentation Fertilizer?
Homemade fish fermentation fertilizer has several advantages:
- Nutrient-Rich: Fish is a natural source of nitrogen, phosphorus, and potassium, essential for plant growth.
- Eco-Friendly: Reduces food waste by repurposing fish scraps.
- Cost-Effective: Provides an affordable alternative to commercial fertilizers.
- Improves Soil Health: Enriches the soil microbiome, encouraging beneficial microorganisms.
Materials You’ll Need
Before you start, gather these materials:
- Fish Scraps: Heads, bones, and other leftovers (fresh or frozen).
- Molasses or Brown Sugar: A fermenting agent that feeds beneficial bacteria.
- Water: For mixing and diluting the fertilizer.
- Airtight Container: To allow proper fermentation while containing odors.
- Blender or Food Processor: To grind fish scraps into a manageable consistency.
- Gloves and Mask: To handle fish scraps hygienically and minimize odor exposure.
Step-by-Step Guide to Making Fish Fermentation Fertilizer
Step 1: Collect and Prepare Fish Scraps
- Gather fish leftovers from your kitchen or local fish market.
- Clean the scraps to remove any non-organic materials like packaging.
- Cut larger pieces into smaller chunks for easier processing.
Step 2: Blend the Fish Scraps
- Use a blender or food processor to grind the fish scraps into a smooth or semi-smooth paste.
- Add a small amount of water to aid the blending process if necessary.
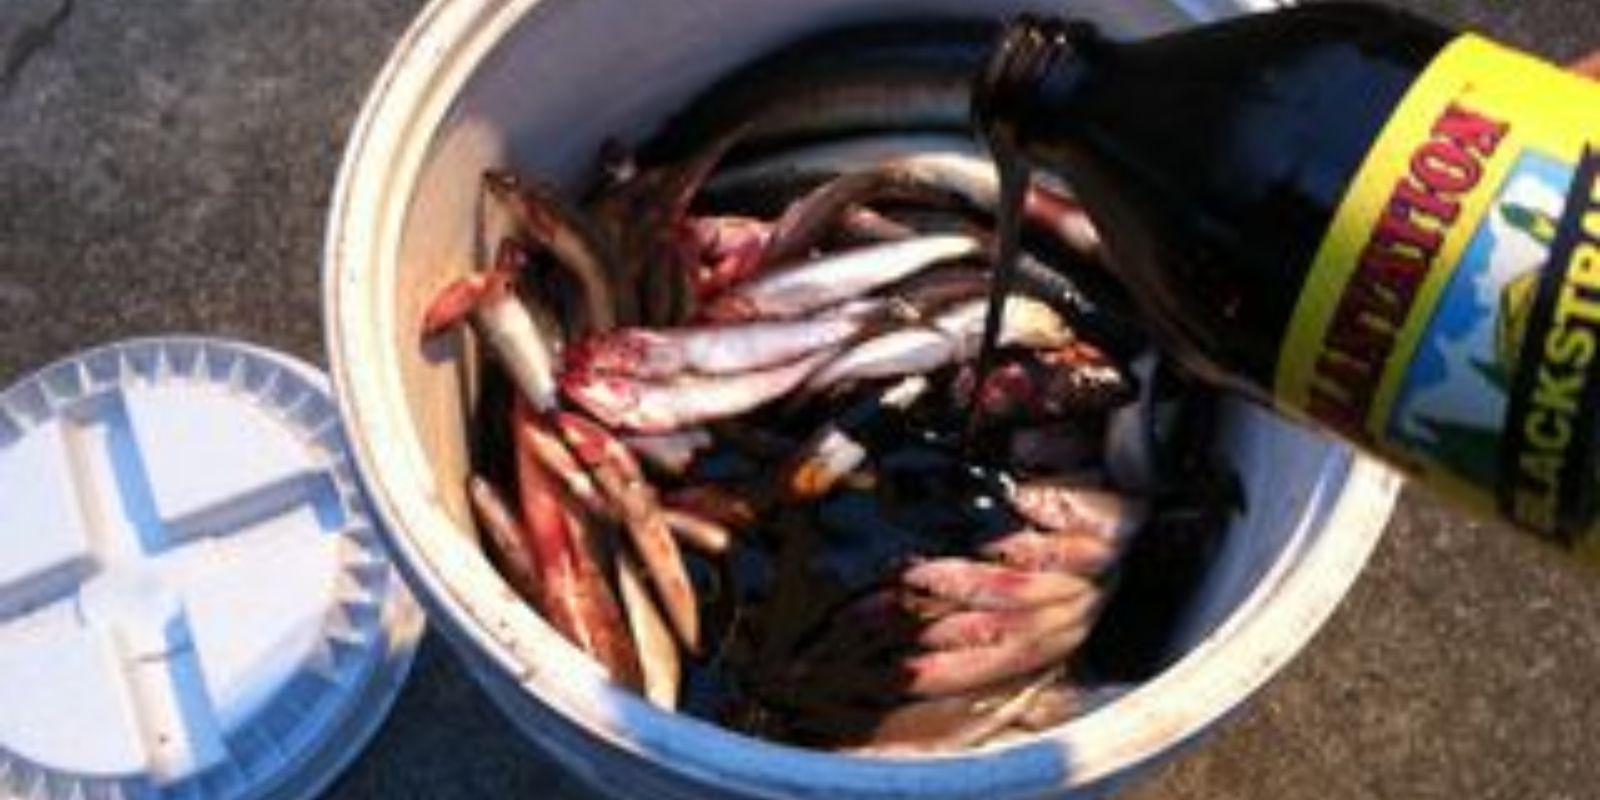
Step 3: Mix with Molasses or Brown Sugar
- Combine the blended fish paste with molasses or brown sugar in a 2:1 ratio (2 parts fish, 1 part molasses).
- Stir well to ensure the sugar coats the fish evenly. This mixture will serve as the base for fermentation.
Step 4: Begin Fermentation
- Transfer the mixture into an airtight container, leaving some space at the top to allow for expansion.
- Seal the container tightly and store it in a shaded, cool area.
- Let the mixture ferment for 2–3 weeks, stirring it every few days to release gases and prevent clumping.
Step 5: Strain and Store the Fertilizer
- After fermentation is complete, strain the mixture to separate solids from the liquid.
- The liquid is your fish fertilizer concentrate.
- Store the concentrate in a sealed container for up to six months in a cool, dark place.
How to Use Fish Fertilizer in Your Garden
Diluting the Fertilizer
- Fish fertilizer is highly concentrated and must be diluted before application.
- Mix 1 part fertilizer with 50 parts water for general use. For young plants, dilute further to avoid over-fertilizing.
Application Methods
- Soil Drench: Pour the diluted mixture around the base of plants to enrich the soil.
- Foliar Spray: Spray the diluted fertilizer directly on leaves to provide immediate nutrient uptake.
Benefits of Fish Fermentation Fertilizer
- Promotes Healthy Growth: High nitrogen content supports leafy growth, while phosphorus boosts root and flower development.
- Improves Soil Quality: Encourages beneficial microorganisms, enhancing soil structure and nutrient availability.
- Reduces Waste: Turns food scraps into valuable garden resources, minimizing landfill contributions.
- Safe for All Plants: Suitable for vegetables, fruits, flowers, and even houseplants.
Troubleshooting Common Issues
- Odor Management: If the fermentation process produces an unpleasant smell, add more molasses to balance it out. Proper sealing of the container also minimizes odors.
- Mold Growth: A white film on the surface is normal and harmless. Discard the mixture if you notice black or green mold, as this indicates contamination.
- Over-Fertilization: Avoid applying undiluted fertilizer, which can harm plants due to its high nutrient concentration.
Safety and Hygiene Tips
- Always wear gloves and a mask when handling fish scraps to maintain hygiene.
- Use clean tools and containers to prevent contamination during the process.
- Wash your hands thoroughly after working with fish fertilizer.
Additional Uses for Fish Fermentation Byproducts
- Solid Remnants: The strained solids can be composted or buried in the garden for slow nutrient release.
- Pest Deterrent: Fermented fish has a strong scent that may deter certain garden pests.
FAQs
Q: Can I use fresh fish instead of scraps?
A: Yes, but using scraps is more cost-effective and environmentally friendly.
Q: How often should I apply fish fertilizer?
A: Apply every 2–4 weeks during the growing season for optimal results.
Q: Can fish fertilizer attract animals to my garden?
A: Proper dilution reduces odor, minimizing the risk of attracting wildlife.
Conclusion
Homemade fish fermentation fertilizer is an excellent way to recycle kitchen waste, enrich your garden soil, and promote healthy plant growth. This natural, sustainable solution is easy to make and highly effective for a variety of plants.
Have you tried making your own fish fertilizer? Share your experiences, tips, or questions in the comments below! 🌱🐟
#DIYFertilizer #FishFermentation #SustainableGardening #EcoFriendlyTips #GardeningHacks #PlantCareTips #OrganicGardening #GrowYourOwn