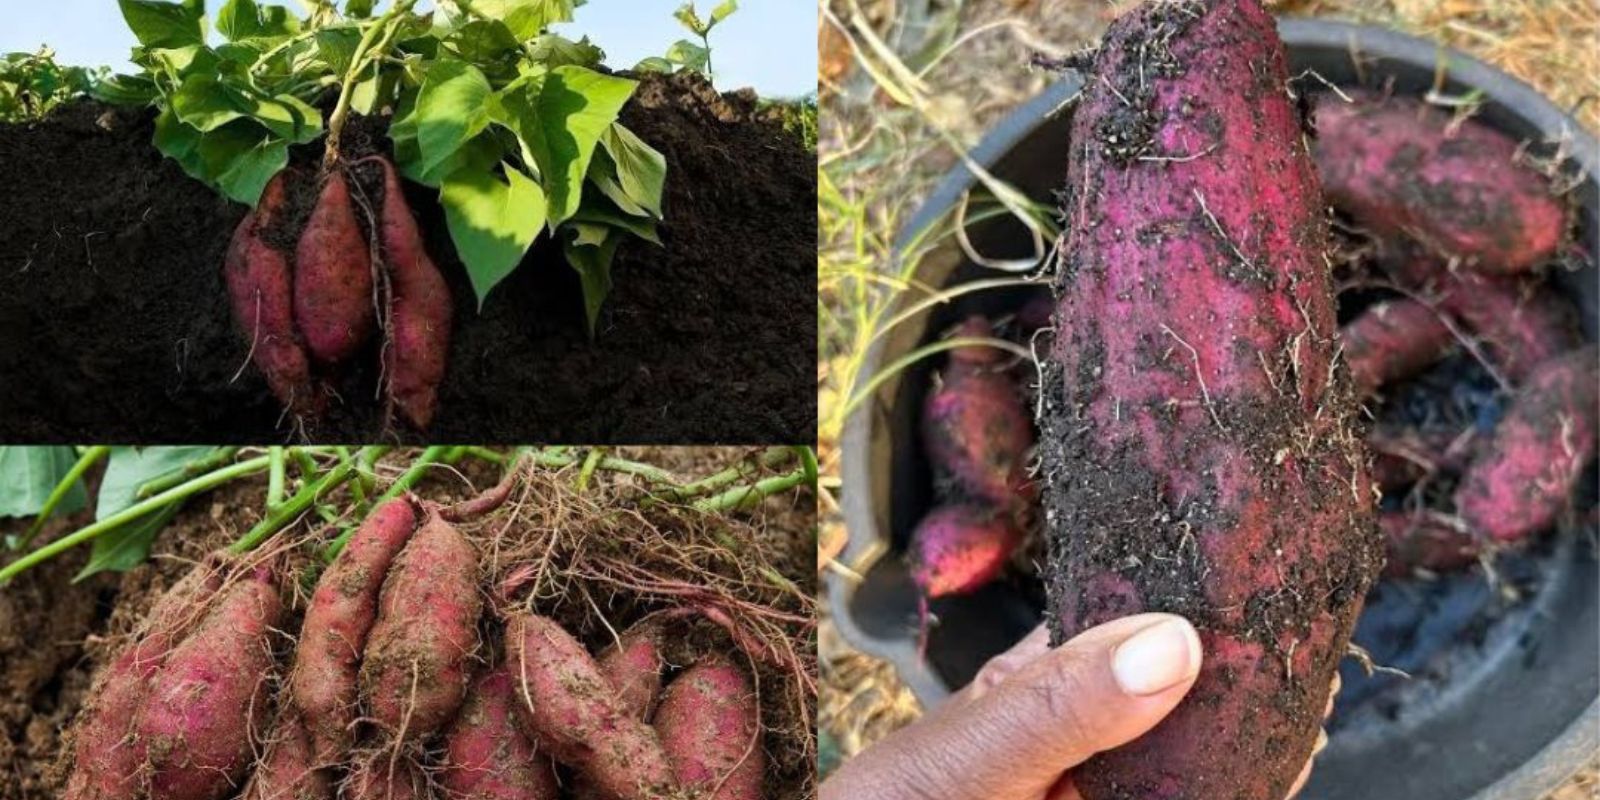
Sweet potatoes are a versatile, nutritious, and delicious crop that is surprisingly easy to grow. Whether you’re limited on garden space or prefer a more controlled growing environment, cultivating sweet potatoes in soil bags offers a practical and rewarding solution. This guide will take you through everything you need to know, from preparation to harvest, so you can enjoy a thriving sweet potato crop no matter where you live.
Why Grow Sweet Potatoes in Soil Bags?
Growing sweet potatoes in soil bags offers several advantages:
- Space Efficiency: Perfect for small spaces, patios, or urban gardens.
- Mobility: Soil bags are easy to move, allowing you to optimize sunlight exposure.
- Controlled Environment: Reduce pests, weeds, and soil quality issues by using fresh, nutrient-rich soil.
- Increased Yield: Proper care in a controlled environment often leads to healthier crops and higher yields.
Step 1: Choosing the Right Bag
Not all soil bags or grow bags are created equal. Here’s what to look for:
- Material: Opt for durable, breathable fabric grow bags that promote aeration and prevent root rot. Plastic bags can work but ensure proper drainage holes.
- Size: Choose a bag that’s at least 10 gallons or larger to give sweet potatoes enough room to develop tubers.
- Drainage: Proper drainage is critical to prevent waterlogging. If using a plastic soil bag, punch multiple holes in the bottom.
Step 2: Preparing the Soil
Sweet potatoes thrive in loose, sandy, well-draining soil. Here’s how to prepare it:
- Soil Mix: Use a mix of sandy loam and compost for optimal drainage and nutrients. A 50:50 ratio works well.
- pH Level: Sweet potatoes prefer slightly acidic soil, with a pH of 5.5 to 6.5. Test your soil and amend it if necessary.
- Fertilizer: Mix in a balanced fertilizer with equal parts nitrogen, phosphorus, and potassium before planting.
Step 3: Planting Sweet Potato Slips
Sweet potatoes are grown from slips—shoots that sprout from mature sweet potatoes. You can buy slips from a nursery or grow your own.
- How to Grow Slips:
- Place a sweet potato in a jar of water with half submerged, using toothpicks to hold it in place.
- Keep it in a warm, sunny spot, and within a few weeks, slips will sprout.
- Once the slips are 6 inches long, gently twist them off and place them in water until they develop roots.
- Planting the Slips:
- Fill your soil bag with prepared soil, leaving 2–3 inches of space at the top.
- Create small holes 4–6 inches deep and 12 inches apart in the bag.
- Insert the slips into the holes, burying the stem but leaving the leaves above ground.
- Gently pat the soil around the slips to secure them.
Step 4: Watering and Sunlight
Proper care is essential to ensure your sweet potato plants thrive.
- Watering: Sweet potatoes need consistent moisture. Water thoroughly after planting and keep the soil evenly moist but not soggy. Reduce watering as the vines mature.
- Sunlight: Place the bag in a sunny spot where it receives 6–8 hours of direct sunlight daily. Sweet potatoes are sun-loving plants and need warmth to grow.
Step 5: Caring for the Vines
As the plants grow, their vines will begin to spread.
- Training the Vines: Gently guide the vines to prevent tangling or overcrowding. This also helps ensure even sunlight exposure.
- Pest Control: Check regularly for common pests like aphids or whiteflies. Use organic solutions like neem oil or insecticidal soap if needed.
- Mulching: Add a layer of mulch to retain moisture and suppress weeds.
Step 6: Monitoring Growth
Sweet potato plants take about 90–120 days to mature, depending on the variety. Look for these signs of healthy growth:
- Vigorous Vines: Healthy, green vines are a good indicator of thriving plants.
- Tuber Development: Gently check the soil after 60 days to see if tubers are forming. Avoid disturbing the roots too much.
Step 7: Harvesting Sweet Potatoes
Knowing when and how to harvest sweet potatoes is crucial for the best yield.
- Signs of Maturity:
- The leaves and vines will start to yellow and die back.
- If you’re unsure, dig up one tuber carefully to check its size.
- Harvesting:
- Dump out the soil bag carefully or dig into the soil to retrieve the sweet potatoes.
- Be gentle to avoid bruising or damaging the tubers.
- Allow the sweet potatoes to cure for 1–2 weeks in a warm, humid environment to enhance their flavor and sweetness.
Additional Tips for Success
- Rotate Crops: Avoid planting sweet potatoes in the same soil bag year after year to prevent soil-borne diseases.
- Avoid Overfertilizing: Excess nitrogen leads to lush vines but fewer tubers. Stick to balanced fertilizers.
- Reuse Soil Bags: After harvesting, compost the old soil or refresh it with new organic material for the next crop.
Why You’ll Love Growing Sweet Potatoes in Soil Bags
- Compact Setup: Ideal for balconies, patios, or even indoors near sunny windows.
- Scalable: Start with one bag or set up multiple for a larger harvest.
- Satisfying Results: Sweet potatoes are a low-maintenance crop with a high reward.
Conclusion
Growing sweet potatoes in soil bags is an innovative and accessible way to cultivate this beloved crop. By following these simple steps, you’ll be able to enjoy a bountiful harvest of sweet potatoes, no matter your space constraints. With the right setup, consistent care, and a bit of patience, your soil bag garden can yield delicious, homegrown sweet potatoes season after season.
What are you waiting for? Grab a soil bag, plant your slips, and start growing your sweet potato adventure today!

