
Imagine stepping into a serene haven filled with the soothing fragrance of lavender, where vibrant purple blooms dance in the breeze, and the sun filters through a canopy of greenery. A lavender garden cottage is not just a beautiful landscape; it’s a retreat that nurtures the soul, offering a peaceful escape from the hustle and bustle of everyday life. In this article, we will guide you through the steps to create your own lavender garden cottage, turning your outdoor space into a fragrant paradise.
Why Choose Lavender?
Lavender (Lavandula) is more than just a pretty plant; it offers a plethora of benefits. Known for its calming fragrance, lavender can enhance relaxation and reduce stress. It is also a magnet for pollinators, such as bees and butterflies, making it an excellent choice for sustainable gardening. Additionally, lavender is drought-resistant, making it perfect for gardeners seeking low-maintenance plants.
Step 1: Choosing the Right Location
The first step in creating your lavender garden cottage is selecting the perfect location. Here are a few tips:
- Sunlight: Lavender thrives in full sunlight, requiring at least 6 to 8 hours of direct sunlight daily. Choose a spot that receives ample sunlight to ensure healthy growth.
- Drainage: Lavender prefers well-drained soil. Avoid areas where water tends to pool, as excessive moisture can lead to root rot.
- Protection from Wind: If possible, choose a location that offers some protection from harsh winds, which can damage the delicate flowers.
Step 2: Preparing the Soil
Once you have selected your location, it’s time to prepare the soil:
- Test the pH Level: Lavender prefers slightly alkaline soil with a pH between 6.5 and 7.5. You can purchase a soil pH test kit from a gardening store to check your soil’s acidity. If necessary, amend the soil to raise the pH.
- Improve Drainage: Amend the soil with sand or gravel to improve drainage. You can also mix in organic matter, such as compost, to enrich the soil while maintaining drainage.
- Tilling: Turn the soil to a depth of about 12 inches, breaking up any clumps and mixing in your amendments thoroughly.
Step 3: Selecting Your Lavender Varieties
Choosing the right lavender varieties is essential for a beautiful garden. Here are a few popular options:
- English Lavender (Lavandula angustifolia): Known for its sweet fragrance and culinary uses, English lavender is hardy and thrives in a variety of climates.
- Spanish Lavender (Lavandula stoechas): This variety features unique, showy flowers and is known for its ability to tolerate warmer temperatures.
- French Lavender (Lavandula dentata): With its distinctive serrated leaves and fragrant blooms, French lavender is an excellent choice for garden borders.
When selecting your lavender, consider your climate, soil type, and intended use.
Step 4: Planting Your Lavender
After selecting your lavender varieties, it’s time to plant:
- When to Plant: The best time to plant lavender is in the spring, after the last frost. This gives the plants a full growing season to establish themselves.
- Spacing: Plant your lavender 12 to 18 inches apart to allow for adequate air circulation and room for growth. Crowding can lead to disease and poor flowering.
- How to Plant: Dig a hole slightly larger than the root ball of your lavender plant. Place the plant in the hole, ensuring that the top of the root ball is level with the soil surface. Backfill the hole with soil and gently tamp it down to remove any air pockets.
Step 5: Watering
Proper watering is crucial for healthy lavender plants:
- Initial Watering: Water newly planted lavender thoroughly to help settle the soil around the roots.
- Established Plants: Once established, lavender is drought-resistant and requires minimal watering. Allow the soil to dry out between waterings, as lavender prefers drier conditions. A good rule of thumb is to water deeply once every two to three weeks, depending on rainfall.
Step 6: Mulching
Applying mulch around your lavender plants serves multiple purposes:
- Weed Control: A layer of mulch helps suppress weeds, reducing competition for nutrients and water.
- Moisture Retention: While lavender prefers dry conditions, a thin layer of mulch can help retain soil moisture without suffocating the roots.
- Temperature Regulation: Mulch can help regulate soil temperature, keeping roots cool during hot weather.
Use organic mulch, such as straw or shredded bark, and apply a layer about 2 to 3 inches thick, being careful to keep it away from the base of the plants.
Step 7: Pruning
Pruning is essential for maintaining the shape and health of your lavender plants:
- When to Prune: The best time to prune lavender is in late summer or early fall, after the blooming season has ended.
- How to Prune: Use sharp, clean pruning shears to cut back about one-third of the plant, shaping it into a mound. Avoid cutting into the woody stems, as this can damage the plant and prevent regrowth.
Regular pruning encourages new growth and helps maintain the plant’s shape, leading to more abundant blooms in the following season.
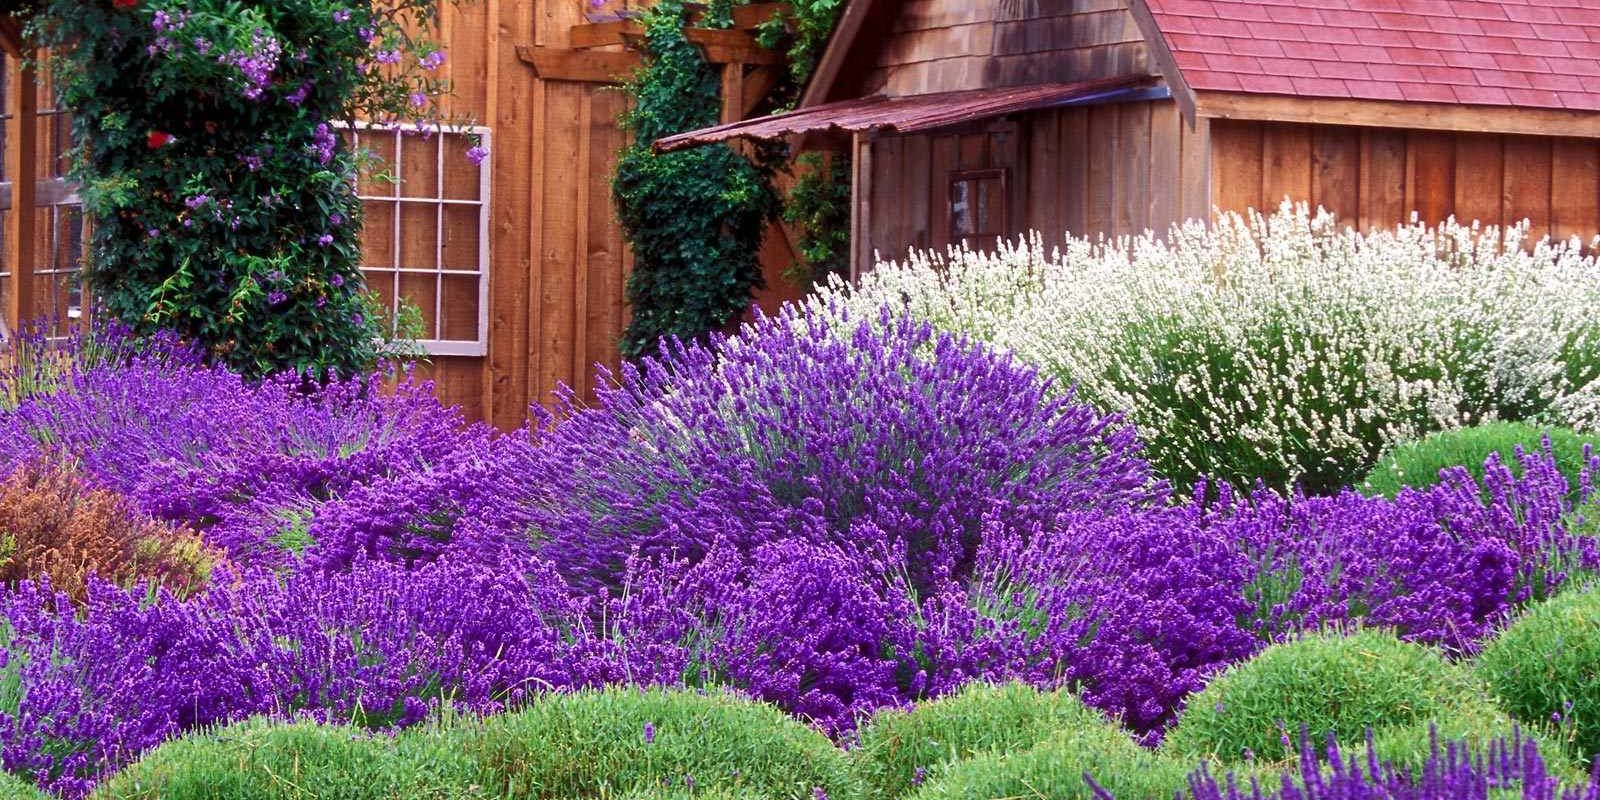
Step 8: Creating the Cottage Aesthetic
To enhance the charm of your lavender garden cottage, consider incorporating rustic elements:
- Paths and Borders: Create winding stone pathways or wooden borders to guide visitors through your garden.
- Seating Areas: Add cozy seating areas where you can relax and enjoy the beauty and fragrance of your garden. Consider using reclaimed wood for benches or chairs for a rustic touch.
- Decorative Features: Incorporate decorative elements such as trellises, arbors, or garden art that complement the lavender theme.
Step 9: Adding Companion Plants
Companion planting can enhance your lavender garden’s aesthetics and health:
- Drought-Tolerant Companions: Consider planting drought-resistant herbs like rosemary, thyme, and sage alongside your lavender. These plants have similar water and sunlight requirements, making them ideal companions.
- Pollinator Attractants: Adding flowers like echinacea, bee balm, and salvia can attract beneficial pollinators, further enhancing the health of your garden.
Step 10: Enjoying and Harvesting
Once your lavender blooms, it’s time to enjoy the fruits of your labor:
- Harvesting: When the lavender flowers are in full bloom, it’s the perfect time to harvest. Cut the stems in the morning after the dew has dried for the best fragrance. You can dry the flowers by hanging them upside down in a cool, dark place.
- Culinary Uses: Use fresh or dried lavender in culinary dishes, teas, or baked goods for a unique flavor.
- Crafting: Lavender can also be used to create sachets, oils, or bath products, allowing you to enjoy its benefits long after the blooms have faded.
Conclusion
Creating your own lavender garden cottage is a rewarding project that offers beauty, tranquility, and a variety of uses for this versatile plant. By following these steps—from selecting the right location and preparing the soil to choosing varieties and caring for your plants—you can cultivate a stunning lavender retreat that will delight you and your visitors for years to come. So grab your gardening tools and start your lavender journey today! 🌿💜
Call to Action
Have you started your own lavender garden cottage? Share your tips and progress with us! Use hashtags like #LavenderGardenCottage #GardeningGoals #LavenderLove to inspire fellow gardeners!