
Plumeria, also known as frangipani, is a tropical plant famous for its stunning flowers and captivating fragrance. These delightful blooms are not just a feast for the eyes but also a symbol of paradise, making them a cherished addition to gardens and homes worldwide. If you’re considering starting your own plumeria collection, this comprehensive guide will take you through every step of the process, from selecting the right varieties to proper care and maintenance.
The Allure of Plumeria
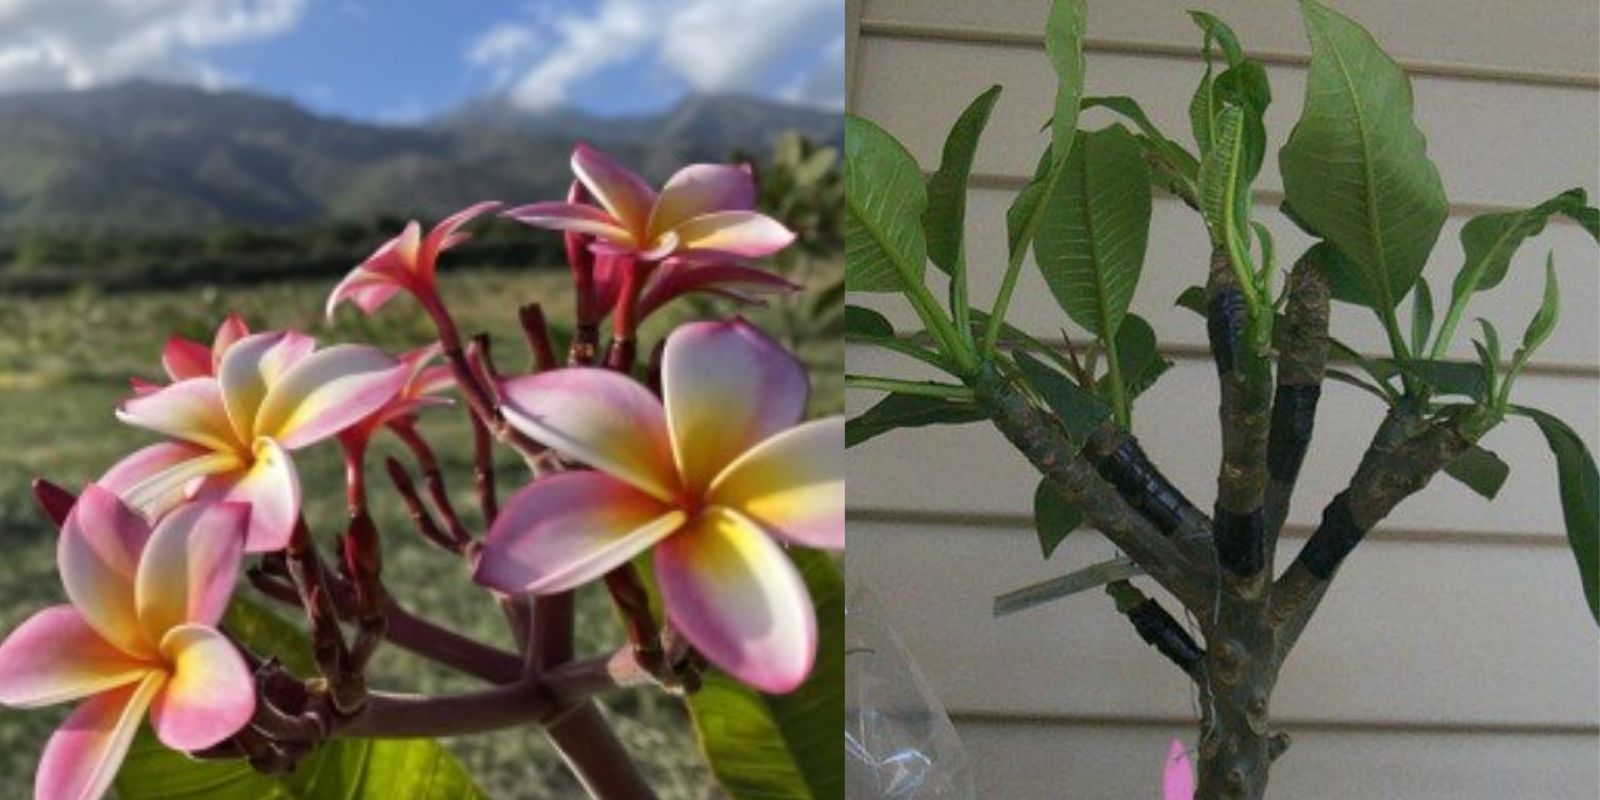
Plumeria plants are known for their unique, star-shaped flowers that come in a wide array of colors, including white, yellow, pink, and red. Each variety has its own charm, with some emitting intoxicating scents that enhance their beauty. These hardy plants are native to tropical regions, making them well-suited for warm climates but also adaptable for growing in pots indoors or in cooler areas.
The Benefits of Growing Plumeria
- Aesthetic Appeal: Plumerias can add a tropical vibe to your garden or indoor space with their vibrant colors and fragrant flowers.
- Versatility: They can be grown in the ground or in containers, making them suitable for various gardening setups.
- Easy Propagation: Plumeria can be propagated easily from cuttings, allowing you to expand your collection without needing to purchase new plants.
- Long Blooming Season: With the right care, plumerias can produce flowers for several months, bringing continuous beauty to your environment.
Step-by-Step Guide to Creating Your Plumeria Collection
Step 1: Choose the Right Varieties
The first step in creating a plumeria collection is to choose the varieties that resonate with you. There are over 300 species and hybrids, each with unique characteristics. Some popular varieties include:
- Plumeria rubra: Known for its vibrant colors and sweet scent, this is one of the most popular species.
- Plumeria obtusa: Characterized by its rounded leaves and white flowers, often with a yellow center.
- Plumeria alba: This variety produces stunning white flowers with a yellow center, known for its beautiful fragrance.
- Hybrid varieties: Many hybrids are developed for unique flower colors and patterns. Research local nurseries or online sources for the latest hybrid offerings.
When selecting varieties, consider factors such as flower color, scent, and growth habit. Make a list of your top choices to guide your purchasing decisions.
Step 2: Purchase Healthy Plants
Once you’ve decided on the varieties you want, it’s time to purchase healthy plants. Here are some tips for buying plumeria:
- Choose Reputable Sources: Purchase plants from well-reviewed nurseries or online retailers known for their quality. Avoid questionable sources that may sell unhealthy plants.
- Inspect Plants: Look for plants with strong, vibrant leaves and no signs of pests or diseases. Avoid any plants with yellowing leaves, brown spots, or wilting.
- Consider Size: Decide whether you want to start with smaller plants or established ones. Smaller plants will take longer to bloom but can be more affordable.
Step 3: Prepare Your Planting Area
Plumeria thrives in well-draining soil and requires ample sunlight. Here’s how to prepare your planting area:
- Location: Choose a spot that receives at least 6-8 hours of direct sunlight daily. This is crucial for optimal growth and blooming.
- Soil Type: Plumerias prefer sandy, well-draining soil. If planting in the ground, amend your soil with sand and organic matter to improve drainage. If using pots, select a cactus or succulent mix.
- Container Preparation: If you’re growing plumerias in pots, choose containers that are at least 12-16 inches in diameter with drainage holes to prevent root rot.
Step 4: Planting Techniques
Once your area is prepared, it’s time to plant your plumeria. Here’s how to do it:
- In-Ground Planting:
- Dig a hole twice the width of the root ball and as deep as the root ball itself.
- Place the plant in the hole, ensuring it is upright and at the same depth it was growing before.
- Backfill the hole with soil, gently tamping it down to eliminate air pockets.
- Water thoroughly to help settle the soil around the roots.
- Container Planting:
- Fill the pot with your chosen potting mix, leaving space for the root ball.
- Place the plant in the pot, ensuring the top of the root ball is just above the soil line.
- Add more potting mix around the sides and top, then water thoroughly.
Step 5: Watering and Fertilizing
Proper watering and fertilization are crucial for the health and blooming of your plumeria:
- Watering: Plumerias prefer to dry out between waterings. Water your plants thoroughly, then wait until the top 2-3 inches of soil are dry before watering again. During the growing season (spring and summer), they will require more frequent watering, while in fall and winter, reduce watering significantly.
- Fertilizing: Use a balanced fertilizer designed for flowering plants. Fertilize every 4-6 weeks during the growing season to promote healthy growth and abundant blooms. A fertilizer high in phosphorus can help encourage flowering.
Step 6: Pruning and Maintenance
Pruning is an essential part of plumeria care. Here’s how to do it effectively:
- Timing: The best time to prune plumeria is in the late fall or early spring before new growth begins.
- Tools: Use clean, sharp pruning shears to make clean cuts. This will help prevent disease and encourage healthy growth.
- Technique: Remove any dead or damaged branches, as well as any branches that cross or rub against each other. Aim for an open shape that allows sunlight and air circulation.
Step 7: Protecting Your Plumeria
Plumerias are generally hardy, but they can be susceptible to pests and diseases. Here’s how to protect them:
- Pest Management: Regularly inspect your plants for pests such as aphids, mealybugs, and spider mites. If you notice an infestation, treat it promptly with insecticidal soap or neem oil.
- Disease Prevention: Ensure proper watering practices and good air circulation to minimize the risk of fungal diseases. Avoid overhead watering, which can lead to leaf spots and rot.
Step 8: Enjoy the Blooms
After putting in the effort to cultivate your plumeria collection, it’s time to sit back and enjoy the fruits of your labor:
- Flowering Season: Depending on the variety and climate, plumerias may start blooming in late spring and continue into fall. Enjoy their stunning colors and sweet scents by placing potted plants near windows or outdoor seating areas.
- Cut Flowers: Plumeria flowers make beautiful cut flowers for arrangements. If you plan to cut blooms, do so in the morning when they’re freshest. Place cut stems in water immediately to preserve their beauty.
Step 9: Expanding Your Collection
As your plumeria collection grows, you might want to consider expanding it further:
- Propagation: Plumerias are easy to propagate from cuttings. Simply take a healthy cutting of about 12-15 inches, allow it to dry for a few days to form a callus, and then plant it in well-draining soil.
- Share with Friends: If you have excess cuttings, share them with fellow gardening enthusiasts or friends. It’s a great way to spread the joy of plumeria!
Conclusion
Creating a plumeria collection is a fulfilling and exciting endeavor that brings the beauty of tropical blooms into your life. With careful selection, proper planting, and attentive care, you can cultivate a stunning display of vibrant flowers that will enhance your garden or home. Embrace the process, enjoy the blooms, and share your passion for plumeria with others. Happy gardening!
#Plumeria #Frangipani #TropicalPlants #GardeningTips #PlantCollection #BloomingBeauty #GardeningJoy #PlantLove #FlowerPower #HomeGarden