
Introduction
Watering your garden efficiently is crucial for maintaining healthy plants and maximizing yields. Traditional watering methods, such as hand watering or standard sprinklers, often result in uneven water distribution and wastage. A high-pressure garden sprinkler system offers a solution by delivering precise amounts of water directly to plant roots, ensuring thorough coverage while conserving water resources. In this article, we explore the step-by-step process of creating a DIY high-pressure sprinkler system, empowering you to optimize your garden’s watering regime and enhance overall plant health.
Benefits of a High-Pressure Sprinkler System
Before diving into the practical steps, it’s essential to understand the advantages of installing a high-pressure garden sprinkler system:
- Efficient Water Distribution: High-pressure systems deliver water with greater force and precision, ensuring even coverage across your garden.
- Time-Saving: Automating watering with a sprinkler system frees up time for other gardening tasks or leisure activities.
- Water Conservation: By minimizing overspray and evaporation, high-pressure sprinklers help conserve water, making them an environmentally friendly choice.
- Customization: You can customize the layout and design of your sprinkler system to meet the specific needs of your garden, including different watering zones and plant types.
Steps to Craft Your Own High-Pressure Garden Sprinkler System
1. Plan Your System
Begin by assessing your garden’s layout and watering requirements:
- Evaluate Water Pressure: Measure the water pressure at your outdoor spigot using a pressure gauge. High-pressure systems typically require at least 40-60 PSI (pounds per square inch) for optimal performance.
- Identify Watering Zones: Determine the areas of your garden that require irrigation and the types of plants in each zone (e.g., flower beds, vegetable patches, lawn areas).
2. Gather Materials
Assemble the necessary components for your high-pressure sprinkler system:
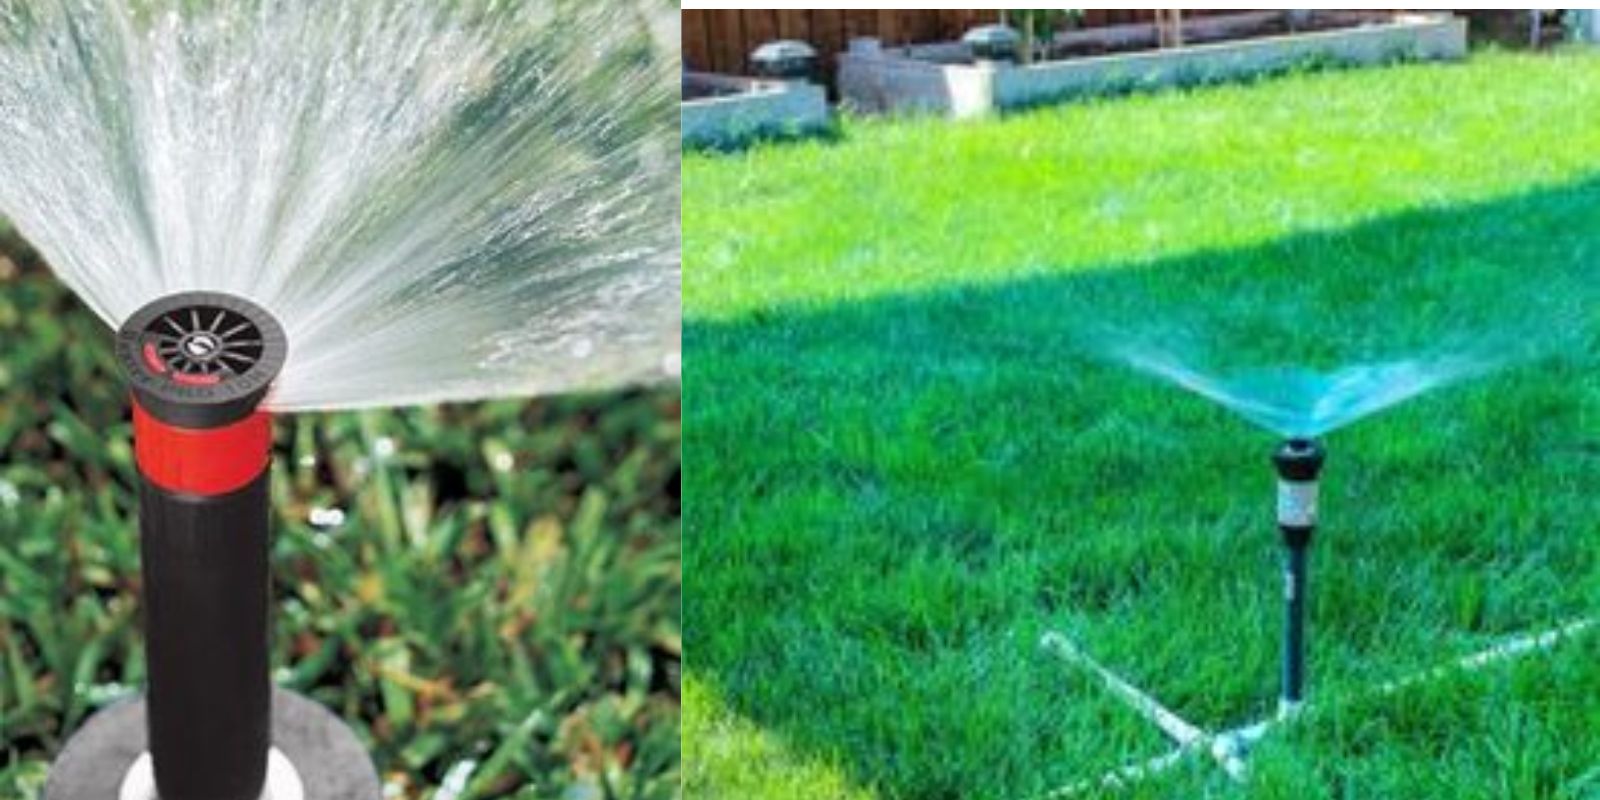
- High-Pressure Sprinkler Heads: Choose sprinkler heads designed for high-pressure systems, such as gear-driven or impact sprinklers.
- PVC Pipes and Fittings: Select durable PVC pipes and fittings in appropriate sizes to create a network of water distribution lines.
- Pressure Regulator: Install a pressure regulator to stabilize water pressure and protect your sprinkler heads from damage.
- Hose Connectors and Teflon Tape: Use hose connectors and Teflon tape to ensure watertight connections between pipes and fittings.
3. Install Water Source
Connect your garden hose to the outdoor water supply:
- Attach Pressure Regulator: Install a pressure regulator between the hose and water source to maintain consistent water pressure throughout your system.
- Position Hose Bib: Ensure the hose bib (spigot) is accessible and provides sufficient clearance for connecting hoses and pipes.
4. Lay Out PVC Pipes
Design the layout of your sprinkler system and install PVC pipes accordingly:
- Measure and Cut Pipes: Use a saw to cut PVC pipes to the desired lengths, accounting for the distance between sprinkler heads and water source.
- Assemble Pipes and Fittings: Connect PVC pipes and fittings using PVC cement or primer and solvent to create a secure and leak-proof network.
5. Attach Sprinkler Heads
Install high-pressure sprinkler heads along the PVC pipes:
- Position Sprinkler Heads: Place sprinkler heads at strategic intervals to ensure adequate coverage of each watering zone.
- Adjust Spray Pattern: Adjust the spray pattern and distance of each sprinkler head to meet the specific watering needs of different plant types.
6. Test and Adjust
Turn on the water supply and test your sprinkler system for efficiency:
- Check Coverage: Evaluate the coverage and uniformity of water distribution across each zone. Make adjustments to sprinkler head angles or positions as needed.
- Monitor Pressure: Monitor water pressure to ensure it remains within the optimal range for your high-pressure sprinkler system.
7. Secure and Conceal Pipes
Secure PVC pipes to the ground to prevent movement and protect them from damage:
- Use Stakes or Straps: Use stakes, straps, or pipe clamps to secure PVC pipes firmly to the ground or other structures.
- Consider Burying Pipes: Bury pipes below the surface for a cleaner appearance and added protection against accidental damage.
8. Monitor and Maintain
Regular maintenance ensures your high-pressure sprinkler system operates efficiently:
- Inspect Regularly: Check sprinkler heads for clogs, leaks, or damage. Clean or replace sprinkler heads as necessary to maintain optimal performance.
- Adjust Seasonally: Adjust watering schedules and spray patterns seasonally to accommodate changes in weather and plant growth.
Conclusion
Crafting your own high-pressure garden sprinkler system empowers you to take control of your garden’s watering needs with precision and efficiency. By following these steps and investing in quality materials, you can create a customized irrigation solution that enhances plant health, conserves water, and saves you time and effort in garden maintenance. Whether you’re tending to a small backyard garden or a sprawling landscape, a high-pressure sprinkler system offers a sustainable and effective way to ensure your plants thrive throughout the growing season.
Motivation
Explore the possibilities of creating a high-pressure garden sprinkler system to transform your gardening experience. From planning and installation to maintenance and adjustment, each step brings you closer to achieving a lush and vibrant garden with minimal effort. Embrace the benefits of efficient water management and enjoy the beauty of a well-nourished garden that flourishes under your care! 💦🌿
This article provides a comprehensive guide to crafting a DIY high-pressure garden sprinkler system, emphasizing efficiency, water conservation, and plant health benefits.