
Efficient irrigation is crucial for maintaining a healthy garden, and a well-designed high-pressure sprinkler system can make all the difference. Crafting your own system might sound challenging, but with the right materials and a clear plan, it’s a rewarding project that can save you time and money while providing optimal watering for your plants. This article will guide you through the process of creating a high-pressure garden sprinkler system from scratch.
1. Planning Your System
A. Assess Your Garden Needs
Before diving into the construction of your sprinkler system, take some time to assess your garden’s specific needs:
- Coverage Area: Measure the total area you need to irrigate. Consider the shape and size of your garden to determine the number and placement of sprinkler heads.
- Water Pressure: Check your garden’s water pressure, as it will impact the type of sprinkler heads you can use. High-pressure systems require sufficient water pressure to function effectively.
B. Design Your Layout
Sketch a layout of your garden, including:
- Sprinkler Placement: Mark where each sprinkler head will be installed. Ensure even coverage to avoid dry spots.
- Pipe Routing: Plan the routes for PVC pipes to connect the sprinklers. Avoid sharp turns and ensure that pipes are easily accessible for maintenance.
2. Gathering Materials
A. List of Materials
To build your high-pressure sprinkler system, you’ll need:
- PVC Pipes: Used to carry water to the sprinkler heads. Choose the appropriate diameter based on your system’s requirements.
- PVC Connectors: Includes elbows, tees, and couplings to join pipes and create your system layout.
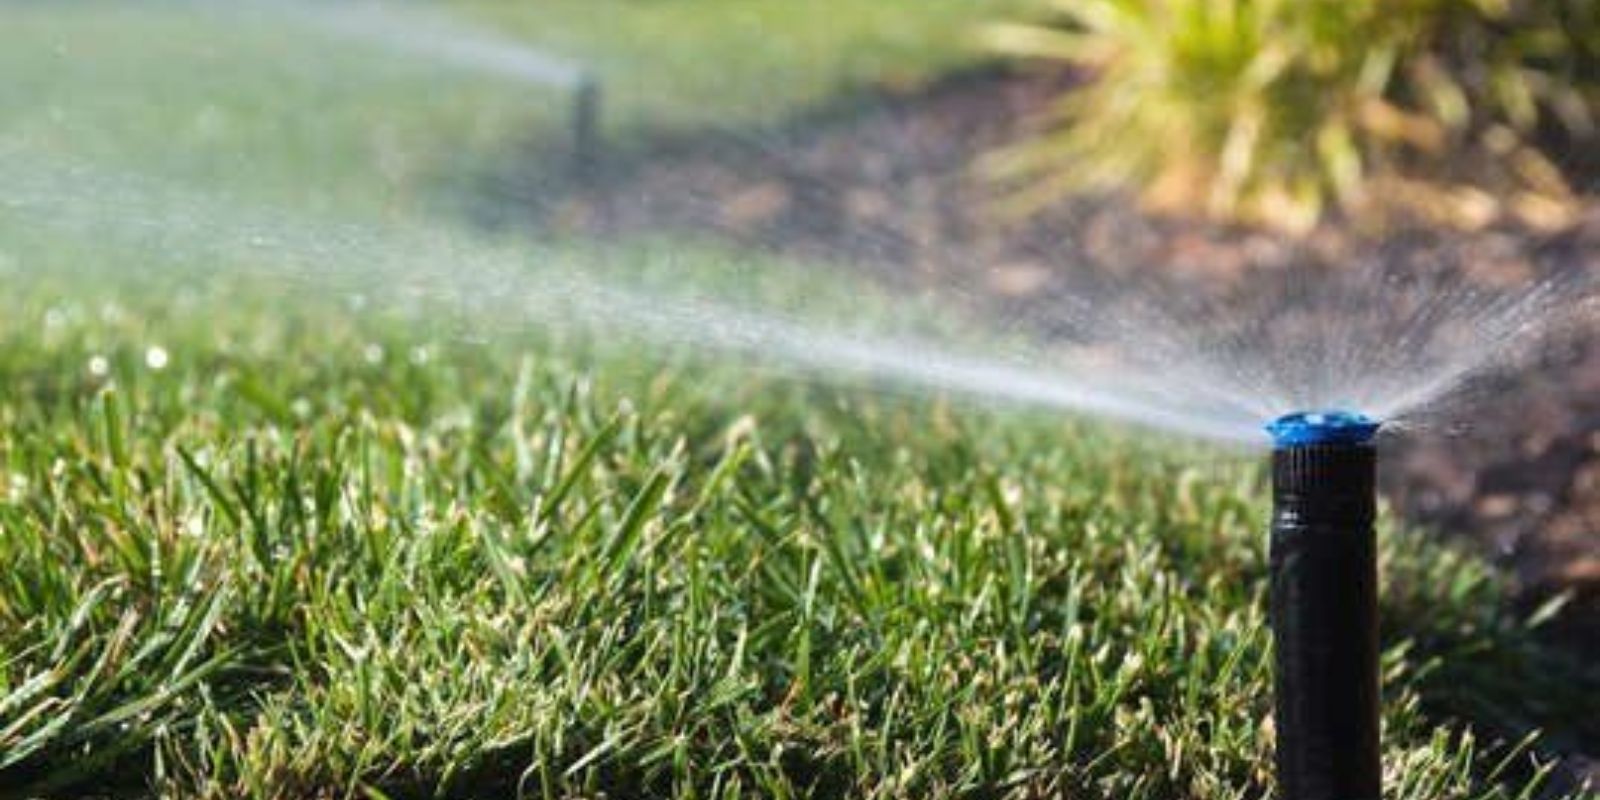
- Sprinkler Heads: High-pressure sprinkler heads are designed to provide a strong, even spray. Select heads suitable for your garden’s needs.
- Pressure Regulator: Controls the water pressure to prevent damage to the sprinkler system.
- Pipe Primer and Cement: Used to bond PVC pipes and connectors securely.
- Pipe Supports and Stakes: To keep the pipes in place and prevent movement.
B. Tools Needed
- PVC Cutter or Saw: For cutting pipes to the desired length.
- Measuring Tape: To measure pipes and determine placement.
- Pipe Wrench: To tighten connections and ensure a secure fit.
- Shovel or Trencher: For digging trenches if burying pipes.
3. Designing the Layout
A. Sketch Your Plan
Create a detailed sketch of your system layout, including:
- Pipe Paths: Draw where the pipes will be laid out and connected.
- Sprinkler Locations: Mark where each sprinkler head will be placed for optimal coverage.
B. Calculate Pipe Lengths
Measure and calculate the lengths of PVC pipes required for your layout. Include extra lengths for fittings and adjustments.
4. Assembling the Pipes
A. Cutting the Pipes
- Measure and Cut: Use a PVC cutter or saw to cut pipes to the required lengths based on your design.
B. Connecting the Pipes
- Dry Fit: Before gluing, assemble the pipes and connectors to ensure they fit correctly.
- Prime and Cement: Apply PVC primer to the ends of the pipes and inside the connectors. Follow with PVC cement, then quickly join the pipes and connectors. Hold in place for a few seconds to allow the cement to set.
C. Installing Pipe Supports
- Place Supports: Use pipe supports and stakes to secure the pipes in place. This prevents movement and ensures stability.
5. Installing the Sprinkler Heads
A. Attaching Sprinkler Heads
- Positioning: Attach the sprinkler heads to the pipe fittings at the designated locations.
- Adjusting Heads: Adjust the height and angle of each sprinkler head to ensure even coverage across your garden.
B. Connecting to Water Source
- Main Line Connection: Connect the main line of your sprinkler system to your garden’s water source. Ensure the connection is secure and leak-free.
- Pressure Regulation: Install a pressure regulator to control the water pressure and protect your system from high pressure.
6. Testing and Adjusting
A. Initial Test
- Turn On the System: Slowly turn on the water supply to test the system.
- Check Coverage: Observe the sprinkler heads to ensure even coverage and adequate watering. Look for any dry spots or areas where water is not reaching.
B. Make Adjustments
- Adjust Sprinkler Heads: If needed, adjust the position and angle of the sprinkler heads to improve coverage.
- Fix Leaks: Check for and repair any leaks in the pipes or connections.
C. Fine-Tuning
- Optimize Timing: Adjust the watering schedule to suit the needs of your plants and the local climate.
- Seasonal Adjustments: Make seasonal adjustments to your system as needed, such as changing the watering frequency during different times of the year.
7. Maintenance and Upkeep
A. Regular Inspections
- Inspect Components: Regularly check sprinkler heads, pipes, and connections for any signs of wear or damage.
- Clean Sprinklers: Clean sprinkler heads to remove any debris or clogs that may affect performance.
B. Winterizing
- Drain the System: Before the onset of freezing temperatures, drain the water from the pipes to prevent damage from ice.
- Store Components: Remove and store sprinkler heads and other removable components in a sheltered location.
8. Benefits of a High-Pressure Sprinkler System
A. Efficient Watering
A high-pressure sprinkler system provides a strong, even spray that ensures efficient watering and reduces water waste.
B. Cost Savings
By crafting your own system, you save on the cost of purchasing pre-made systems and gain the satisfaction of a DIY project.
C. Customization
Building your own system allows for complete customization to meet the specific needs of your garden, including the ability to adjust and expand as needed.
D. Enhanced Plant Health
Consistent and efficient watering promotes healthy plant growth and helps maintain a lush, vibrant garden.
Conclusion
Crafting your own high-pressure garden sprinkler system is a rewarding project that offers numerous benefits for garden enthusiasts. By planning carefully, gathering the right materials, and following a systematic approach, you can create a custom irrigation system that ensures your plants receive the water they need while saving you money and time. Whether you’re a seasoned gardener or a DIY enthusiast, this project allows you to enjoy the satisfaction of building something practical and effective for your garden. Share your experiences, ask questions, or seek advice from fellow gardeners as you embark on this exciting endeavor. Happy gardening! 🌿💧🌟