
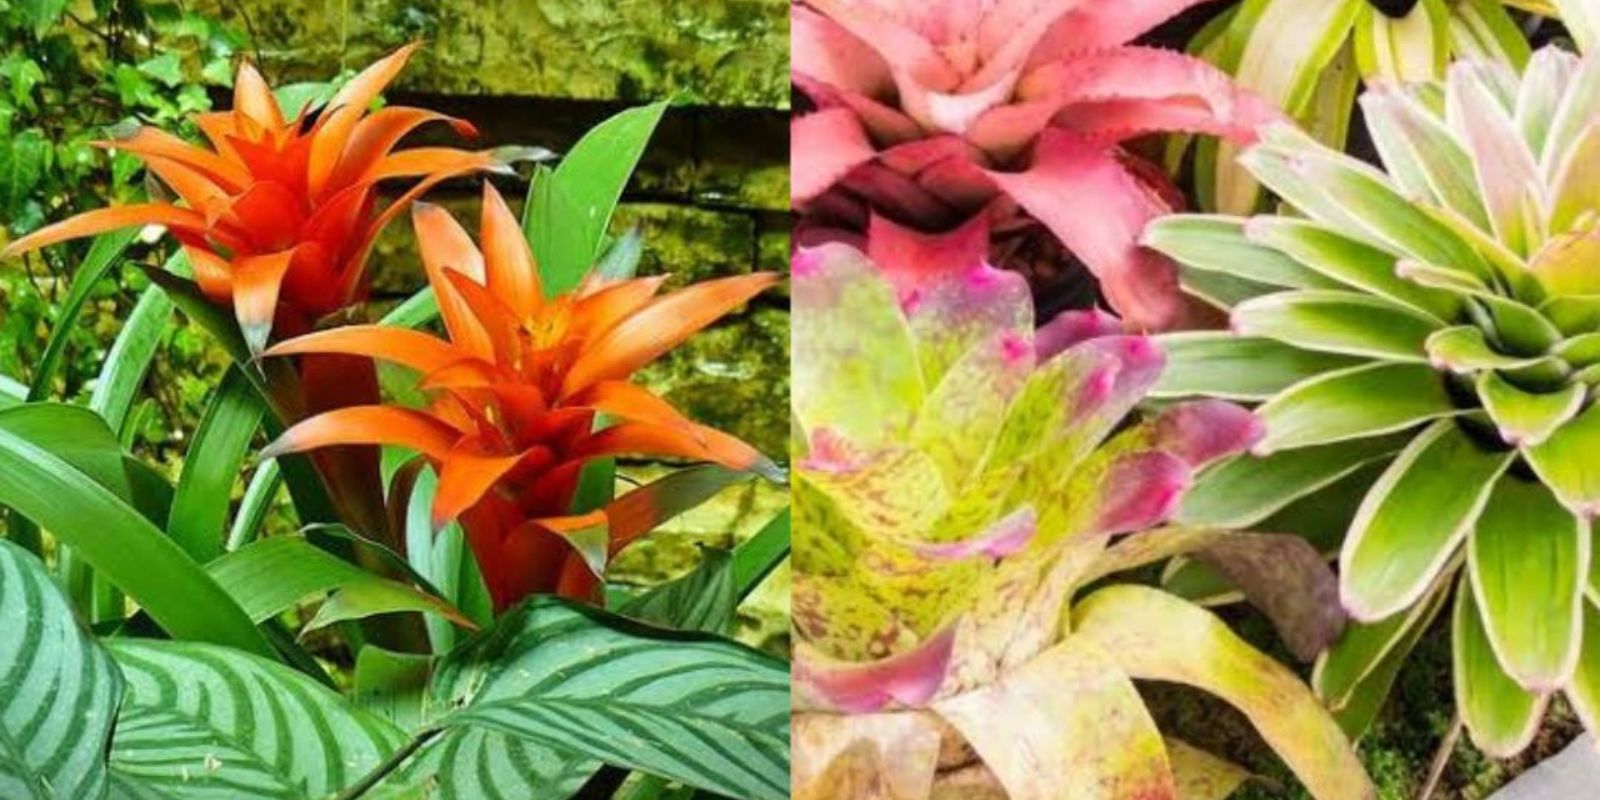
Bromeliads are tropical plants that bring life and a burst of color to any indoor or outdoor space. Their strikingly colorful foliage and unique growth habits make them a favorite among gardeners and plant enthusiasts. Best of all, bromeliads are easy to care for and thrive in pots, making them perfect for homes, offices, or patios. In this comprehensive guide, we’ll explore everything you need to know about growing bromeliads in pots, from choosing the right species to mastering their care and propagation.
What Makes Bromeliads Special?
Bromeliads are part of the Bromeliaceae family, which includes over 3,000 species. Native to tropical regions, they’re known for their vibrant foliage, striking flowers, and the ability to thrive in various conditions. Unlike many houseplants, bromeliads don’t require extensive maintenance, and their adaptability makes them suitable for novice and expert gardeners alike.
Popular Bromeliad Species for Pots
When growing bromeliads in pots, some species stand out for their beauty and ease of care. Here are the most popular ones:
- Aechmea: Known for its bright pink bracts and blue flowers, this species is both hardy and visually stunning.
- Tillandsia: Commonly called air plants, these bromeliads are unique because they don’t need soil to grow.
- Billbergia: This species is prized for its tubular flowers and colorful foliage.
- Neoregelia: Recognized for its rosette-shaped leaves that turn bright colors during flowering.
- Ananas (Pineapple): Yes, the pineapple is a bromeliad! It can be grown as a decorative plant in pots.
- Guzmania: A favorite for its long-lasting, colorful blooms.
How to Care for Bromeliads in Pots
Bromeliads are relatively low-maintenance, but they thrive best when their specific needs are met. Follow these care tips for healthy and vibrant plants:
1. Light Requirements
- Place your bromeliad in a bright, well-lit spot with indirect sunlight.
- Avoid direct sunlight, as it can scorch the leaves.
2. Temperature and Humidity
- Bromeliads prefer temperatures between 22°C and 24°C (71°F–75°F).
- They thrive in humid environments, so consider misting them regularly if your home is dry.
3. Watering
- Water bromeliads by filling their central cup (also known as the “tank”) with water.
- Change the water weekly to prevent stagnation and bacterial growth.
- For species without a tank, water the soil lightly, ensuring it remains moist but not soggy.
4. Soil and Potting
- Use a well-draining potting mix, such as a combination of orchid bark, peat moss, and perlite.
- Bromeliads prefer shallow pots, as their root systems are relatively small.
5. Fertilizing
- Apply a diluted liquid fertilizer once a month during the growing season.
- Avoid over-fertilizing, as it can damage the plant and reduce its vibrant colors.
Propagation of Bromeliads in Pots
One of the joys of growing bromeliads is their ability to propagate easily through offsets, also known as “pups.” Here’s how to propagate your bromeliad:
Step 1: Wait for the Pups
- After flowering, bromeliads produce pups at the base of the mother plant. Wait until these pups are about one-third the size of the mother plant before separating them.
Step 2: Remove the Pups
- Use a clean, sharp knife or pruning shears to cut the pup from the mother plant.
- Ensure the pup has a small root system attached.
Step 3: Pot the Pups
- Plant the pup in a small pot filled with the same well-draining mix used for the mother plant.
- Water lightly and cover the pot with a clear plastic bag to create a greenhouse effect, promoting faster growth.
Step 4: Care for the New Plant
- Place the new plant in a bright, humid environment.
- Once the pup establishes roots and starts growing, remove the plastic covering.
Dealing with Common Issues
1. Dark or Burnt Leaves
- Cause: Too much direct sunlight or overheating.
- Solution: Move the plant to a spot with indirect light and maintain ideal temperatures.
2. Root Rot
- Cause: Overwatering or poorly draining soil.
- Solution: Allow the soil to dry out between waterings and ensure proper drainage.
3. Lack of Blooms
- Cause: Insufficient light, improper watering, or lack of nutrients.
- Solution: Provide adequate light, maintain a consistent watering routine, and fertilize during the growing season.
Why Choose Bromeliads for Your Home?
Bromeliads aren’t just beautiful; they also bring several benefits:
- Air Purification: They improve indoor air quality by filtering toxins.
- Aesthetic Appeal: Their vibrant colors and unique forms enhance any decor.
- Low Maintenance: Ideal for those who want stunning plants without too much effort.
- Long-Lasting Blooms: Bromeliads are known for their flowers that can last for months.
Creative Ways to Display Bromeliads
Bromeliads are versatile and can be displayed in various ways to suit your style:
- Hanging Baskets: Perfect for species like Tillandsia.
- Tabletop Arrangements: Use decorative pots to showcase their beauty.
- Terrariums: Create a tropical mini-garden with bromeliads and other plants.
- Wall-Mounted Displays: Mount air plants on wooden boards for a modern look.
Conclusion
Bromeliads are a perfect choice for anyone looking to add a touch of tropical elegance to their home or garden. With minimal care and an array of colors and shapes to choose from, these plants are a joy to grow and display. Whether you’re propagating new plants or enjoying their long-lasting blooms, bromeliads are sure to be a highlight of your indoor or outdoor space.
Ready to start your bromeliad journey? Share your experiences or ask questions in the comments below! Let’s grow together! 🌿
#Bromeliads #IndoorPlants #PlantCare #TropicalVibes #GardeningMadeEasy #ColorfulPlants