
Gardening is more than just a hobby; it’s a rewarding experience that connects us with nature, allows us to grow our own food, and enhances the beauty of our surroundings. One of the best ways to maximize your gardening potential is by creating a DIY raised bed. Raised beds are ideal for various gardening styles, offering numerous advantages such as better drainage, improved soil quality, and reduced strain on your back when planting and harvesting. In this article, we’ll guide you through the entire process of building your own raised bed, from planning to planting, along with expert tips and tricks to ensure your garden flourishes.
The Benefits of Raised Bed Gardening
Before diving into the construction process, let’s explore some of the key benefits of raised bed gardening:
- Enhanced Soil Quality: Raised beds allow you to create the perfect soil mix tailored to your plants’ needs, enabling better growth and health.
- Improved Drainage: Elevated beds provide excellent drainage, preventing waterlogging and root rot, which can be common in traditional garden plots.
- Extended Growing Season: The soil in raised beds warms up faster in the spring, allowing for earlier planting and potentially extending the growing season.
- Pest Control: Raised beds can be easier to protect from pests, as you can add barriers and netting more effectively than with ground-level gardens.
- Easier Maintenance: The height of raised beds makes them easier to tend to, reducing strain on your back and knees while watering, weeding, and harvesting.
Planning Your Raised Bed
Choosing the Right Location
Selecting the right spot for your raised bed is crucial for successful gardening. Here are some considerations:
- Sunlight: Most vegetables and flowers require 6-8 hours of direct sunlight daily. Observe your yard throughout the day to find a sunny location.
- Accessibility: Ensure the raised bed is easily accessible for maintenance and harvesting. Consider your daily routines and how often you’ll need to reach your plants.
- Proximity to Water: Being close to a water source can simplify your watering routine. Consider using a soaker hose or drip irrigation system for efficiency.
Determining Size and Dimensions
Raised beds come in various sizes, but a standard dimension is usually 4 feet wide and 6-8 feet long. Here’s how to determine the best size for you:
- Width: Keep the width at a maximum of 4 feet to ensure you can easily reach the center from both sides.
- Length: Length can vary based on your available space and preferences. A longer bed allows for more plants but may require more maintenance.
- Height: The height of your raised bed should be between 12 and 24 inches, depending on the plants you wish to grow and your comfort level.
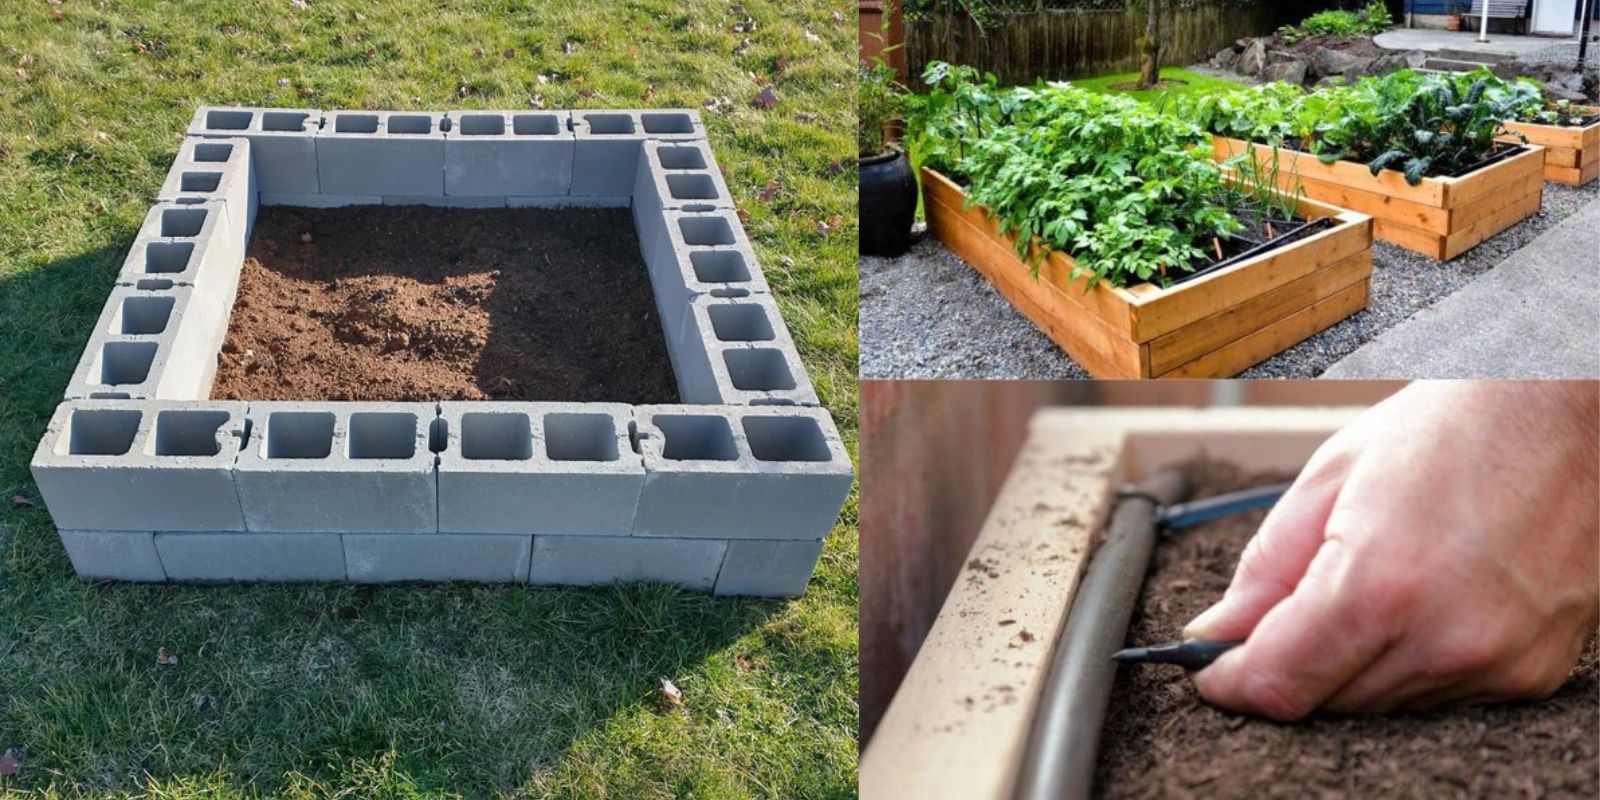
Selecting Materials
When it comes to materials, several options are available for constructing your raised bed:
- Wood: Untreated wood, such as cedar or redwood, is a popular choice due to its durability and resistance to rot. Avoid treated wood that may leach chemicals into the soil.
- Bricks or Stones: These materials are great for creating a more permanent structure. They provide excellent drainage and can add aesthetic appeal to your garden.
- Recycled Materials: Consider using reclaimed wood, metal, or even old pallets to create an eco-friendly raised bed. Just ensure the materials are safe for planting.
Building Your Raised Bed
Now that you’ve planned your raised bed and selected your materials, it’s time to get started on the construction!
Tools and Materials Needed
Before you begin, gather the following tools and materials:
- Measuring tape
- Level
- Saw (if cutting wood)
- Drill or hammer
- Screws or nails
- Landscape fabric (optional)
- Soil mix (topsoil, compost, and organic matter)
Step-by-Step Construction
- Measure and Mark the Area: Use your measuring tape to outline the dimensions of your raised bed. Mark the corners with stakes or spray paint.
- Prepare the Site: Clear the area of any grass, weeds, or debris. You may want to dig down a few inches to prevent weeds from growing up through the bed.
- Cut the Wood (if necessary): If using wood, cut it to the desired lengths based on your measurements.
- Assemble the Frame: Connect the corners using screws or nails to form a rectangular frame. Ensure the frame is level and square by measuring the diagonals.
- Secure the Frame: For added stability, you can use corner brackets or additional wood supports along the sides.
- Prepare for Drainage: If your site has poor drainage, consider adding a layer of gravel at the bottom of the bed to promote water flow.
- Add Landscape Fabric (optional): To prevent weeds from growing through, consider lining the bottom and sides of the bed with landscape fabric.
- Fill with Soil: Mix topsoil, compost, and organic matter (like well-rotted manure) in a wheelbarrow or on a tarp, then fill your raised bed. Aim for a soil depth of at least 12 inches.
- Level the Soil: Use a rake to level the soil surface. Leave some space at the top for watering and mulch.
- Water the Bed: Before planting, water the soil to help it settle. This will ensure that there are no air pockets left in the soil.
Planting Your Raised Bed
Once your raised bed is built and filled with soil, it’s time to plant!
Choosing Plants
When selecting plants for your raised bed, consider the following:
- Companion Planting: Certain plants grow better together. For example, tomatoes thrive alongside basil, while carrots and onions can help deter pests when planted together.
- Crop Rotation: If you plan to use the bed for multiple seasons, consider rotating your crops each year to prevent soil depletion and pest buildup.
Planting Techniques
- Sowing Seeds: Follow the seed packet instructions for depth and spacing. Plant seeds in rows or clusters, depending on your design.
- Transplanting Seedlings: If you’re starting with seedlings, gently remove them from their containers and plant them in the soil, ensuring they are at the same depth as they were in their pots.
- Watering: After planting, water the bed thoroughly, ensuring the soil is evenly moist but not waterlogged.
- Mulching: Adding a layer of mulch (straw, wood chips, or grass clippings) can help retain moisture, suppress weeds, and improve soil quality over time.
Maintaining Your Raised Bed Garden
To keep your raised bed thriving, regular maintenance is key. Here are some essential tips:
Watering
- Consistency: Check the soil moisture regularly, especially during dry spells. Raised beds may require more frequent watering due to increased drainage.
- Techniques: Consider using soaker hoses or drip irrigation systems for efficient watering. This method minimizes water waste and ensures that moisture reaches the roots directly.
Fertilizing
- Organic Options: Use organic fertilizers like compost tea, fish emulsion, or worm castings to boost soil nutrients. Apply them according to the needs of your plants.
- Soil Testing: Periodically test your soil to determine nutrient levels and pH balance, adjusting your fertilization practices as necessary.
Weeding
- Regular Checks: Spend a few minutes each week to check for weeds and remove them before they can establish themselves. Weeds compete with your plants for nutrients and water.
- Mulching Benefits: Applying a thick layer of mulch will significantly reduce weed growth and help keep the soil moist.
Pest Control
- Natural Methods: Encourage beneficial insects like ladybugs and lacewings, which prey on common pests. You can also use neem oil or insecticidal soap as needed.
- Companion Planting: Planting certain herbs and flowers alongside your vegetables can deter pests naturally.
Seasonal Care
- Winter Preparation: In colder climates, consider covering your raised beds with a tarp or row cover to protect them from frost. You can also plant winter crops like garlic or cover crops to improve soil health.
- Spring Refresh: Each spring, replenish your raised bed with fresh soil and compost to maintain nutrient levels. This is also a great time to check for any damage to the frame and make necessary repairs.
Conclusion
Building a DIY raised bed is an excellent investment in your gardening journey. Not only does it provide a productive space for growing vegetables and flowers, but it also enhances the overall aesthetic of your garden. By following these tips and tricks, you can create a thriving raised bed that yields bountiful harvests year after year. So gather your materials, roll up your sleeves, and get started on this rewarding project!
Happy gardening!
#GardeningTips #DIYRaisedBed #GrowYourOwnFood #SustainableGardening #HomeGarden #VegetableGarden #PlantCare #GardeningHacks #EcoFriendly