
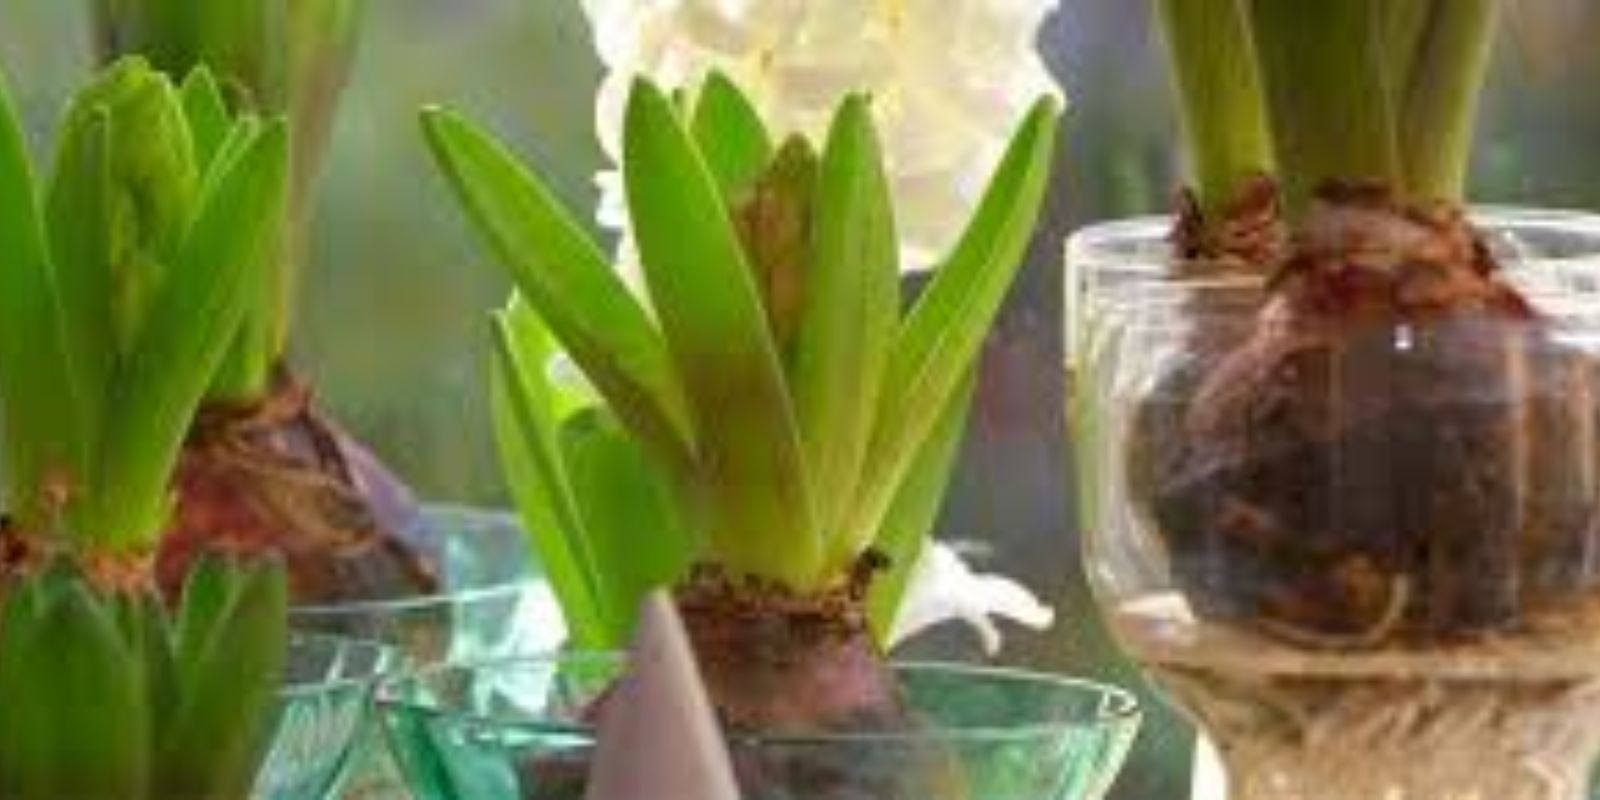
Daffodils, with their bright and cheerful blooms, are a quintessential symbol of spring. As perennials, daffodils have the ability to come back year after year, provided they are well cared for. One of the most important aspects of maintaining a healthy daffodil garden is ensuring the bulbs are properly cured after they have finished flowering. By taking the time to properly store and prepare your daffodil bulbs for replanting, you will set yourself up for a beautiful garden season after season.
This guide will walk you through the 10 essential steps for curing daffodil bulbs, ensuring they thrive when you replant them for next spring’s bloom.
Introduction: The Importance of Curing Daffodil Bulbs
After daffodils bloom in the spring, they require time to gather nutrients and energy for the next year’s flowers. One of the key aspects of this process is curing the bulbs after the blooms have faded. Curing ensures the bulbs are prepared for the next planting season, preventing rot, disease, and other issues that can interfere with their growth.
Understanding how to properly cure and store daffodil bulbs will help ensure they stay healthy and ready for replanting. It also allows gardeners to extend the life of their bulbs, ensuring that their daffodils continue to bloom and thrive for many years.
Step 1: Wait for the Foliage to Yellow
The first and most crucial step in curing daffodil bulbs is allowing the foliage to naturally die back and yellow. After the flowers have faded, resist the urge to cut back the leaves immediately. These leaves are still working to gather nutrients for the bulbs, and cutting them too early will reduce the energy the bulb can store.
Typically, daffodil foliage will begin to yellow and wither several weeks after the flowers have bloomed. Allow the leaves to remain in place until they have fully yellowed and dried up. This natural process ensures the bulbs get the maximum amount of energy they need to prepare for the next growing season.
Step 2: Dig Up the Daffodil Bulbs
Once the foliage has completely died back, it’s time to dig up the bulbs. This is typically done in late spring or early summer, after the foliage has fully yellowed. Use a garden fork or spade to gently lift the bulbs from the soil. Be careful not to damage the bulbs during the digging process, as this can prevent them from growing successfully when replanted.
If you have a large patch of daffodils, dig up the bulbs in sections to avoid damaging other plants in the process. Gently lift the bulbs, making sure not to tear any of the roots or bulb scales.
Step 3: Clean the Bulbs
Once the bulbs are removed from the soil, it’s important to clean them properly. Rinse the bulbs gently with water to remove any excess soil. This prevents dirt from attracting mold or fungi, which can damage the bulbs while in storage.
However, avoid scrubbing or soaking the bulbs, as this can damage their outer layers. Simply rinse them off with a light spray of water to remove any remaining dirt. Once cleaned, lay the bulbs on a clean surface to dry.
Step 4: Inspect the Bulbs for Damage
Before you begin drying and storing your bulbs, take the time to inspect each one for any signs of damage, rot, or disease. Look for soft spots, mold, or discoloration that could indicate that the bulb is unhealthy or compromised.
If you find any bulbs that are damaged, discard them. Storing damaged or diseased bulbs can lead to the spread of problems to your healthy bulbs and negatively affect next season’s growth. Only keep bulbs that are firm and free of any visible issues.
Step 5: Dry the Bulbs Properly
Once the bulbs are clean and inspected, the next step is to dry them. Proper drying is essential to prevent rot during storage. Place the bulbs in a well-ventilated, dry area away from direct sunlight. This could be a shed, garage, or a cool basement.
Lay the bulbs out on a wire rack or newspaper so that air can circulate around them. Ideally, the drying process should take about 10–14 days, depending on the temperature and humidity of your environment. Ensure the bulbs are completely dry before proceeding to the next step.
Step 6: Remove the Roots and Foliage
After the bulbs have dried, it’s time to trim off any remaining roots and foliage. Use a sharp pair of garden scissors or pruning shears to cut off any excess roots, stems, or dead foliage that might remain on the bulbs. Removing these parts will help to reduce the risk of fungal or bacterial growth during storage.
Be sure to leave the bulb’s basal plate, which is the flat area at the bottom of the bulb where the roots were attached. This is crucial for the bulb’s future growth when replanting.
Step 7: Store the Bulbs in a Cool, Dry Place
Once your bulbs are fully dried and prepared, it’s time to store them for the summer. The ideal storage location for daffodil bulbs is a cool, dry, and well-ventilated area. Bulbs should not be stored in a humid environment, as this can cause mold and mildew to develop.
Store the bulbs in a paper bag, mesh sack, or a cardboard box with ventilation holes. Avoid using plastic bags, as these trap moisture and can cause the bulbs to rot. If possible, label the bags or boxes with the variety of daffodils, so you can easily identify them later.
Step 8: Check for Rot
While the bulbs are in storage, it’s essential to check on them periodically for any signs of rot or mold. Regularly inspect the bulbs for any changes in texture, color, or smell that might indicate a problem.
If you find any bulbs that are beginning to rot, remove them immediately to prevent the problem from spreading to other bulbs. Healthy daffodil bulbs should feel firm and dry, with no sign of soft spots or mold.
Step 9: Replant the Bulbs in the Fall
Once the fall season arrives, it’s time to replant your cured daffodil bulbs. Daffodils should be planted in well-drained soil with plenty of sunlight. The best time to plant bulbs is typically in late September to early November, before the ground freezes.
When replanting, dig a hole that is about 4–6 inches deep for each bulb, and space them about 3–4 inches apart. Gently place the bulb in the hole with the pointed end facing upward, then cover with soil. Water the bulbs well after planting to help them settle in.
Step 10: Enjoy the Blooms
With proper care and attention, your daffodils will begin to grow and bloom again in the spring. By following the steps above, your daffodils will be healthy and ready to thrive for another season. Enjoy the beautiful, colorful display of flowers as they return to your garden year after year.
Conclusion: Ensuring a Lifetime of Beautiful Blooms
Caring for your daffodil bulbs after they have finished blooming is an essential step in ensuring a vibrant garden in the years to come. By following these 10 steps to cure, store, and replant your daffodils, you can extend the life of your bulbs and enjoy their beautiful blooms for many seasons.
Remember to be patient during the curing process, as the extra time and attention you give your bulbs now will reward you with an even more impressive garden in the future. With a little care and the right steps, your daffodils will continue to be a cheerful addition to your garden year after year.
Happy gardening! 🌷🌱