Introduction
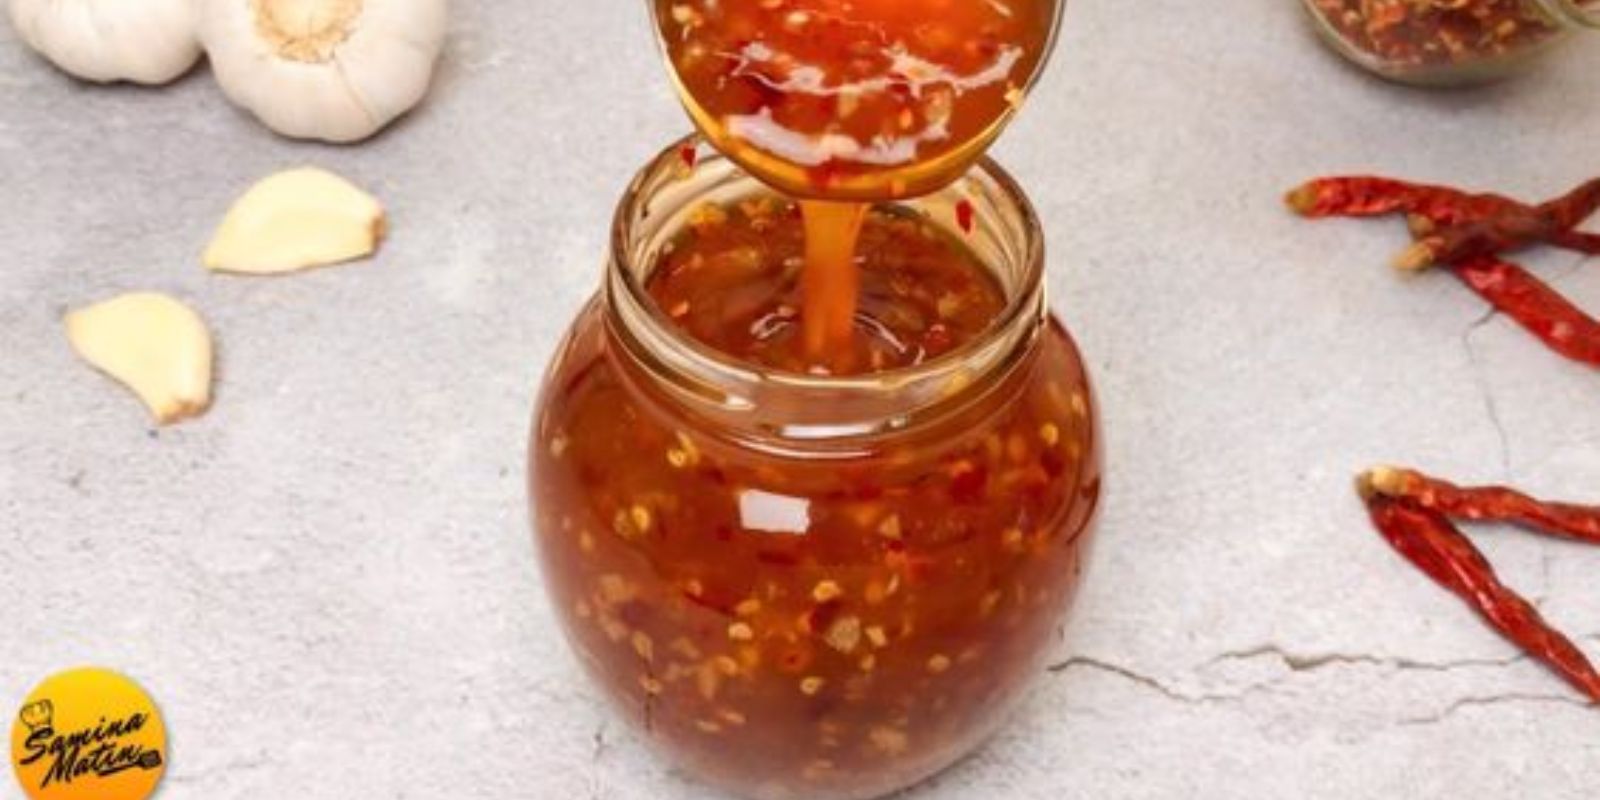
There’s something undeniably satisfying about creating your own sauces at home. Not only do you get to customize the flavors, but you also save money and avoid the preservatives found in store-bought versions. If you’re looking for a quick, affordable, and delicious sauce to enhance your meals, look no further than this 10-minute sweet chili sauce recipe. With just a few cheap ingredients, you can whip up a batch of sauce that boasts the perfect blend of sweetness and heat. Let’s dive into the process and discover how you can make this delectable sauce in no time!
Why Homemade Sweet Chili Sauce?
Making sweet chili sauce at home offers several advantages:
- Control Over Ingredients: You can avoid artificial preservatives and control the sugar and salt levels according to your dietary preferences.
- Customization: Adjust the spiciness, sweetness, or tanginess to suit your taste buds.
- Cost-Effective: Using basic pantry ingredients, this recipe is budget-friendly, allowing you to create a high-quality sauce without breaking the bank.
Ingredients Needed
Before you start, gather the following ingredients:
- 1 Cup Sugar: This is the base for the sweetness in the sauce.
- 1/2 Cup Vinegar: White or rice vinegar works best for adding tanginess and balancing the sweetness.
- 1/4 Cup Soy Sauce: Adds saltiness and depth of flavor.
- 2 Cloves Garlic: Minced, for that aromatic, savory punch.
- 1 Tablespoon Red Pepper Flakes: For the signature heat.
- 1/2 Cup Water: Helps to dissolve the sugar and adjust the sauce’s consistency.
Step-by-Step Instructions
Step 1: Gather Ingredients
The first step in making this quick sweet chili sauce is to gather all the necessary ingredients. This recipe relies on staples that are likely already in your pantry. Having everything ready will streamline the cooking process and ensure you don’t miss any components.
Step 2: Combine Ingredients
In a medium-sized saucepan, combine the sugar, vinegar, soy sauce, minced garlic, red pepper flakes, and water. The sugar and vinegar form the base of the sauce, while the soy sauce adds a savory depth. Garlic and red pepper flakes provide that classic sweet and spicy flavor combination.
Step 3: Heat the Mixture
Place the saucepan on medium heat. Stir the mixture continuously to help the sugar dissolve completely. Heating the mixture allows the flavors to meld together, creating a well-balanced sauce.
Step 4: Simmer
Once the sugar has dissolved, allow the sauce to come to a simmer. Reduce the heat slightly to maintain a gentle simmer. Stir occasionally, making sure to scrape any sugar that may be stuck to the bottom of the pan. Simmer for about 5-7 minutes. The sauce will thicken as it cooks, so keep an eye on it to reach your desired consistency. If you prefer a thicker sauce, you can let it simmer a bit longer.
Step 5: Cool and Store
After the sauce has reached your preferred thickness, remove it from the heat. Let it cool to room temperature. As it cools, it will continue to thicken slightly. Once cooled, transfer the sauce to a clean jar or bottle. Store it in the refrigerator for up to two weeks. If the sauce thickens too much after refrigeration, simply stir in a bit of water to reach the desired consistency.
Serving Suggestions
This sweet chili sauce is incredibly versatile and can be used in various ways:
- Dipping Sauce: Serve it as a dip for spring rolls, dumplings, or chicken wings.
- Glaze: Brush it onto grilled meats or vegetables for a flavorful glaze.
- Marinade: Use it as a marinade for chicken, pork, or tofu.
- Stir-Fry: Add it to stir-fries for a sweet and spicy kick.
Tips for Success
- Adjust Sweetness and Spice: Feel free to adjust the amount of sugar and red pepper flakes according to your taste preferences. For a milder sauce, reduce the red pepper flakes; for more heat, add extra.
- Experiment with Add-Ins: You can add other ingredients such as grated ginger or chopped scallions to customize the sauce further.
- Store Properly: Ensure your storage jar or bottle is clean and airtight to prolong the shelf life of your sauce.
Benefits of Homemade Sauce
- Healthier Choice: Homemade sauces are generally healthier because you control the ingredients. This means you can avoid excessive sugar, salt, or artificial additives.
- Cost Savings: Making sauce at home is often more economical than buying pre-made versions, especially if you already have the ingredients on hand.
- Personal Touch: Homemade sauces allow you to tailor flavors to your liking, creating a unique product that stands out from store-bought varieties.
Conclusion
In just 10 minutes and with a few inexpensive ingredients, you can create a flavorful sweet chili sauce that elevates your culinary creations. This homemade sauce not only saves money but also provides a healthier and customizable option compared to store-bought alternatives. So why not give it a try? With its perfect balance of sweet and spicy, this sauce is sure to become a staple in your kitchen, adding a delicious touch to a variety of dishes. Enjoy the satisfaction of making your own sauce and savor the exceptional taste that comes from cooking with love and simplicity! 🌶️🍯👩🍳

